Intro
There is something about baked apples and warm maple syrup that feels like a soft blanket on a chilly evening. This Maple Apple Crisp Recipe has become one of those desserts I make without even thinking twice.
It is the kind of sweet that fills the kitchen with the smell of cinnamon, butter, and bubbling fruit. The kind that makes everyone wander in and ask, “Is it ready yet?”
As a home cook and a woman who grew up watching desserts come out of the oven with love baked into them, I have a deep attachment to simple fruit crisps. They are humble, honest, and forgiving. No fancy decorating. No complicated steps. Just good ingredients treated with care.
This Maple Apple Crisp Recipe is all about balance. Sweet but not too sweet. Soft apples with just a little bite. A golden oat topping that is crisp, buttery, and slightly caramelized. And that maple flavor? It is warm, deep, and earthy. Not sharp like white sugar. It wraps around the apples and hugs them.
If you have never made apple crisp with maple syrup instead of regular sugar, you are in for a treat. Let me show you how I make mine, step by step, just like I would if you were standing beside me in my kitchen.
What is Maple Apple Crisp Recipe?
A maple apple crisp is a baked dessert made with fresh apples tossed in maple syrup, sugar, and spices, then topped with a crumbly mixture of oats, flour, butter, and more maple sweetness. It is baked until the fruit is soft and juicy and the topping turns golden brown and crisp.
Unlike apple pie, there is no bottom crust to roll or chill. That is why I love it so much. It is easier and more relaxed. The apples shine. The topping adds texture. And the maple syrup gives the entire dish a rich, slightly smoky sweetness that white sugar simply cannot match.
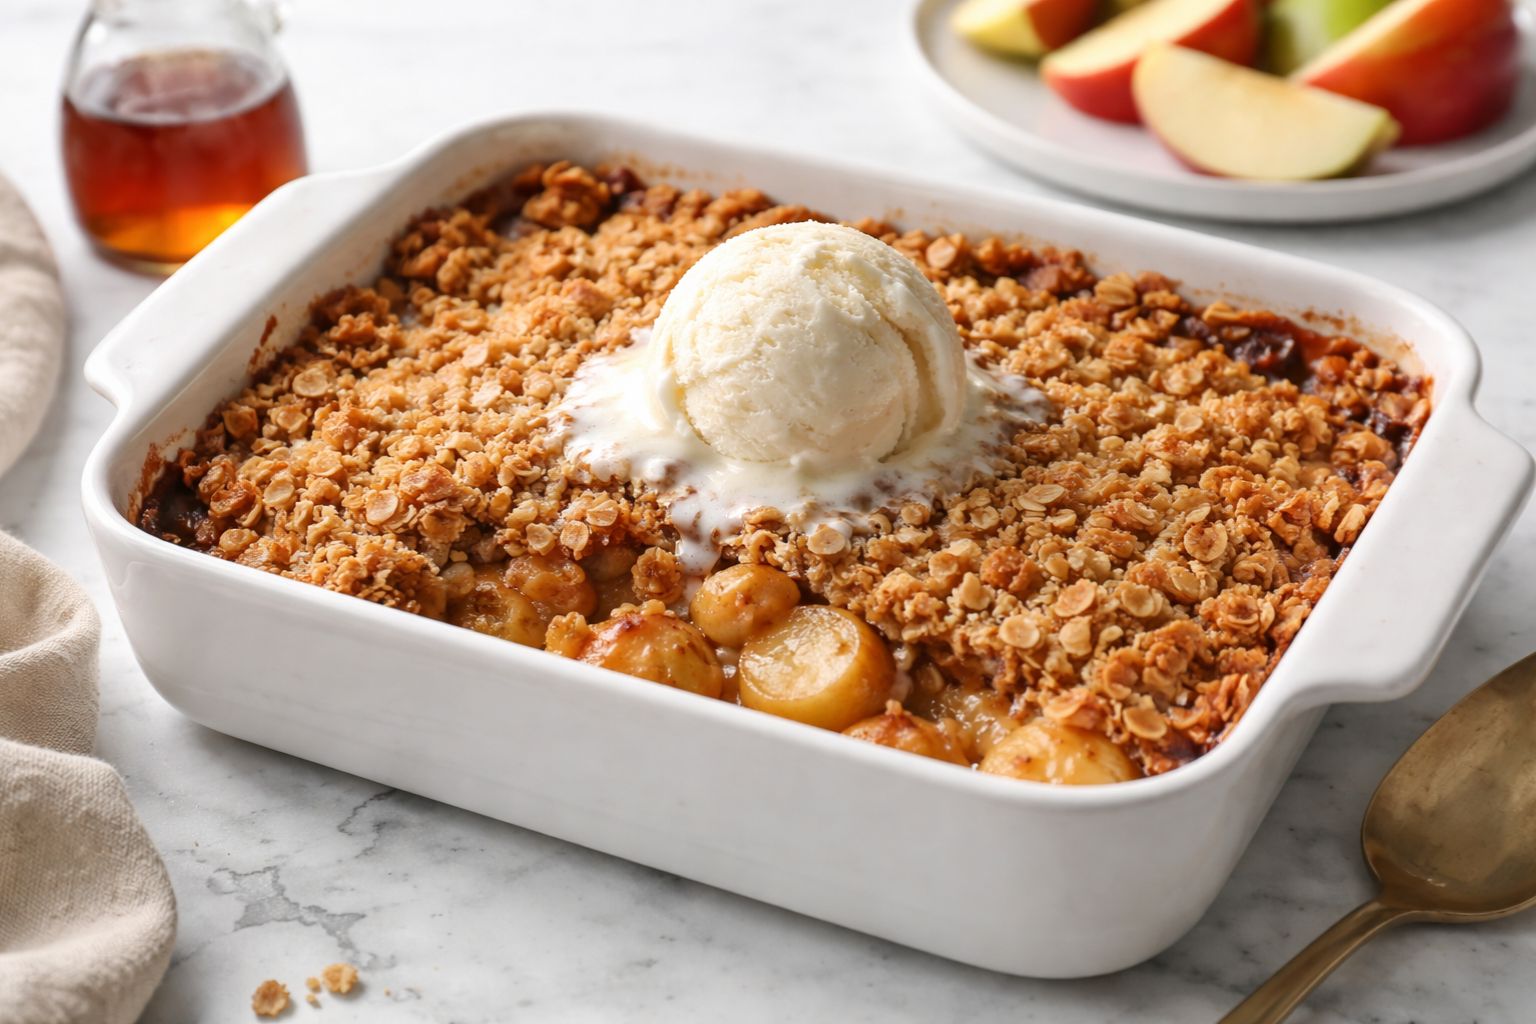
When it comes out of the oven, the edges bubble, the top crackles slightly, and the smell is pure comfort. Serve it warm with vanilla ice cream and you have a dessert that feels both rustic and special.
Equipment List
You do not need anything fancy for this recipe. Just simple kitchen tools:
- 9×13-inch baking dish
- Large mixing bowl
- Medium mixing bowl
- Measuring cups and spoons
- Vegetable peeler
- Sharp knife
- Cutting board
- Pastry cutter or fork (for mixing topping)
- Spatula or wooden spoon
That is it. Simple tools for a simple, beautiful dessert.
Recipe Card Info
- Prep Time: 20 minutes
- Cook Time: 45 minutes
- Total Time: 1 hour 5 minutes
- Serves: 8
- Cuisine: American
- Course: Dessert
- Calories: 420 calories per serving
Ingredients
For the Apple Filling:
- 6 large apples (about 2.5 pounds), peeled and sliced
- 1/2 cup pure maple syrup
- 1/4 cup brown sugar
- 1 tablespoon lemon juice
- 2 teaspoons ground cinnamon
- 1/4 teaspoon ground nutmeg
- 1 tablespoon cornstarch
- 1 teaspoon vanilla extract
- Pinch of salt
For the Crisp Topping:
- 1 cup old-fashioned rolled oats
- 3/4 cup all-purpose flour
- 1/2 cup brown sugar
- 1/4 teaspoon salt
- 1/2 teaspoon ground cinnamon
- 1/2 cup unsalted butter, cold and cubed
- 2 tablespoons pure maple syrup
Instructions
Step 1: Preheat the Oven
Preheat your oven to 350°F (175°C). Lightly grease your 9×13-inch baking dish with butter or nonstick spray.
Step 2: Prepare the Apples
Peel the apples and slice them into even pieces, about 1/4 inch thick. I like using a mix of sweet and tart apples for more flavor depth. Toss them into a large mixing bowl.
Add maple syrup, brown sugar, lemon juice, cinnamon, nutmeg, cornstarch, vanilla extract, and a pinch of salt. Mix gently until every slice is coated. The smell at this point is already beautiful.
Step 3: Transfer to Baking Dish
Pour the apple mixture into your prepared baking dish. Spread it evenly so the apples cook at the same rate.
Step 4: Make the Crisp Topping
In a medium bowl, combine oats, flour, brown sugar, salt, and cinnamon. Add the cold butter cubes.
Using a pastry cutter or fork, cut the butter into the dry ingredients until the mixture looks crumbly with small pea-sized pieces. Drizzle in the maple syrup and mix lightly. Do not overwork it. You want texture.
Step 5: Assemble
Sprinkle the topping evenly over the apples. Make sure to cover most of the surface without pressing it down too much.
Step 6: Bake
Bake for 45 minutes, or until the topping is golden brown and the apple filling is bubbling around the edges.
Step 7: Cool Slightly
Let it cool for at least 10–15 minutes before serving. The filling will thicken as it rests.
Choosing the Best Apples
One thing I always tell my readers and students is this: not all apples bake the same way. Some turn mushy. Some stay too firm.
For this Maple Apple Crisp Recipe, I love using a mix. Granny Smith adds tartness and structure. Honeycrisp brings sweetness and juiciness. Fuji works beautifully too. Mixing apples creates layers of flavor and texture.
If you only have one variety at home, do not stress. Just use what you have. Cooking should feel joyful, not stressful.
Why Maple Syrup Makes a Difference
Maple syrup is not just sweet. It has depth. It carries notes of caramel, wood, and warmth. When baked with apples, it melts into the fruit and creates a sauce that feels silky and rich.
In this Maple Apple Crisp Recipe, maple syrup replaces most of the refined sugar. The result is softer sweetness and a more natural flavor profile. It tastes cozy rather than sugary.
Always use pure maple syrup, not pancake syrup. The difference is real and noticeable.
The Magic of the Crisp Topping
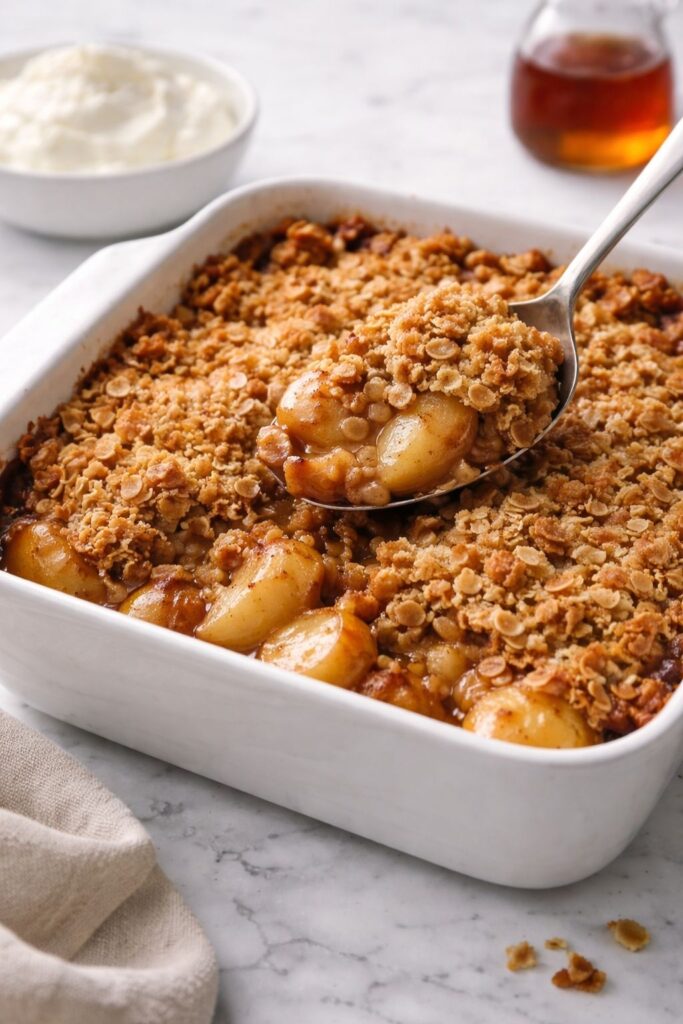
The topping is where texture lives. The oats toast in the oven. The butter melts and creates little pockets of crunch. The brown sugar caramelizes slightly.
I love the moment when you tap the spoon into the top and hear that gentle crack. Underneath, the apples are tender and juicy. That contrast is everything.
If you want extra crunch, you can add 1/4 cup chopped pecans or walnuts. It adds a nutty depth that pairs beautifully with maple.
Serving Ideas
Warm maple apple crisp is lovely on its own, but let us be honest. It becomes unforgettable with a scoop of vanilla ice cream melting over the top.
You can also serve it with:
- Fresh whipped cream
- A drizzle of extra maple syrup
- A spoonful of Greek yogurt for a tangy contrast
- A sprinkle of toasted nuts
Sometimes I even enjoy leftovers for breakfast with plain yogurt. It feels indulgent yet comforting.
Make-Ahead and Storage Tips
You can assemble the entire crisp a few hours before baking. Just cover it and keep it in the refrigerator. When ready to bake, add 5 extra minutes to the cook time.
Leftovers can be stored in the refrigerator for up to 4 days. Reheat in the oven at 325°F until warm. The topping stays crisper in the oven than in the microwave.
You can also freeze it after baking. Wrap tightly and freeze for up to 2 months. Thaw overnight in the fridge and reheat before serving.
Common Mistakes to Avoid
Even though this Maple Apple Crisp Recipe is simple, a few small mistakes can change the texture.
- Slicing apples too thin: They may turn mushy.
- Using only soft apples: The filling can become overly soft.
- Overmixing the topping: It should stay crumbly.
- Skipping the resting time: The filling needs time to thicken.
Take your time. Let the oven do its work.
How This Dessert Became a Tradition in My Kitchen
Every autumn, when apples are in season and the air starts to cool, I pull out my baking dish and make this crisp. It reminds me of family dinners, laughter in the kitchen, and the comfort of simple food made with care.
As a female chef who believes in soulful cooking, I find deep satisfaction in recipes like this. They do not try too hard. They just taste good. They bring people together.
This Maple Apple Crisp Recipe has been served at birthday dinners, holiday gatherings, and quiet Sunday evenings. It never disappoints.
Frequently Asked Questions
Can I make it gluten-free?
Yes. Replace the all-purpose flour with a gluten-free flour blend and ensure your oats are certified gluten-free.
Can I reduce the sugar?
You can slightly reduce the brown sugar if your apples are very sweet. The maple syrup already provides natural sweetness.
Can I use quick oats?
Old-fashioned oats give better texture, but quick oats will work in a pinch. The topping will be slightly softer.
Final Thoughts
There is beauty in simplicity. A baking dish filled with apples, maple syrup, butter, oats, and spice can transform an ordinary day into something special.
This Maple Apple Crisp Recipe is more than just dessert. It is comfort. It is warmth. It is the smell of cinnamon drifting through your home. It is the sound of spoons scraping the dish for the last bite.
If you try it, I hope it becomes part of your traditions too. Bake it slowly. Serve it warmly. Share it generously.
From my kitchen to yours, happy baking.
More Delicious Desserts:
- Cranberry Pistachio Shortbread Cookies Recipe
- Mint Chocolate Chip Ice Cream Recipe
- Mint Chip Brownies Recipe

Maple Apple Crisp Recipe
Equipment
- 9×13-inch baking dish
- Large mixing bowl
- Medium mixing bowl
- Measuring cups and spoons.
- Vegetable peeler
- Sharp knife
- Cutting board
- Pastry cutter or fork (for mixing topping)
- Spatula or wooden spoon
Ingredients
For the Apple Filling:
- 6 large apples about 2.5 pounds, peeled and sliced
- 1/2 cup pure maple syrup
- 1/4 cup brown sugar
- 1 tablespoon lemon juice
- 2 teaspoons ground cinnamon
- 1/4 teaspoon ground nutmeg
- 1 tablespoon cornstarch
- 1 teaspoon vanilla extract
- Pinch of salt
For the Crisp Topping:
- 1 cup old-fashioned rolled oats
- 3/4 cup all-purpose flour
- 1/2 cup brown sugar
- 1/4 teaspoon salt
- 1/2 teaspoon ground cinnamon
- 1/2 cup unsalted butter cold and cubed
- 2 tablespoons pure maple syrup
Instructions
Step 1: Preheat the Oven
- Preheat your oven to 350°F (175°C). Lightly grease your 9×13-inch baking dish with butter or nonstick spray.
Step 2: Prepare the Apples
- Peel the apples and slice them into even pieces, about 1/4 inch thick. I like using a mix of sweet and tart apples for more flavor depth. Toss them into a large mixing bowl.
- Add maple syrup, brown sugar, lemon juice, cinnamon, nutmeg, cornstarch, vanilla extract, and a pinch of salt. Mix gently until every slice is coated. The smell at this point is already beautiful.
Step 3: Transfer to Baking Dish
- Pour the apple mixture into your prepared baking dish. Spread it evenly so the apples cook at the same rate.
Step 4: Make the Crisp Topping
- In a medium bowl, combine oats, flour, brown sugar, salt, and cinnamon. Add the cold butter cubes.
- Using a pastry cutter or fork, cut the butter into the dry ingredients until the mixture looks crumbly with small pea-sized pieces. Drizzle in the maple syrup and mix lightly. Do not overwork it. You want texture.
Step 5: Assemble
- Sprinkle the topping evenly over the apples. Make sure to cover most of the surface without pressing it down too much.
Step 6: Bake
- Bake for 45 minutes, or until the topping is golden brown and the apple filling is bubbling around the edges.
Step 7: Cool Slightly
- Let it cool for at least 10–15 minutes before serving. The filling will thicken as it rests.

Hi, I’m Olivia Brooks! Cooking is my passion, and I love turning everyday ingredients into meals that bring joy to the table. On CulinaryPearl, I share simple recipes, helpful kitchen tips, and inspiration for food lovers everywhere