Introduction
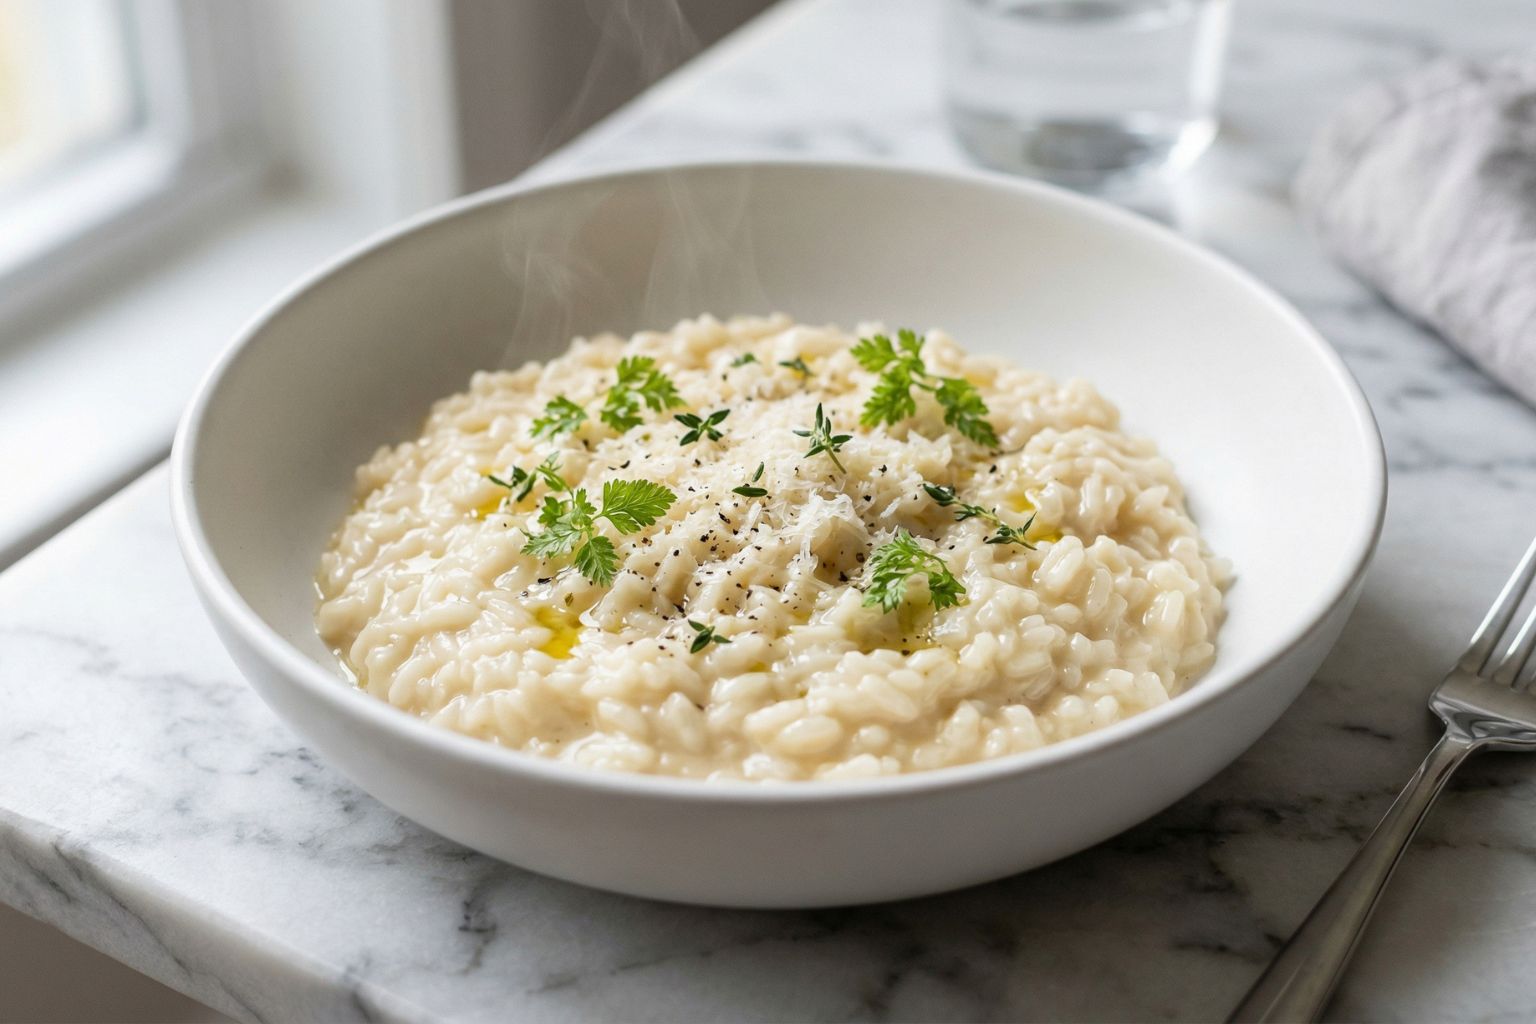
There’s something incredibly comforting about a bowl of risotto. It’s creamy, rich, and feels like one of those dishes you’d order at a nice restaurant when you want to treat yourself.
But if you’ve ever tried making it the traditional way, you already know—it asks for your full attention. Standing by the stove, stirring slowly, adding broth bit by bit… it’s beautiful, but it can also feel a little demanding.
That’s exactly why this Martha Stewart Baked Risotto Recipe completely won me over. The first time I made it, I almost didn’t believe how effortlessly everything came together. I remember thinking, “That’s it? No constant stirring?” And yet, when I took that first bite, it had all the creaminess and depth I expect from a classic risotto.
As a home cook who spends a lot of time in the kitchen, I truly appreciate recipes that simplify the process without compromising flavor. This one does exactly that. It gives you the same silky texture, the same comforting warmth, but in a way that feels relaxed and manageable.
Now, this Martha Stewart Baked Risotto Recipe has become one of my go-to meals for cozy evenings, quick dinners, and even when I have guests over. It feels elegant, but it’s secretly so easy—and I love that.
What is Martha Stewart Baked Risotto Recipe?
The Martha Stewart Baked Risotto Recipe is a simplified version of traditional Italian risotto that uses the oven instead of constant stovetop stirring.
In classic risotto, arborio rice is slowly cooked by adding warm broth little by little while stirring continuously. This process releases starch, creating that creamy texture risotto is known for.
In this baked version, the technique changes—but the result stays just as comforting. The rice cooks in the oven, absorbing the broth evenly, and you finish it with a good stir to achieve that creamy consistency.
What I personally love about this method is how approachable it is. Even if you’re new to cooking or have always felt intimidated by risotto, this recipe makes it feel completely doable. It’s forgiving, simple, and still incredibly satisfying.
Equipment List
Before starting, I always like to gather everything so the process feels smooth and enjoyable.
- Oven-safe Dutch oven or deep baking dish
- Medium saucepan (to keep broth warm)
- Wooden spoon or silicone spatula
- Measuring cups and spoons
- Knife and cutting board
- Ladle
Recipe Card Info
- Prep Time: 10 minutes
- Cook Time: 35 minutes
- Total Time: 45 minutes
- Servings: 4
- Cuisine: Italian-inspired
- Course: Side Dish
- Calories: 410 kcal per serving
Ingredients
This Martha Stewart Baked Risotto Recipe uses simple, pantry-friendly ingredients that come together beautifully.
- 1 cup arborio rice
- 4 cups chicken or vegetable broth
- 2 tablespoons olive oil
- 2 tablespoons unsalted butter
- 1 small onion (finely chopped)
- 2 cloves garlic (minced)
- 1/2 cup grated parmesan cheese
- 1/2 teaspoon salt
- 1/4 teaspoon black pepper
- Optional: 1/2 cup peas, mushrooms, or spinach
Instructions (Step-by-Step)
Step 1: Preheat the oven
Preheat your oven to 180°C (350°F). At the same time, warm your broth in a saucepan. Keeping the broth warm helps the rice cook evenly.
Step 2: Sauté the aromatics
In your oven-safe pot, heat olive oil and butter over medium heat. Add the chopped onion and cook until soft and translucent. Stir in the garlic and cook for another minute until fragrant.
Step 3: Toast the rice
Add the arborio rice and stir for about 1–2 minutes. This step lightly toasts the rice and enhances its natural nutty flavor.
Step 4: Add the broth
Pour in the warm broth and stir gently to combine everything. Let it come to a light simmer.
Step 5: Bake the risotto
Cover the pot and transfer it to the oven. Bake for 25–30 minutes, until the rice is tender and most of the liquid has been absorbed.
Step 6: Finish with cheese
Remove from the oven and stir in the parmesan cheese, salt, and pepper. As you stir, the risotto will become creamy and smooth.
Step 7: Serve immediately
Serve warm while the texture is perfectly creamy. Add extra parmesan if you like.
The Flavor Experience: What to Expect
Every time I make this Martha Stewart Baked Risotto Recipe, I’m reminded of how simple ingredients can create something truly comforting.
The rice becomes soft and creamy, absorbing the rich flavor of the broth. The butter adds a gentle richness, while the parmesan brings a slightly salty, nutty depth. The onion and garlic create a warm, savory base that ties everything together.
If you choose to add vegetables like mushrooms or peas, they introduce texture and freshness, making each bite even more interesting.
Why This Recipe Works So Well
There’s a reason this Martha Stewart Baked Risotto Recipe has become so popular—it removes the most intimidating part of risotto while keeping everything we love about it.
- The oven cooks the rice evenly without constant attention
- The final stir creates that signature creamy texture
- The ingredients are simple but flavorful
- It’s flexible and easy to customize
For me, it’s the perfect balance of ease and elegance.
Tips for Perfect Baked Risotto
Over time, I’ve learned a few small things that make a big difference:
- Always use warm broth for even cooking
- Don’t skip toasting the rice—it adds depth
- Stir well at the end to release starch
- Use freshly grated parmesan for best flavor
- Avoid overbaking to keep it creamy
Variations You Can Try
One of my favorite things about this Martha Stewart Baked Risotto Recipe is how versatile it is.
Mushroom Risotto
Add sautéed mushrooms for a deep, earthy flavor.
Lemon Risotto
A squeeze of lemon juice and a bit of zest adds brightness and freshness.
Chicken Risotto
Stir in cooked shredded chicken for a more filling meal.
Vegetable Risotto
Add peas, spinach, or zucchini for a lighter, fresher version.
Serving Ideas
This risotto is incredibly versatile when it comes to serving.
- Serve as a main dish with a fresh salad
- Pair with grilled chicken or fish
- Add roasted vegetables on the side
- Enjoy it on its own for a cozy meal
Personally, I love it with a simple side salad and a squeeze of lemon—it keeps everything balanced.
Storage and Reheating
Like most risotto, this dish thickens as it sits—but it’s still delicious the next day.
- Store in the fridge for up to 3 days
- Reheat gently on the stove or microwave
- Add a splash of broth or water to restore creaminess
Common Mistakes to Avoid
- Using regular rice instead of arborio
- Letting the risotto dry out too much
- Skipping the final stir
- Using cold broth
- Overcooking in the oven
FAQs
Can I make this ahead of time?
Yes, but it’s best served fresh. Reheat gently with added liquid.
Can I make it vegetarian?
Yes, simply use vegetable broth instead of chicken broth.
Why is my risotto not creamy?
It may need more stirring at the end or a bit more liquid.
Can I freeze risotto?
You can, but the texture may change slightly after reheating.
Final Thoughts
This Martha Stewart Baked Risotto Recipe is one of those dishes that quietly becomes a favorite. It doesn’t demand much from you, but it gives back so much in flavor and comfort.
As a home cook, I truly value recipes that make life easier while still delivering something special—and this one does exactly that. It’s simple, comforting, and feels just a little bit indulgent without being complicated.
Once you try it, I have a feeling it will become a regular in your kitchen too.
Happy cooking!
More Delicious Recipes:
Martha Stewart Baked Risotto Recipe
Equipment
- Oven-safe Dutch oven or deep baking dish
- Medium saucepan (to keep broth warm)
- Wooden spoon or silicone spatula
- Measuring cups and spoons.
- Knife and cutting board
- Ladle
Ingredients
- 1 cup arborio rice
- 4 cups chicken or vegetable broth
- 2 tablespoons olive oil
- 2 tablespoons unsalted butter
- 1 small onion finely chopped
- 2 cloves garlic minced
- 1/2 cup grated parmesan cheese
- 1/2 teaspoon salt
- 1/4 teaspoon black pepper
- Optional: 1/2 cup peas mushrooms, or spinach
Instructions
Step 1: Preheat the oven
- Preheat your oven to 180°C (350°F). At the same time, warm your broth in a saucepan. Keeping the broth warm helps the rice cook evenly.
Step 2: Sauté the aromatics
- In your oven-safe pot, heat olive oil and butter over medium heat. Add the chopped onion and cook until soft and translucent. Stir in the garlic and cook for another minute until fragrant.
Step 3: Toast the rice
- Add the arborio rice and stir for about 1–2 minutes. This step lightly toasts the rice and enhances its natural nutty flavor.
Step 4: Add the broth
- Pour in the warm broth and stir gently to combine everything. Let it come to a light simmer.
Step 5: Bake the risotto
- Cover the pot and transfer it to the oven. Bake for 25–30 minutes, until the rice is tender and most of the liquid has been absorbed.
Step 6: Finish with cheese
- Remove from the oven and stir in the parmesan cheese, salt, and pepper. As you stir, the risotto will become creamy and smooth.
Step 7: Serve immediately
- Serve warm while the texture is perfectly creamy. Add extra parmesan if you like.
Notes
- Always use warm broth for even cooking
- Don’t skip toasting the rice—it adds depth
- Stir well at the end to release starch
- Use freshly grated parmesan for best flavor
- Avoid overbaking to keep it creamy

Hi, I’m Olivia Brooks! Cooking is my passion, and I love turning everyday ingredients into meals that bring joy to the table. On CulinaryPearl, I share simple recipes, helpful kitchen tips, and inspiration for food lovers everywhere