Introduction
There are some recipes that feel like a celebration from the very first step, and for me, this Red Velvet Brownie Bites Recipe is exactly that.
I still remember the first time I made these little beauties in my kitchen—it was a quiet evening, I had a craving for something chocolatey but special, and I didn’t want to commit to a full cake. That’s when these tiny, rich, ruby-colored brownie bites were born.
As a home cook who truly believes that desserts should feel both indulgent and comforting, I fell in love instantly. These bites are everything you want in a dessert—deep cocoa flavor, a slight tang, a soft, fudgy center, and that iconic red velvet charm that makes people pause and smile. They are elegant enough for parties yet simple enough for a cozy night in.
Over time, this recipe has become one of my most requested treats. Whether it’s for family gatherings, festive celebrations, or just a personal baking therapy session, these brownie bites never disappoint. And the best part? They’re incredibly easy to make once you understand the rhythm of the batter.
So today, I’m inviting you into my kitchen to share this Red Velvet Brownie Bites Recipe—exactly how I make it, with all the little tips and heartfelt touches that make it truly special.
What is Red Velvet Brownie Bites Recipe?
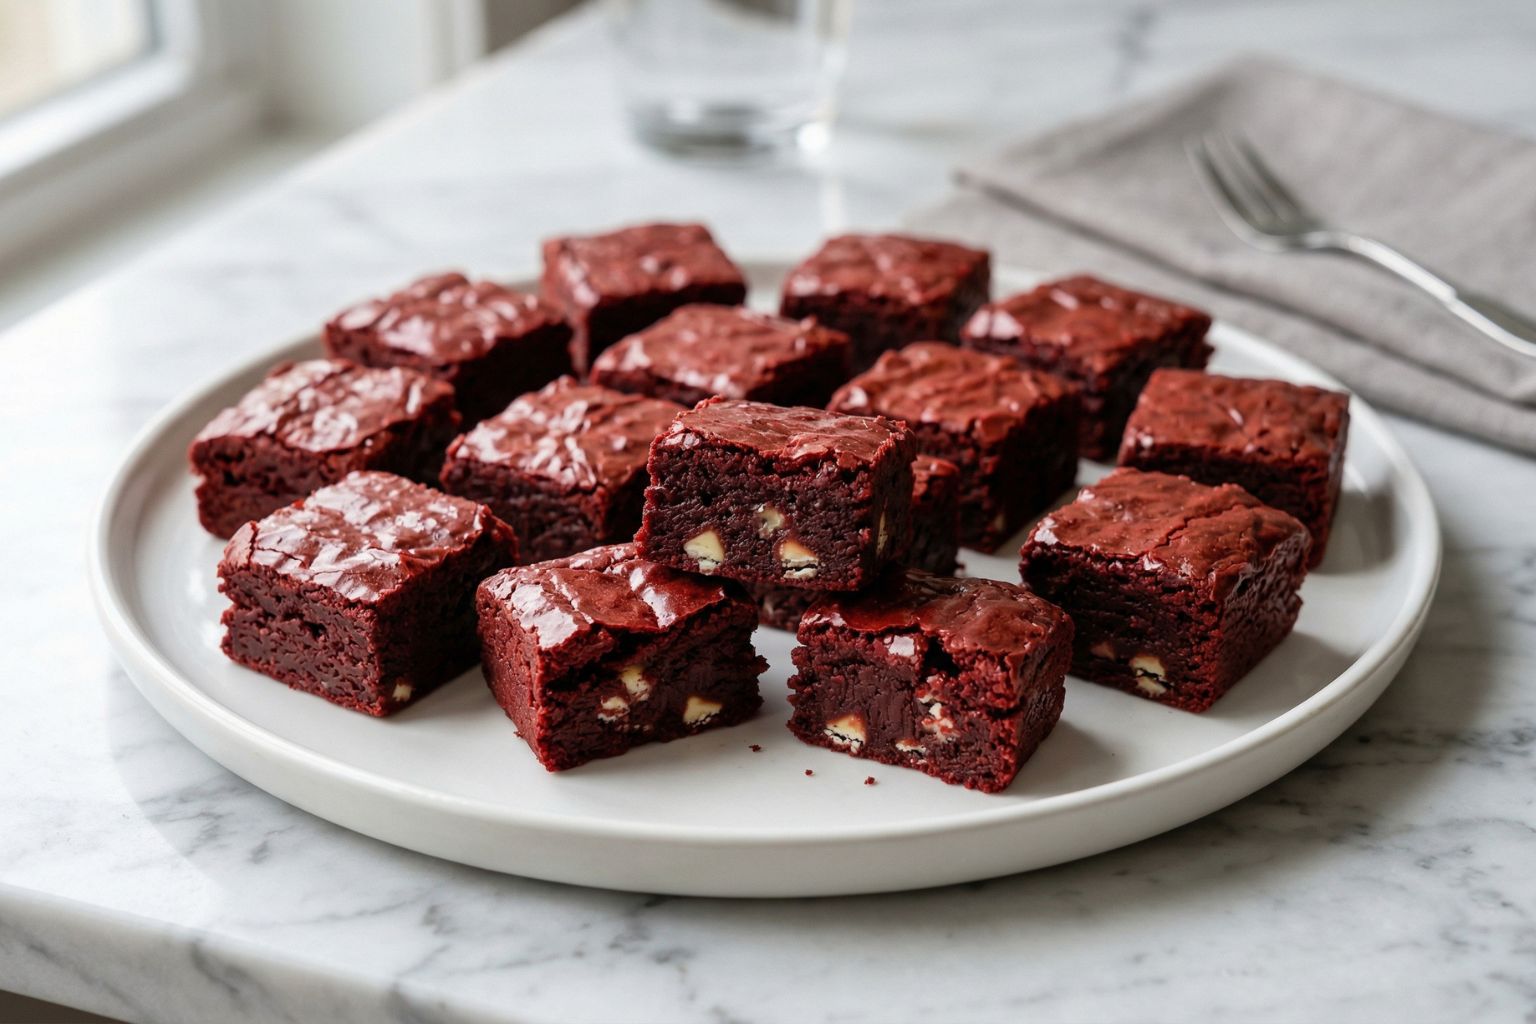
If you’ve ever wondered what happens when classic red velvet cake meets dense, chewy brownies, this is your answer. Red velvet brownie bites are essentially mini brownies with the signature flavor profile of red velvet—subtle cocoa richness paired with a gentle tang, usually from vinegar or buttermilk.
Unlike traditional brownies that lean heavily into chocolate, these have a more balanced taste. The cocoa is present but not overpowering, and the texture is slightly lighter, yet still satisfyingly fudgy. The bright red color adds a dramatic visual appeal, making them perfect for special occasions like Valentine’s Day, Eid gatherings, or birthdays.
What I personally adore is their versatility. You can enjoy them plain, dust them with powdered sugar, or even top them with a swirl of cream cheese frosting. Each variation brings a new personality to the same base recipe.
Equipment List
Before we begin, let’s gather everything you need. I always say baking feels much more enjoyable when your tools are ready and within reach.
- Mixing bowls (one large, one medium)
- Hand whisk or electric mixer
- Measuring cups and spoons
- Silicone spatula
- Mini muffin tray (for bite-sized brownies)
- Parchment paper or non-stick spray
- Cooling rack
- Toothpick (for testing doneness)
Recipe Card Info
- Prep Time: 15 minutes
- Cook Time: 12 minutes
- Total Time: 27 minutes
- Servings: 24 brownie bites
- Cuisine: American-inspired
- Course: Dessert
- Calories: 95 kcal per bite
Ingredients
This Red Velvet Brownie Bites Recipe uses simple pantry staples, but each ingredient plays an important role in flavor and texture.
- 1 cup (200g) granulated sugar
- 1/2 cup (115g) unsalted butter, melted
- 2 large eggs (room temperature)
- 1 teaspoon vanilla extract
- 1 tablespoon red food coloring
- 1 teaspoon white vinegar
- 1/4 cup (30g) unsweetened cocoa powder
- 3/4 cup (95g) all-purpose flour
- 1/4 teaspoon salt
- 1/2 teaspoon baking powder
- Optional: 1/2 cup white chocolate chips
Instructions (Step-by-Step)
Step 1: Prepare your oven and tray
Preheat your oven to 180°C (350°F). Lightly grease your mini muffin tray or line it with small paper liners. I personally prefer a light greasing—it gives the edges a beautiful slight crispness.
Step 2: Mix butter and sugar
In a large bowl, combine the melted butter and sugar. Whisk until the mixture looks glossy and smooth. This step helps create that signature shiny brownie top.
Step 3: Add eggs and flavoring
Crack in the eggs one at a time, whisking well after each addition. Then add vanilla extract, red food coloring, and vinegar. The batter will turn a gorgeous deep red—this is always my favorite moment.
Step 4: Combine dry ingredients
In a separate bowl, sift together cocoa powder, flour, salt, and baking powder. Sifting prevents lumps and ensures a smooth batter.
Step 5: Bring it all together
Gradually fold the dry ingredients into the wet mixture using a spatula. Be gentle—overmixing can make the brownies dense instead of tender.
If you’re using white chocolate chips, fold them in at this stage.
Step 6: Fill the tray
Spoon the batter into the mini muffin tray, filling each cavity about 3/4 full.
Step 7: Bake
Bake for 10–12 minutes. The tops should look set, and a toothpick inserted in the center should come out with a few moist crumbs—not completely clean.
Step 8: Cool and serve
Let the brownie bites cool in the tray for 5 minutes, then transfer them to a cooling rack. This prevents them from becoming soggy.
And just like that, your Red Velvet Brownie Bites Recipe is ready to enjoy.
The Flavor Experience: What Makes These Special
Every time I take a bite, I notice how beautifully balanced these are. The cocoa gives a gentle bitterness, the sugar adds sweetness without overwhelming, and the vinegar subtly enhances the flavor rather than standing out.
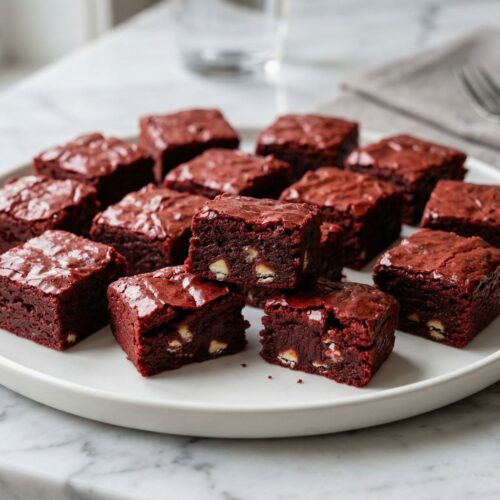
The texture is where the magic truly lies. The edges have a slight firmness, while the center stays soft and almost melt-in-your-mouth. If you’ve added white chocolate chips, you’ll get little pockets of creamy sweetness that contrast perfectly with the cocoa.
Tips for Perfect Red Velvet Brownie Bites
From my kitchen to yours, here are some of the most important lessons I’ve learned:
- Don’t overbake—these are meant to be fudgy
- Use room temperature eggs for smoother batter
- Always sift dry ingredients for even texture
- Measure flour correctly (spoon and level method)
- Let them cool before removing to avoid breaking
Variations You Can Try
One of the reasons I love this Red Velvet Brownie Bites Recipe is how easy it is to customize.
Cream Cheese Swirl
Drop small dollops of sweetened cream cheese batter on top and swirl lightly before baking.
Chocolate Drizzle
Melt dark or white chocolate and drizzle over cooled bites.
Nutty Twist
Add chopped walnuts or pecans for a crunchy texture.
Serving Ideas
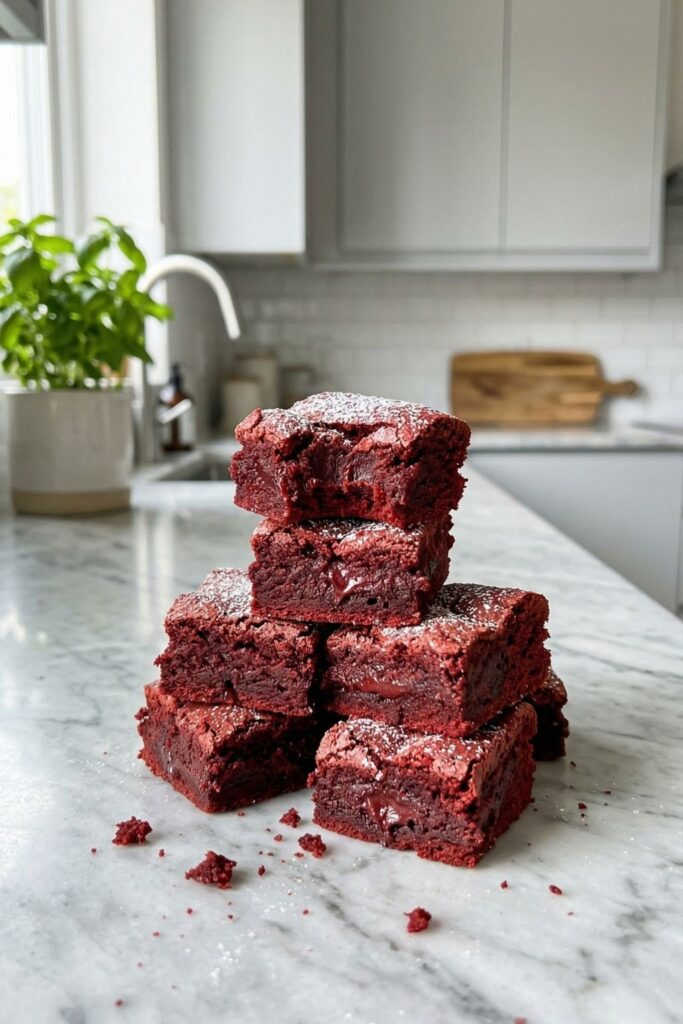
Serve these brownie bites on a pretty platter with a dusting of powdered sugar, or pair them with tea or coffee. They also make adorable gift boxes—just wrap them in parchment and tie with a ribbon.
Storage Tips
Store in an airtight container at room temperature for up to 3 days. You can also refrigerate them for up to a week or freeze for up to 2 months.
Common Mistakes to Avoid
- Overmixing the batter
- Using too much flour
- Skipping the vinegar
- Baking too long
FAQs
Can I make these without food coloring?
Yes, but they won’t have the signature red velvet look. The flavor will still be delicious.
Can I use oil instead of butter?
Yes, but butter gives a richer flavor.
How do I know when they’re done?
Look for set tops and slightly moist crumbs on a toothpick.
Can I double the recipe?
Absolutely—just bake in batches.
Final Thoughts
This Red Velvet Brownie Bites Recipe is one of those desserts that feels both special and effortless. It brings together the charm of red velvet and the comfort of brownies in the most delightful way.
As a home cook, I truly believe that the best recipes are the ones that create memories. Whether you’re baking these for loved ones or just for yourself, I hope they bring as much joy to your kitchen as they have to mine.
Happy baking!
Red Velvet Brownie Bites Recipe
Equipment
- Mixing bowls (one large, one medium)
- Hand whisk or electric mixer
- Measuring cups and spoons.
- Silicone spatula
- Mini muffin tray (for bite-sized brownies)
- Parchment paper or non-stick spray
- Cooling rack
- Toothpick (for testing doneness)
Ingredients
- 1 cup 200g granulated sugar
- 1/2 cup 115g unsalted butter, melted
- 2 large eggs room temperature
- 1 teaspoon vanilla extract
- 1 tablespoon red food coloring
- 1 teaspoon white vinegar
- 1/4 cup 30g unsweetened cocoa powder
- 3/4 cup 95g all-purpose flour
- 1/4 teaspoon salt
- 1/2 teaspoon baking powder
- Optional: 1/2 cup white chocolate chips
Instructions
Step 1: Prepare your oven and tray
- Preheat your oven to 180°C (350°F). Lightly grease your mini muffin tray or line it with small paper liners. I personally prefer a light greasing—it gives the edges a beautiful slight crispness.
Step 2: Mix butter and sugar
- In a large bowl, combine the melted butter and sugar. Whisk until the mixture looks glossy and smooth. This step helps create that signature shiny brownie top.
Step 3: Add eggs and flavoring
- Crack in the eggs one at a time, whisking well after each addition. Then add vanilla extract, red food coloring, and vinegar. The batter will turn a gorgeous deep red—this is always my favorite moment.
Step 4: Combine dry ingredients
- In a separate bowl, sift together cocoa powder, flour, salt, and baking powder. Sifting prevents lumps and ensures a smooth batter.
Step 5: Bring it all together
- Gradually fold the dry ingredients into the wet mixture using a spatula. Be gentle—overmixing can make the brownies dense instead of tender.
- If you’re using white chocolate chips, fold them in at this stage.
Step 6: Fill the tray
- Spoon the batter into the mini muffin tray, filling each cavity about 3/4 full.
Step 7: Bake
- Bake for 10–12 minutes. The tops should look set, and a toothpick inserted in the center should come out with a few moist crumbs—not completely clean.
Step 8: Cool and serve
- Let the brownie bites cool in the tray for 5 minutes, then transfer them to a cooling rack. This prevents them from becoming soggy.
- And just like that, your Red Velvet Brownie Bites Recipe is ready to enjoy.

Hi, I’m Olivia Brooks! Cooking is my passion, and I love turning everyday ingredients into meals that bring joy to the table. On CulinaryPearl, I share simple recipes, helpful kitchen tips, and inspiration for food lovers everywhere