Intro
There’s something about the smell of coffee and butter baking together that feels like a warm hug at sunrise. The first time I made this Coffee Buns Recipe, it was early, the kitchen still quiet, and I was craving something cozy but indulgent—something that felt like a bakery treat without having to leave the house.
As the buns baked, the aroma of coffee, sugar, and yeast filled every corner of my kitchen, and I knew this recipe was going to stay with me for a long time.
As a female chef, I’ve baked a lot of bread over the years—some complicated, some temperamental—but coffee buns strike that perfect balance between impressive and approachable.
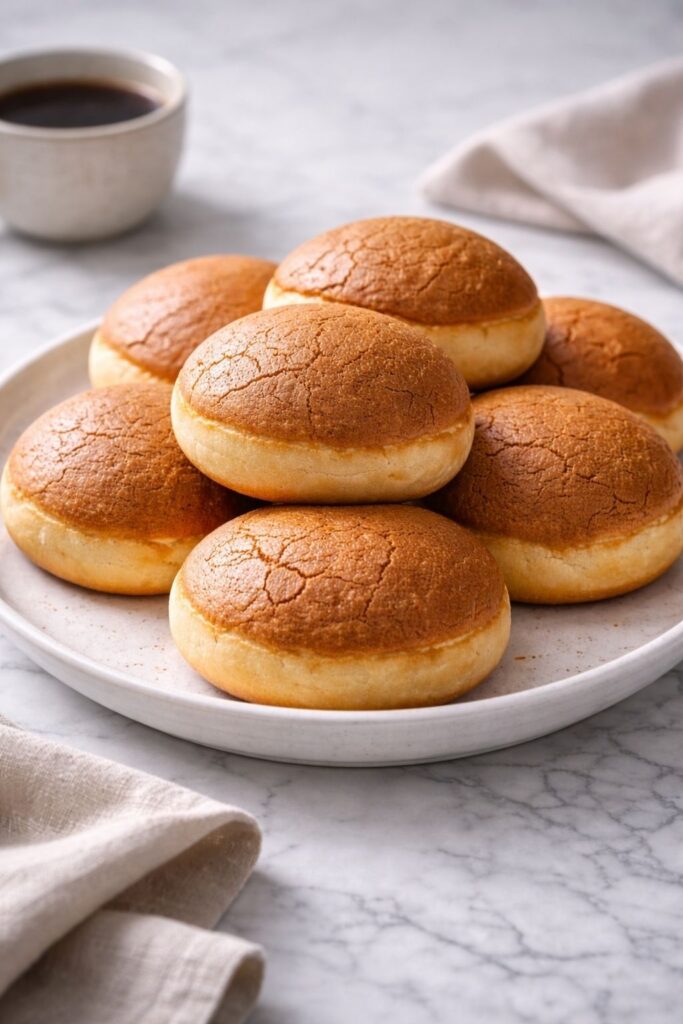
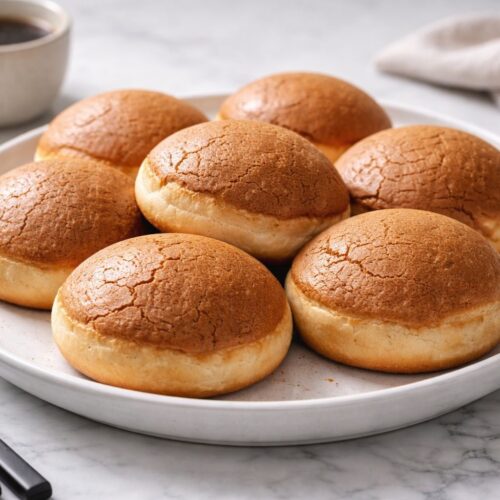
This Coffee Buns Recipe gives you soft, pillowy bread on the inside, a lightly crisp coffee-scented topping on the outside, and just enough sweetness to make every bite feel special. It’s the kind of bake that makes people wander into the kitchen asking, “What smells so good?”
Whether you’re serving these with your morning coffee, as an afternoon treat, or as a cozy weekend bake, this homemade Coffee Buns Recipe is pure comfort wrapped in warm dough.
What is Coffee Buns Recipe?
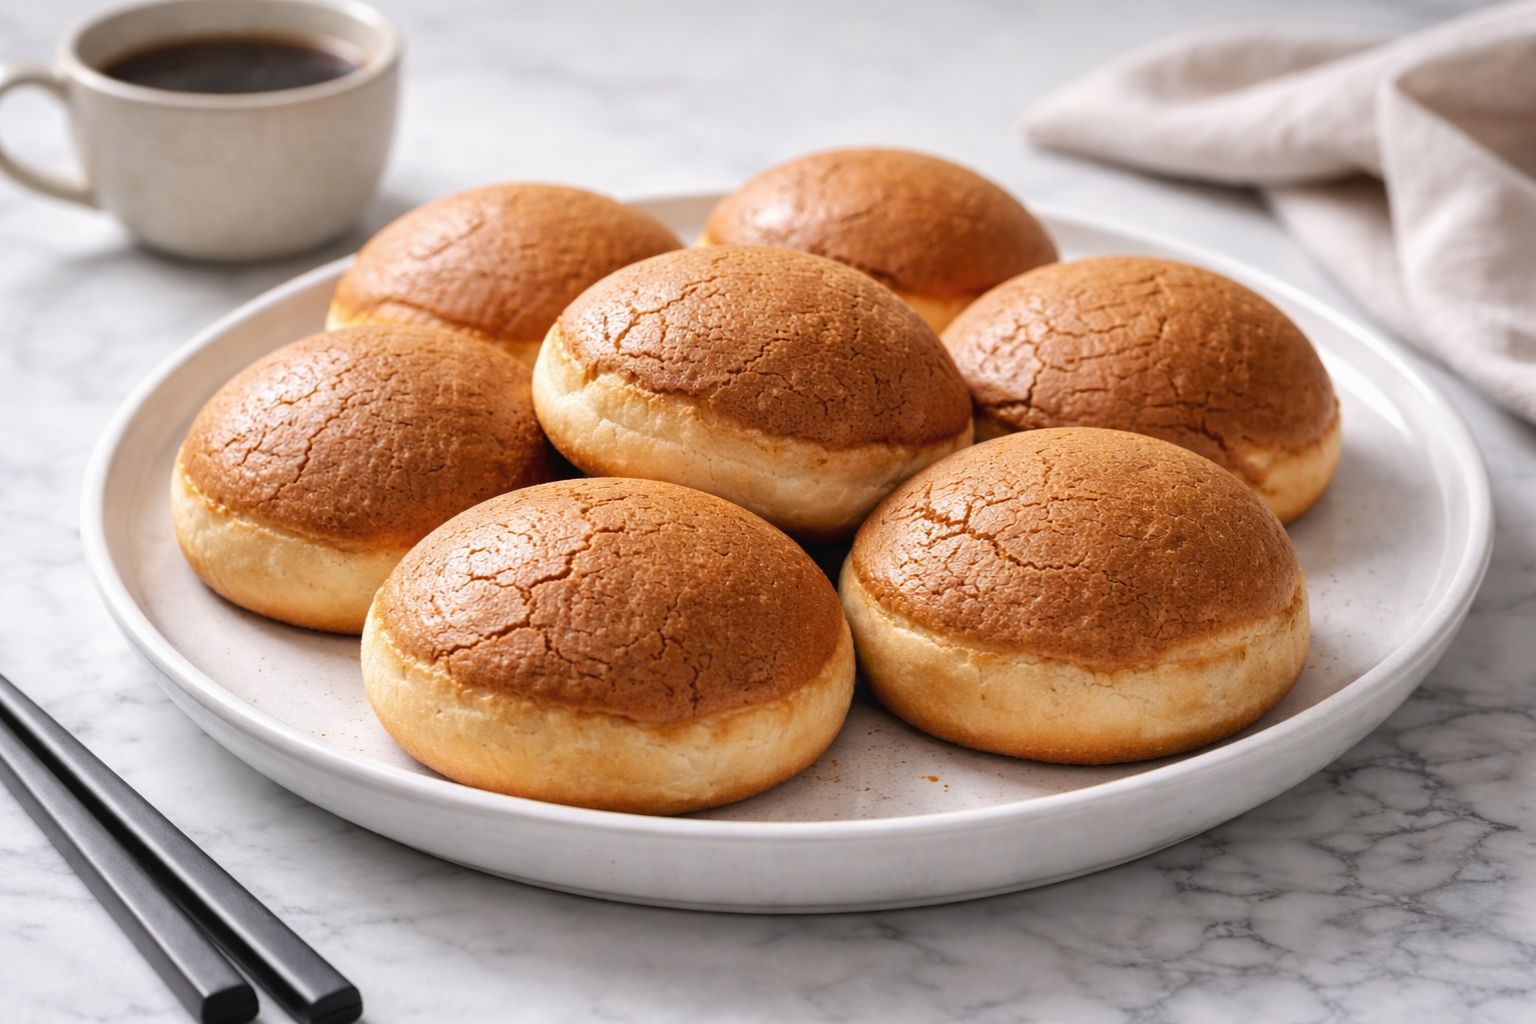
A Coffee Buns Recipe typically refers to soft yeast buns topped with a thin coffee-flavored crust that bakes into a slightly crisp shell. The contrast is what makes them magical: fluffy, tender bread underneath with a lightly sweet, aromatic coffee topping that cracks gently as you bite in.
These buns are inspired by classic Asian-style coffee buns, sometimes known as coffee rotiboy buns, but adapted for home kitchens. The flavor profile is subtle and balanced—not bitter, not overly sweet—just warm coffee notes paired with buttery dough. This classic Coffee Buns Recipe is comforting, nostalgic, and surprisingly simple to make.
Why I Love Making These Coffee Buns
There’s something deeply satisfying about working with yeast dough. Watching it rise, feeling it soften under your hands—it’s therapy in edible form. This easy Coffee Buns Recipe is especially rewarding because it doesn’t require fancy techniques, yet the final result looks bakery-worthy.
I also love how versatile they are. You can keep them plain, add a buttery center, or tweak the coffee topping to be stronger or milder depending on your taste. They’re forgiving, reliable, and perfect for sharing.
Equipment List
You don’t need specialized tools for this recipe:
- Large mixing bowl
- Small saucepan or microwave-safe bowl
- Measuring cups and spoons
- Whisk
- Wooden spoon or dough hook
- Baking sheet
- Parchment paper
- Piping bag or spoon for topping
Ingredients
For the Dough
- 3 cups (375 g) all-purpose flour
- 2¼ teaspoons instant yeast
- 1/4 cup (50 g) granulated sugar
- 1/2 teaspoon salt
- 3/4 cup (180 ml) warm milk
- 1 large egg, room temperature
- 1/4 cup (60 g) unsalted butter, softened
For the Coffee Topping
- 1/4 cup (60 g) unsalted butter, softened
- 1/3 cup (65 g) powdered sugar
- 1 large egg white
- 1 tablespoon instant coffee granules
- 1 tablespoon hot water
- 1/2 cup (60 g) all-purpose flour
Optional Filling
- 8 small cubes cold butter (for buttery centers)
Instructions
Step 1: Activate the Dough
In a large bowl, combine warm milk, yeast, and sugar. Let it sit for a few minutes until slightly foamy. This is your sign that the yeast is awake and ready.
Step 2: Form the Dough
Add the egg, softened butter, salt, and flour. Mix until a soft dough forms. Knead until smooth and elastic—it should feel supple and slightly tacky, not sticky.
Step 3: First Rise
Cover the dough and let it rise in a warm spot for about 1 hour, or until doubled in size. The dough should look puffy and relaxed.
Step 4: Shape the Buns
Divide the dough into 8 equal portions. Flatten each slightly, add a small cube of butter if using, then seal and roll into smooth balls. Place on a lined baking sheet.
Step 5: Second Rise
Cover loosely and let the buns rise again for 30–40 minutes. They should look airy and soft to the touch.
Step 6: Make the Coffee Topping
Dissolve instant coffee in hot water. Beat butter and powdered sugar until creamy, then add egg white and coffee mixture. Fold in flour until smooth.
Step 7: Top the Buns
Pipe or spoon the coffee topping in a spiral over each bun, starting from the center and working outward.
Step 8: Bake
Bake at 350°F (175°C) for 15–18 minutes, until lightly golden and fragrant. The tops should look set and slightly crisp.
How to Serve Coffee Buns
These buns are best enjoyed warm, with a cup of coffee or tea. The coffee aroma intensifies as they cool slightly, making them irresistible. I love tearing one open and letting the steam escape—it’s pure comfort.
Tips for Perfect Coffee Buns
- Use instant coffee, not brewed coffee, for a stronger aroma
- Don’t overbake or the topping may become too hard
- Let buns cool slightly before serving for best texture
Storage and Make-Ahead Tips
Store leftover buns in an airtight container for up to 2 days. Reheat gently in the oven or microwave to restore softness. You can also freeze baked buns and warm them when needed.
Why This Recipe Works for Home Bakers
This easy Coffee Buns Recipe is designed for real kitchens and real schedules. It teaches yeast confidence, rewards patience, and fills your home with a bakery-style aroma that feels incredibly satisfying.
FAQs
Do coffee buns taste bitter?
No, the coffee flavor is mild and aromatic, not bitter.
Can I make them without a filling?
Absolutely, they’re delicious plain.
Can I use active dry yeast?
Yes, just proof it fully before mixing.
Can I make them ahead?
Yes, shape the buns and refrigerate overnight before baking.
Are these very sweet?
They’re gently sweet, perfect with coffee or tea.
Final Thoughts
This Coffee Buns Recipe is one of those bakes that feels like a little gift—to yourself and to anyone lucky enough to share it with you. Soft, fragrant, and comforting, these buns are proof that a simple recipe can still feel truly special.
More Delicious Recipes:
- PF Chang’s Chicken Lettuce Wraps Recipe
- El Torito Sweet Corn Cake Recipe
- Hobo Casserole With Ground Beef Recipe
Coffee Buns Recipe
Equipment
- Large mixing bowl
- Small saucepan (or microwave-safe bowl)
- Measuring cups and spoons.
- Whisk
- Wooden spoon or dough hook
- Baking sheet
- Parchment paper
- Piping bag or spoon for topping
Ingredients
For the Dough
- 3 cups 375 g all-purpose flour
- 2¼ teaspoons instant yeast
- 1/4 cup 50 g granulated sugar
- 1/2 teaspoon salt
- 3/4 cup 180 ml warm milk
- 1 large egg room temperature
- 1/4 cup 60 g unsalted butter, softened
For the Coffee Topping
- 1/4 cup 60 g unsalted butter, softened
- 1/3 cup 65 g powdered sugar
- 1 large egg white
- 1 tablespoon instant coffee granules
- 1 tablespoon hot water
- 1/2 cup 60 g all-purpose flour
Optional Filling
- 8 small cubes cold butter for buttery centers
Instructions
Step 1: Activate the Dough
- In a large bowl, combine warm milk, yeast, and sugar. Let it sit for a few minutes until slightly foamy. This is your sign that the yeast is awake and ready.
Step 2: Form the Dough
- Add the egg, softened butter, salt, and flour. Mix until a soft dough forms. Knead until smooth and elastic—it should feel supple and slightly tacky, not sticky.
Step 3: First Rise
- Cover the dough and let it rise in a warm spot for about 1 hour, or until doubled in size. The dough should look puffy and relaxed.
Step 4: Shape the Buns
- Divide the dough into 8 equal portions. Flatten each slightly, add a small cube of butter if using, then seal and roll into smooth balls. Place on a lined baking sheet.
Step 5: Second Rise
- Cover loosely and let the buns rise again for 30–40 minutes. They should look airy and soft to the touch.
Step 6: Make the Coffee Topping
- Dissolve instant coffee in hot water. Beat butter and powdered sugar until creamy, then add egg white and coffee mixture. Fold in flour until smooth.
Step 7: Top the Buns
- Pipe or spoon the coffee topping in a spiral over each bun, starting from the center and working outward.
Step 8: Bake
- Bake at 350°F (175°C) for 15–18 minutes, until lightly golden and fragrant. The tops should look set and slightly crisp.

Hi, I’m Olivia Brooks! Cooking is my passion, and I love turning everyday ingredients into meals that bring joy to the table. On CulinaryPearl, I share simple recipes, helpful kitchen tips, and inspiration for food lovers everywhere