Intro
There are some recipes that feel like a little kitchen miracle. The kind that make you pause mid-bite and think, “Wait… how is this so simple and so good?” That’s exactly how I felt the first time I pulled these Garlic-Parmesan Cottage Cheese Bagels out of the oven.
As a home cook who spends most of her day testing, tweaking, tasting, and re-tasting (the best part, let’s be honest), I’m always chasing that sweet spot between comfort food and wholesome ingredients. I want flavor that hugs you. I want texture that makes you close your eyes for a second. But I also want food that feels good to make and good to eat.
These Garlic-Parmesan Cottage Cheese Bagels hit all those notes.
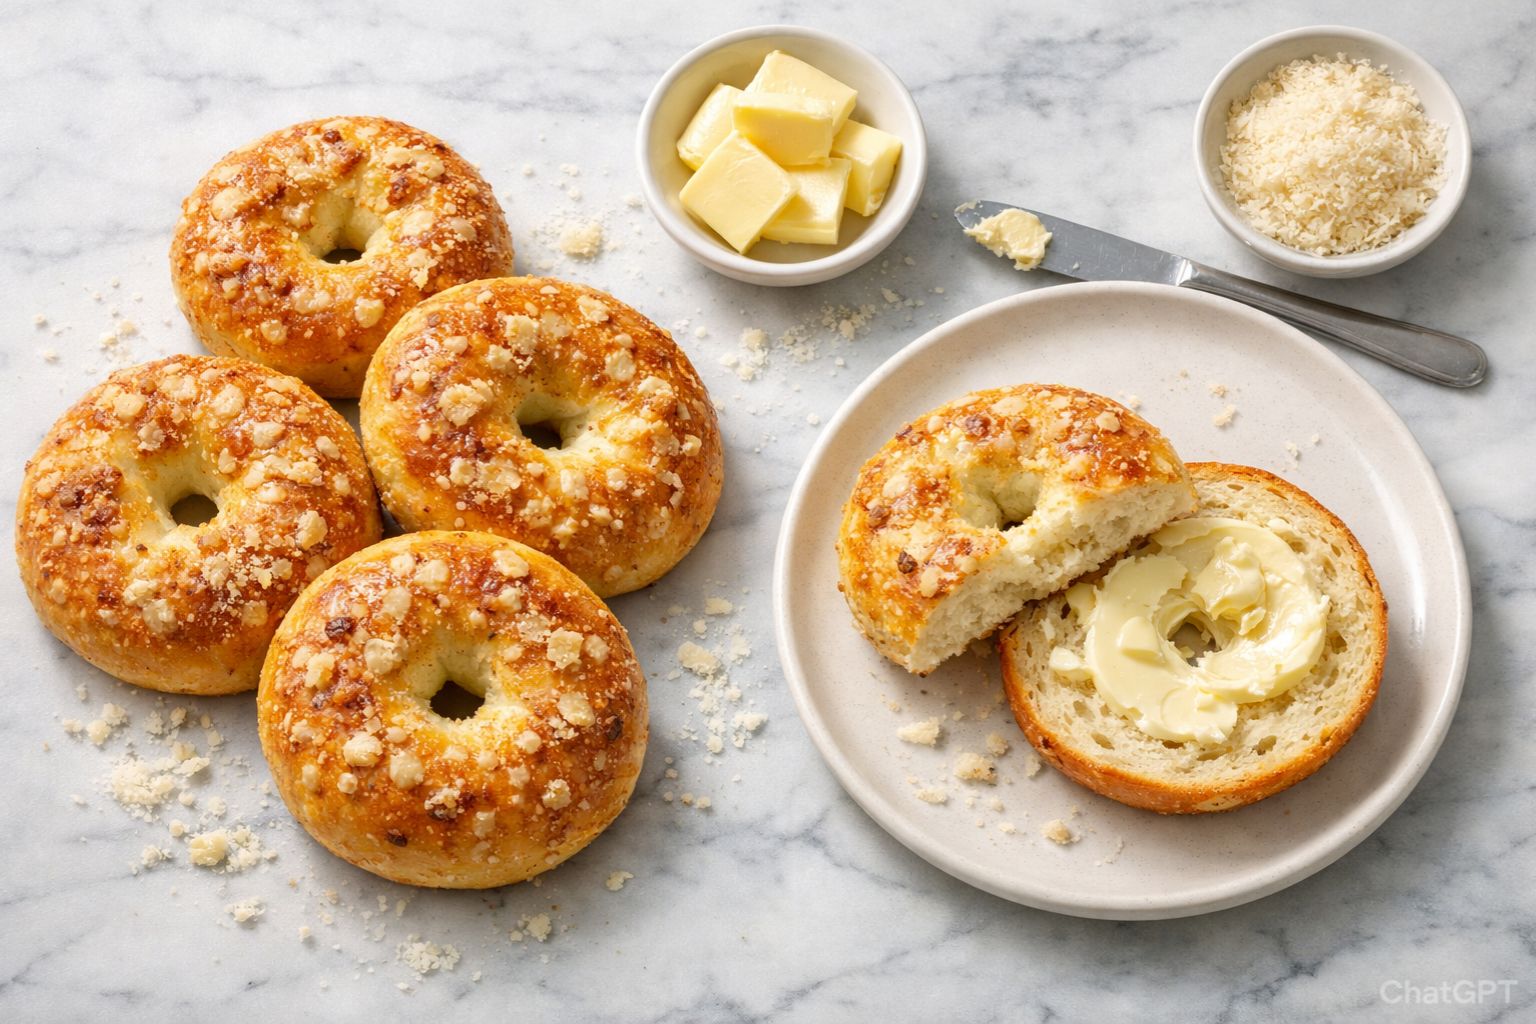
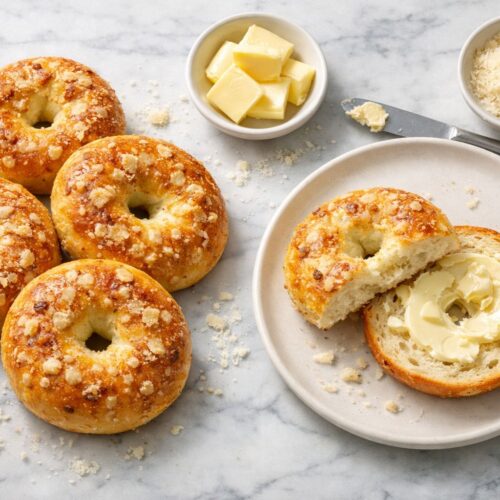
They are chewy on the outside, tender and soft inside, deeply savory from fresh garlic, and rich with nutty Parmesan. The cottage cheese melts right into the dough, adding moisture and protein without making anything heavy. You don’t need yeast. You don’t need hours of rising time. You don’t even need a mixer.
Just a bowl, a spoon, your hands, and about 30 minutes.
And when your kitchen fills with that warm garlic aroma? Oh, it’s pure joy.
What is Garlic-Parmesan Cottage Cheese Bagels?
Garlic-Parmesan Cottage Cheese Bagels are a high-protein, no-yeast bagel made with cottage cheese as the base ingredient instead of traditional yeast dough. They are baked, not boiled, and come together quickly with simple pantry staples.
Unlike classic bagels that rely on yeast fermentation for their chewy structure, this version uses cottage cheese and flour to create a tender, slightly chewy texture. The cottage cheese provides moisture and structure, while Parmesan adds salty depth and umami. Garlic—fresh or powdered—brings bold, savory flavor that makes every bite irresistible.
Think of them as the perfect mix between a traditional bagel and a savory bread roll.
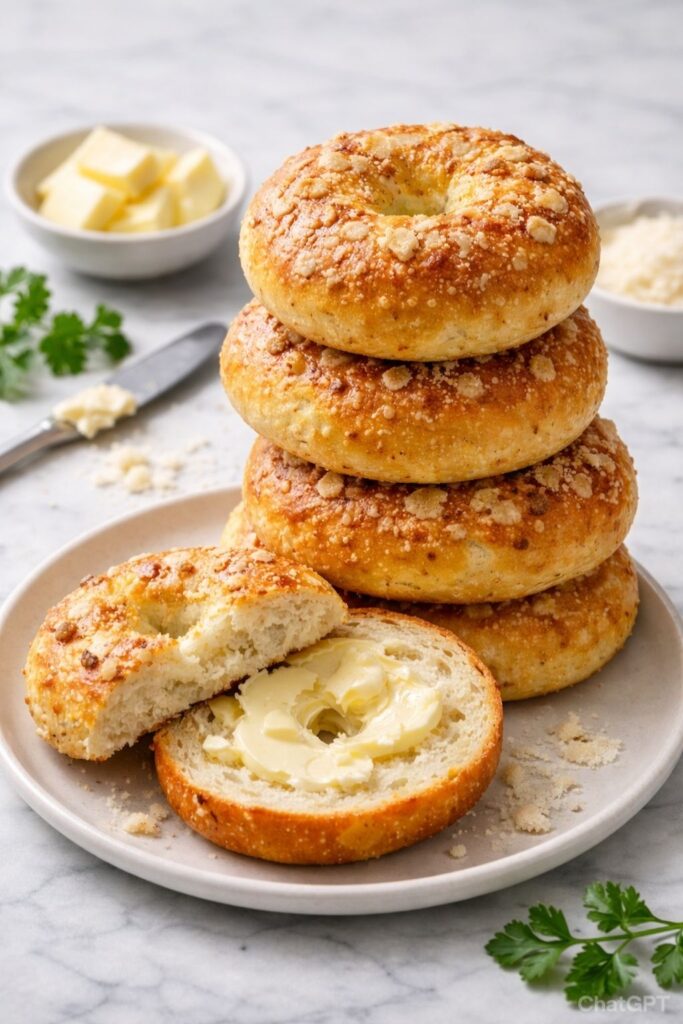
They’re sturdy enough to slice and toast, but soft enough to enjoy warm straight from the oven with a little butter melting into the surface.
Equipment List
You don’t need anything fancy for this recipe. I love that about it. Here’s what you’ll need:
- Large mixing bowl
- Wooden spoon or silicone spatula
- Measuring cups and spoons
- Baking sheet
- Parchment paper
- Knife or bench scraper (optional, for shaping)
- Pastry brush (for egg wash)
- Cooling rack
That’s it. No stand mixer. No special tools. Just honest, simple baking.
Recipe Card Info
Prep Time: 10 minutes
Cook Time: 20–25 minutes
Total Time: About 35 minutes
Serves: 4 bagels
Cuisine: American-inspired
Course: Breakfast
Calories: Approximately 220–250 per bagel (varies by size)
Ingredients
- 1 cup full-fat cottage cheese (blended until smooth if chunky)
- 1 cup all-purpose flour (plus extra for dusting)
- 1 teaspoon baking powder
- ½ teaspoon baking soda
- ½ teaspoon salt
- 2 cloves fresh garlic, finely minced (or 1 teaspoon garlic powder)
- ½ cup freshly grated Parmesan cheese
- 1 tablespoon olive oil
- 1 egg (for egg wash)
- Optional topping: extra Parmesan, dried parsley, or flaky salt
I strongly recommend freshly grated Parmesan. The pre-shredded kind doesn’t melt the same way and lacks that deep, nutty aroma.
Instructions (Step by Step)
Step 1: Preheat and Prepare
Preheat your oven to 375°F (190°C). Line a baking sheet with parchment paper.
Step 2: Blend the Cottage Cheese
If your cottage cheese is chunky, blend it until smooth. This makes the dough more even and helps create a better texture.
Step 3: Mix the Dry Ingredients
In a large bowl, combine the flour, baking powder, baking soda, and salt. Stir well so everything is evenly distributed.
Step 4: Add the Flavor
Stir in the minced garlic and grated Parmesan cheese. The smell at this stage? Already amazing.
Step 5: Add Wet Ingredients
Add the blended cottage cheese and olive oil to the bowl. Mix with a spoon until a dough begins to form.
Step 6: Knead Gently
Lightly flour your surface and knead the dough for about 2–3 minutes. You’re not looking for perfection—just a soft, slightly tacky dough that holds together.
Step 7: Shape the Bagels
Divide the dough into four equal pieces. Roll each into a rope and connect the ends to form a ring. Place them on the prepared baking sheet.
Step 8: Egg Wash and Toppings
Beat the egg and brush it over the tops of the bagels. Sprinkle with extra Parmesan or herbs if desired.
Step 9: Bake
Bake for 20–25 minutes, or until golden brown on top.
Step 10: Cool Slightly
Let them cool for at least 5–10 minutes before slicing. The inside continues to set as they cool.
The Flavor Story: Why These Bagels Work
Let’s talk about flavor, because this is where these bagels truly shine.
Garlic brings warmth and sharpness. When it bakes, it softens and sweetens slightly, turning mellow and aromatic. It spreads through the dough and perfumes every bite.
Parmesan adds depth. It’s salty, nutty, and a little sharp. As it bakes, it creates tiny pockets of golden cheese throughout the crumb. You’ll even get little crispy bits on the outside if some melts onto the baking sheet. Don’t waste those. They’re chef’s treasure.
And the cottage cheese? That’s the quiet hero. It adds richness without heaviness. It keeps the inside moist and tender. It makes the bagels feel indulgent while still being balanced.
The result is savory, slightly tangy, and deeply comforting.
Texture: Soft Inside, Lightly Chewy Outside
Traditional bagels are boiled before baking, which gives them that signature chew. These are different—but in a beautiful way.
The outside gets lightly golden and firm from the egg wash and oven heat. The inside stays soft and slightly fluffy, almost like a cross between a bagel and a biscuit.
Toast them the next day, and they develop a crisp edge with a warm, cheesy center.
It’s honestly addictive.
Tips for Perfect Garlic-Parmesan Cottage Cheese Bagels
Blend for Smoothness
If your cottage cheese is very curdy, blending makes a huge difference in texture.
Don’t Over-Knead
This isn’t yeast dough. Gentle kneading is enough. Overworking can make them dense.
Watch the Garlic
Fresh garlic gives bold flavor, but make sure it’s finely minced so it distributes evenly.
Use Fresh Parmesan
Freshly grated cheese melts better and gives a stronger, cleaner flavor.
Variations to Try
Once you master Garlic-Parmesan Cottage Cheese Bagels, you can start playing.
- Add chopped fresh rosemary for an herby twist.
- Mix in shredded mozzarella for extra meltiness.
- Add crushed red pepper flakes for heat.
- Top with everything bagel seasoning for crunch.
The base is flexible, which makes it so fun.
Serving Ideas
These bagels are incredibly versatile.
Slice and spread with cream cheese. Layer with scrambled eggs and avocado. Use as the base for a breakfast sandwich. Serve alongside soup instead of bread.
I love splitting one, toasting it lightly, spreading salted butter, and letting it melt into the garlic pockets. Simple. Perfect.
Storage and Reheating
Store in an airtight container at room temperature for up to 2 days.
For longer storage, refrigerate up to 5 days.
To reheat, toast or warm in a 300°F oven for 5–7 minutes.
They also freeze beautifully. Wrap individually and freeze for up to 2 months.
Why I Love Baking with Cottage Cheese
As a female chef who balances family meals, recipe testing, and everyday cooking, I appreciate ingredients that work hard.
Cottage cheese adds protein. It adds moisture. It blends easily. And it doesn’t overpower other flavors.
In these Garlic-Parmesan Cottage Cheese Bagels, it quietly transforms simple flour into something nourishing and satisfying.
Frequently Asked Questions
Can I use low-fat cottage cheese?
Yes, but full-fat gives the best flavor and texture.
Can I make them gluten-free?
You can try a 1:1 gluten-free flour blend. Texture may vary.
Can I air fry them?
Yes! Air fry at 350°F for about 12–15 minutes.
Final Thoughts
Some recipes feel like effort. These feel like comfort.
Garlic-Parmesan Cottage Cheese Bagels are simple, savory, and deeply satisfying. They don’t require special skills or complicated steps. Just good ingredients, a warm oven, and a little love.
When you break one open and see that soft, steamy interior with flecks of garlic and melted Parmesan, you’ll understand why this recipe lives on repeat in my kitchen.
Bake them once, and I promise—they’ll become part of your routine too.
Garlic-Parmesan Cottage Cheese Bagels Recipe
Equipment
- Large mixing bowl
- Wooden spoon or silicone spatula
- Measuring cups and spoons.
- Baking sheet
- Parchment paper
- Knife or bench scraper (optional, for shaping)
- Pastry brush (for egg wash)
- Cooling rack
Ingredients
- 1 cup full-fat cottage cheese blended until smooth if chunky
- 1 cup all-purpose flour plus extra for dusting
- 1 teaspoon baking powder
- ½ teaspoon baking soda
- ½ teaspoon salt
- 2 cloves fresh garlic finely minced (or 1 teaspoon garlic powder)
- ½ cup freshly grated Parmesan cheese
- 1 tablespoon olive oil
- 1 egg for egg wash
- Optional topping: extra Parmesan dried parsley, or flaky salt
Instructions
Step 1: Preheat and Prepare
- Preheat your oven to 375°F (190°C). Line a baking sheet with parchment paper.
Step 2: Blend the Cottage Cheese
- If your cottage cheese is chunky, blend it until smooth. This makes the dough more even and helps create a better texture.
Step 3: Mix the Dry Ingredients
- In a large bowl, combine the flour, baking powder, baking soda, and salt. Stir well so everything is evenly distributed.
Step 4: Add the Flavor
- Stir in the minced garlic and grated Parmesan cheese. The smell at this stage? Already amazing.
Step 5: Add Wet Ingredients
- Add the blended cottage cheese and olive oil to the bowl. Mix with a spoon until a dough begins to form.
Step 6: Knead Gently
- Lightly flour your surface and knead the dough for about 2–3 minutes. You’re not looking for perfection—just a soft, slightly tacky dough that holds together.
Step 7: Shape the Bagels
- Divide the dough into four equal pieces. Roll each into a rope and connect the ends to form a ring. Place them on the prepared baking sheet.
Step 8: Egg Wash and Toppings
- Beat the egg and brush it over the tops of the bagels. Sprinkle with extra Parmesan or herbs if desired.
Step 9: Bake
- Bake for 20–25 minutes, or until golden brown on top.
Step 10: Cool Slightly
- Let them cool for at least 5–10 minutes before slicing. The inside continues to set as they cool.

Hi, I’m Olivia Brooks! Cooking is my passion, and I love turning everyday ingredients into meals that bring joy to the table. On CulinaryPearl, I share simple recipes, helpful kitchen tips, and inspiration for food lovers everywhere