If there’s one thing that instantly makes a breakfast, brunch, or even dinner feel luxurious, it’s a warm, fluffy biscuit.
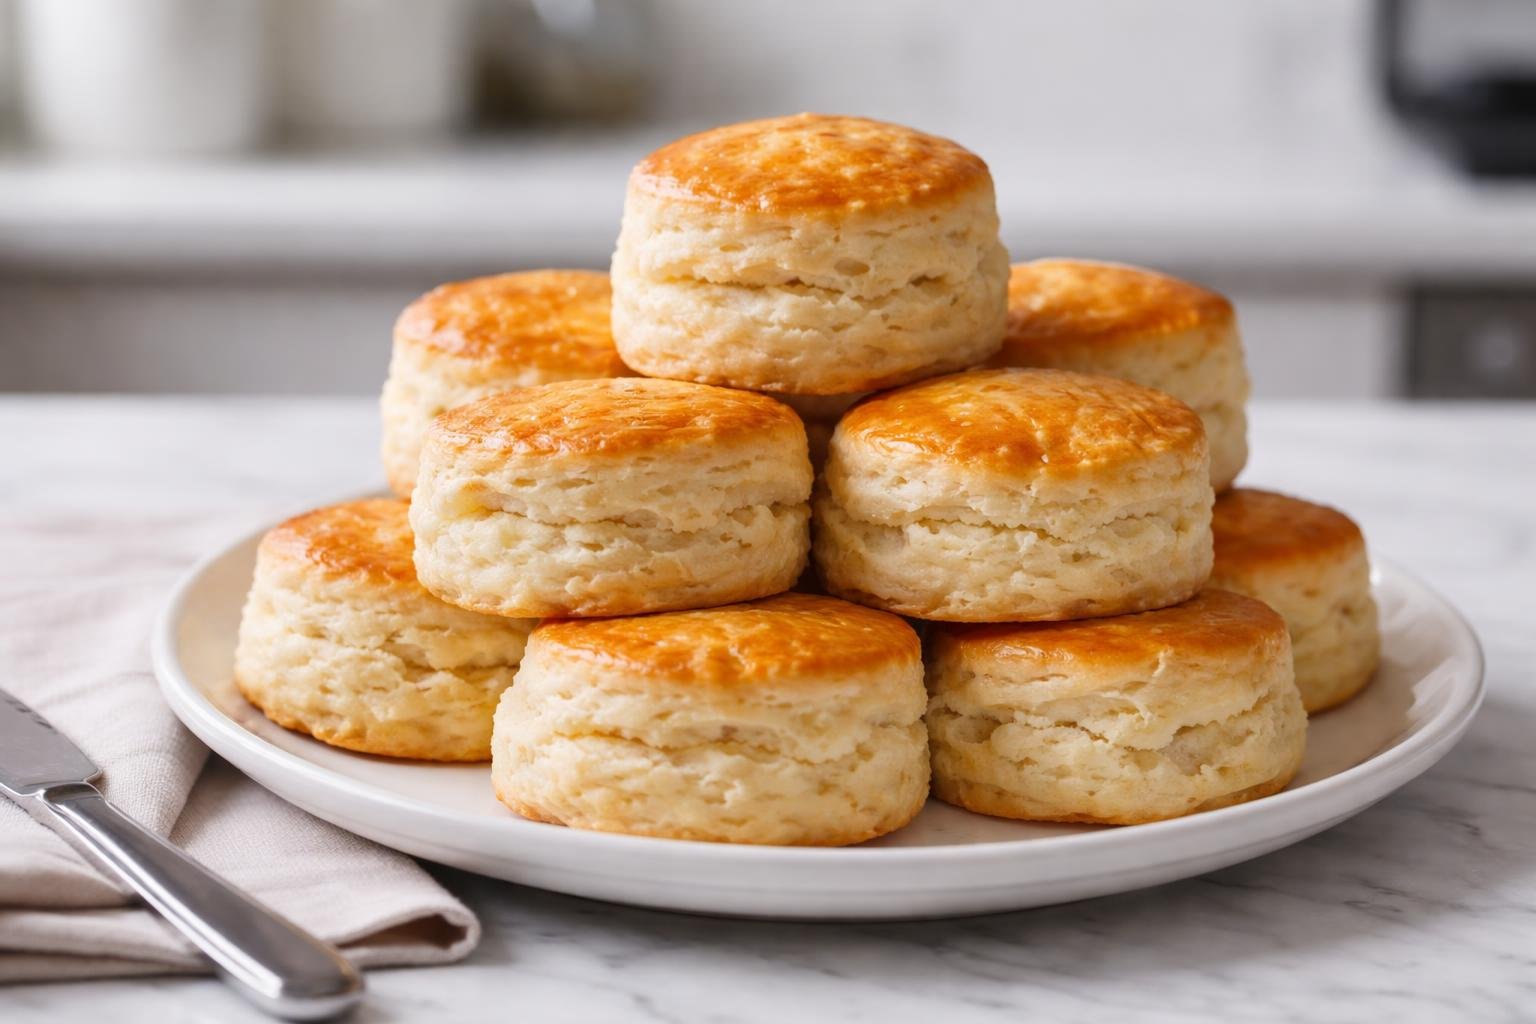
Not just any biscuit, mind you—but one that practically melts in your mouth, with tender layers that are rich, buttery, and just the right amount of flaky. That’s exactly what you get with James Beard’s Fluffy Cream Biscuit Recipe, a legendary biscuit that has been delighting bakers and home cooks alike for decades.
I remember the first time I tried this recipe—it was like discovering a secret that made homemade biscuits effortless. Cream replaces some of the traditional butter-and-milk combo, creating a tender, pillowy texture that almost defies gravity.
These biscuits aren’t just a side; they’re the star of the show. Whether slathered with butter, drizzled with honey, or served alongside a hearty stew, they feel like a warm hug in edible form.
Baking biscuits has always felt a little magical to me. There’s something so satisfying about working simple ingredients—flour, cream, baking powder, and a little salt—into something that transforms into something extraordinary in the oven.
And James Beard, the culinary genius behind this recipe, knew exactly how to make a biscuit that’s not only fluffy but also buttery and tender with minimal fuss.
What is James Beard’s Fluffy Cream Biscuit Recipe?
James Beard was an American culinary icon, often called the “Dean of American Cookery.” His recipes are revered for being approachable yet sophisticated, designed to highlight ingredients and technique without overcomplicating things. This Fluffy Cream Biscuit Recipe is a perfect example.
Unlike traditional biscuits that rely on buttermilk or a mix of butter and milk, Beard’s recipe uses heavy cream as the liquid base. The result? A biscuit that’s richer, more tender, and surprisingly easy to pull together.
The dough is soft, slightly sticky, and forgiving, making it accessible even for novice bakers. When baked, each biscuit rises beautifully, forming delicate layers that are golden on top and soft on the inside.
This recipe isn’t just about flavor—it’s about texture and experience. When you pull a fresh biscuit from the oven, you get that first satisfying crack as the top browns, the soft, almost cloud-like interior, and the aroma of baked cream and butter filling the kitchen. It’s not just baking; it’s creating a moment of joy.
Equipment List
Before diving into this recipe, make sure you have a few essential tools:
- Mixing bowl – large enough to combine your flour and cream without making a mess.
- Whisk or fork – for combining dry ingredients.
- Pastry cutter or fork – optional, if you like to cut butter into the flour for extra richness.
- Rolling pin – to gently roll the dough if you want uniform biscuits.
- Biscuit cutter – a 2.5–3-inch round cutter works best for traditional biscuits.
- Baking sheet – lined with parchment paper for even baking.
- Oven mitts – because handling hot biscuits is a serious business!
- Cooling rack – to prevent soggy bottoms and help the biscuits cool evenly.
These tools are simple, but they make the process smooth and stress-free. You really don’t need a fancy kitchen to make this classic biscuit recipe shine.
Recipe Card Info
Prep Time: 15 minutes
Cook Time: 15–18 minutes
Total Time: 30–33 minutes
Serves: 8–10 biscuits
Cuisine: American
Course: Breakfast
Calories: 220 kcal per biscuit
Ingredients
Here’s everything you need for James Beard’s Fluffy Cream Biscuits:
- 2 cups all-purpose flour
- 1 tablespoon baking powder
- ½ teaspoon baking soda
- 1 teaspoon salt
- ½ cup (1 stick) unsalted butter, cold and cubed (optional but recommended for extra flakiness)
- ¾ to 1 cup heavy cream
Optional for topping:
- Melted butter for brushing
- A sprinkle of sea salt
Each ingredient is simple but carefully chosen. The cream provides the richness and moisture, while the flour, leavening agents, and salt create the structure and flavor. Adding butter is optional, but it can enhance the flakiness and depth.
Instructions
Here’s the step-by-step process to create fluffy, irresistible biscuits:
Step 1: Preheat the oven
Preheat your oven to 450°F (232°C). This high heat is key for creating a golden top while keeping the interior tender and fluffy. Line a baking sheet with parchment paper for easy cleanup and even baking.
Step 2: Mix dry ingredients
In a large mixing bowl, whisk together the flour, baking powder, baking soda, and salt. Make sure the baking powder and soda are evenly distributed to ensure consistent rising.
Step 3: Cut in butter (optional)
If you’re using butter, add the cold cubed butter to the flour mixture. Use a pastry cutter or fork to cut it in until it resembles coarse crumbs. This step adds flakiness and richness, but if you prefer a simpler approach, you can skip this.
Step 4: Add cream
Pour ¾ cup of heavy cream into the flour mixture. Stir gently with a fork or wooden spoon until the dough begins to come together. Add a little more cream if necessary—the dough should be soft and slightly sticky but manageable.
Step 5: Shape the dough
Turn the dough onto a lightly floured surface. Pat or gently roll it out to about ½-inch thickness. Avoid overworking the dough, as this can make the biscuits tough.
Step 6: Cut the biscuits
Using a 2.5–3-inch round biscuit cutter, cut out biscuits. Press straight down without twisting to ensure even rise. Place the biscuits on the prepared baking sheet, close together for soft sides or spaced apart for crispier edges.
Step 7: Bake
Bake in the preheated oven for 15–18 minutes, or until the tops are golden brown. The biscuits should rise beautifully and feel soft yet structured.
Step 8: Serve
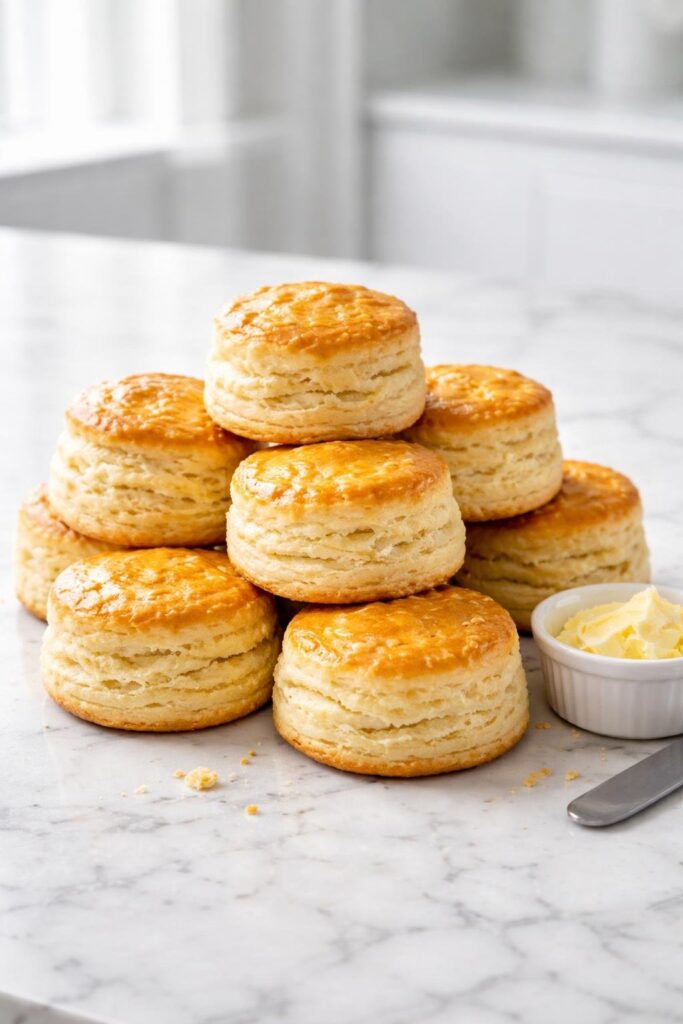
Remove from the oven and brush with melted butter if desired. Serve warm with honey, jam, or alongside eggs and breakfast meats. The smell alone will have everyone running to the kitchen!
Why This Biscuit Recipe Works Every Time
There’s a reason this recipe has endured for decades. First, the cream is the secret weapon. It gives the biscuits a tender, fluffy interior that traditional milk-based recipes can struggle to achieve. Second, the high oven temperature ensures a golden crust while keeping the inside soft and cloud-like.
Optional butter adds flakiness, creating layers that feel luxurious but light. And the beauty is in its simplicity—you don’t need special ingredients, complicated folding techniques, or hours in the kitchen. Even novice bakers can produce bakery-worthy biscuits that impress at any meal.
Tips for Perfect Fluffy Biscuits
- Keep everything cold: Butter and cream should be chilled to ensure a tender, flaky texture.
- Don’t overmix: Overworking the dough develops gluten, which can make biscuits tough. Mix until just combined.
- High heat is key: 450°F ensures biscuits rise quickly, forming a golden top with a soft interior.
- Close together for soft sides: Place biscuits almost touching if you want them to pull apart easily.
- Brush with butter: For extra flavor and sheen, brush the tops with melted butter right out of the oven.
Variations You’ll Love
- Cheesy biscuits: Fold in ½ cup shredded cheddar or parmesan for a savory twist.
- Herb biscuits: Add fresh chopped rosemary, thyme, or chives to the dry ingredients.
- Sweet biscuits: Brush with honey or sprinkle sugar on top for a breakfast treat.
- Garlic butter biscuits: Mix garlic powder into melted butter for brushing the tops.
The recipe is a canvas—you can adapt it to savory or sweet versions without losing that classic fluffy texture.
Serving Suggestions
James Beard’s Fluffy Cream Biscuits are versatile:
- Breakfast: Split and serve with eggs, bacon, or sausage.
- Brunch: Pair with a fruit compote or honey.
- Dinner: Serve as a side for soups, stews, or fried chicken.
- Snacks: Warm and spread with butter, jam, or cheese.
They’re elegant yet homey, perfect for any meal. Personally, I love them slathered with butter and eaten straight from the oven—they’re irresistible that way.
Storage and Reheating
- Room temperature: Store cooled biscuits in an airtight container for up to 2 days.
- Refrigerator: Keeps up to 4 days, but best reheated in the oven for a few minutes to refresh flakiness.
- Freezer: Freeze individually wrapped biscuits for up to 2 months. Reheat at 350°F (175°C) for 10–12 minutes for near-fresh results.
FAQs
Q: Can I use all butter instead of cream?
A: You can, but the texture will be slightly different. Cream adds richness and tender fluffiness that butter alone can’t replicate.
Q: Can I make this gluten-free?
A: Yes! Use a 1:1 gluten-free flour blend, but the texture may be slightly denser.
Q: How do I make the biscuits extra flaky?
A: Keep butter cold, don’t overmix, and bake in a hot oven. Layers form naturally with these steps.
Q: Can I make these ahead of time?
A: Yes! Refrigerate cut biscuits for up to 24 hours before baking, but let the oven heat fully before baking.
Q: What’s the best cream to use?
A: Heavy cream or whipping cream works best for tenderness and richness. Half-and-half is too thin for optimal fluffiness.
Final Thoughts
James Beard’s Fluffy Cream Biscuit Recipe is a timeless classic. It’s simple, approachable, and produces biscuits that are tender, buttery, and delightfully fluffy every time. Perfect for breakfast, brunch, dinner, or a cozy snack, these biscuits prove that sometimes the simplest recipes are the most magical.
Every time I make these biscuits, I marvel at how a few humble ingredients—flour, cream, butter, and a pinch of salt—can transform into something so extraordinary.
Whether you’re a novice baker or a seasoned chef, this recipe delivers consistent results and endless smiles.
So preheat that oven, gather your ingredients, and let James Beard guide you to biscuit bliss. Warm, fluffy, and utterly irresistible—these biscuits truly are comfort baked into perfection.
More Delightful Recipes:
- Pioneer Woman Frog Eye Salad Recipe
- Cadbury Egg Cookies Brown Butter Recipe
- Joanna Gaines Egg Drop Soup Recipe

James Beard’s Fluffy Cream Biscuit Recipe
Equipment
- Mixing bowl
- Whisk or fork
- Pastry cutter or fork
- Rolling pini
- Biscuit cutter
- Baking sheet
- Oven mitts
- Cooling rack
Ingredients
- 2 cups all-purpose flour
- 1 tablespoon baking powder
- ½ teaspoon baking soda
- 1 teaspoon salt
- ½ cup 1 stick unsalted butter, cold and cubed (optional but recommended for extra flakiness)
- ¾ to 1 cup heavy cream
Optional for topping:
- Melted butter for brushing
- A sprinkle of sea salt
Instructions
Step 1: Preheat the oven
- Preheat your oven to 450°F (232°C). This high heat is key for creating a golden top while keeping the interior tender and fluffy. Line a baking sheet with parchment paper for easy cleanup and even baking.
Step 2: Mix dry ingredients
- In a large mixing bowl, whisk together the flour, baking powder, baking soda, and salt. Make sure the baking powder and soda are evenly distributed to ensure consistent rising.
Step 3: Cut in butter (optional)
- If you’re using butter, add the cold cubed butter to the flour mixture. Use a pastry cutter or fork to cut it in until it resembles coarse crumbs. This step adds flakiness and richness, but if you prefer a simpler approach, you can skip this.
Step 4: Add cream
- Pour ¾ cup of heavy cream into the flour mixture. Stir gently with a fork or wooden spoon until the dough begins to come together. Add a little more cream if necessary—the dough should be soft and slightly sticky but manageable.
Step 5: Shape the dough
- Turn the dough onto a lightly floured surface. Pat or gently roll it out to about ½-inch thickness. Avoid overworking the dough, as this can make the biscuits tough.
Step 6: Cut the biscuits
- Using a 2.5–3-inch round biscuit cutter, cut out biscuits. Press straight down without twisting to ensure even rise. Place the biscuits on the prepared baking sheet, close together for soft sides or spaced apart for crispier edges.
Step 7: Bake
- Bake in the preheated oven for 15–18 minutes, or until the tops are golden brown. The biscuits should rise beautifully and feel soft yet structured.
Step 8: Serve
- Remove from the oven and brush with melted butter if desired. Serve warm with honey, jam, or alongside eggs and breakfast meats. The smell alone will have everyone running to the kitchen!

Hi, I’m Olivia Brooks! Cooking is my passion, and I love turning everyday ingredients into meals that bring joy to the table. On CulinaryPearl, I share simple recipes, helpful kitchen tips, and inspiration for food lovers everywhere