Intro
Maple Nut Goodies Recipe is one of those comforting, nostalgic treats that somehow taste like childhood, holidays, and cozy afternoons all at once. If you’ve ever had the original Brach’s version, you already know exactly what I’m talking about—those chewy maple candies wrapped around roasted peanuts, sweet and nutty in the best way. One bite and suddenly you’re five years old again, sticky fingers and all.
As a chef—and honestly, as someone who has a deep emotional relationship with sweets—I’ve always loved recipes that feel warm and homemade even before you finish cooking them. Anything with maple? That’s my love language. And when you mix maple with roasted nuts and creamy candy coating… well, that’s basically dessert perfection.
This homemade version of Maple Nut Goodies Recipe is not only spot-on in flavor but also surprisingly easy. It’s the kind of candy you can make on a quiet evening, wrap in parchment, and stash away like a little treasure. Or, if you’re braver than me, you can share it with your family. (I hide a few pieces. Don’t judge.)
Let’s dive in, because this recipe is as fun as it is delicious.
What Are Maple Nut Goodies?
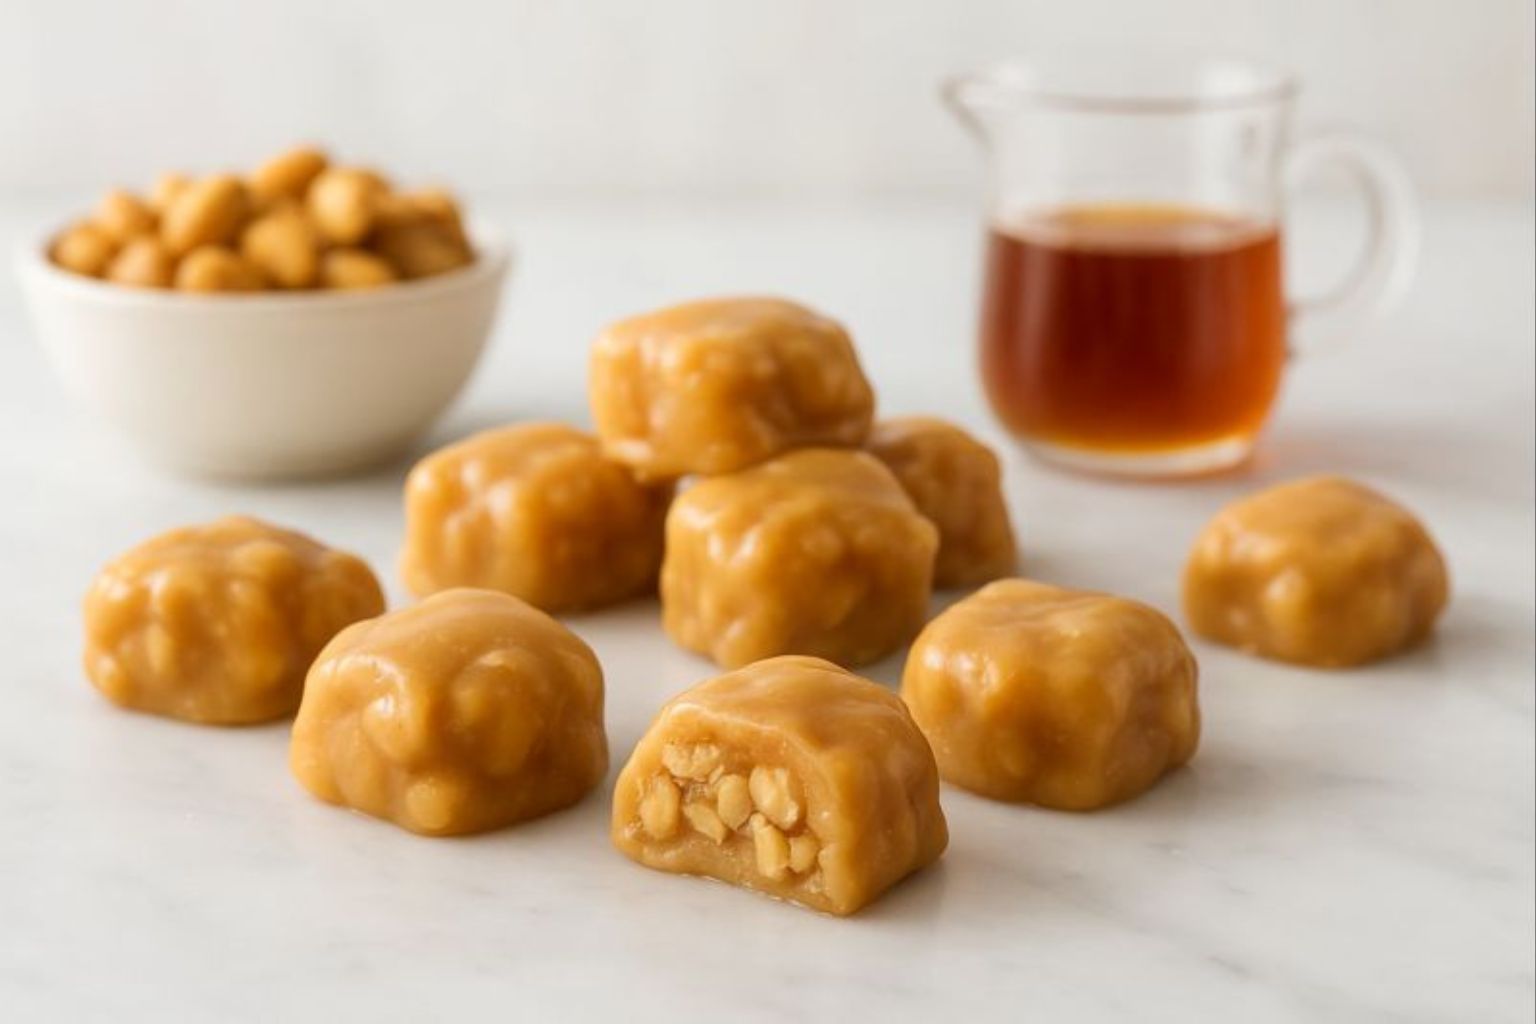
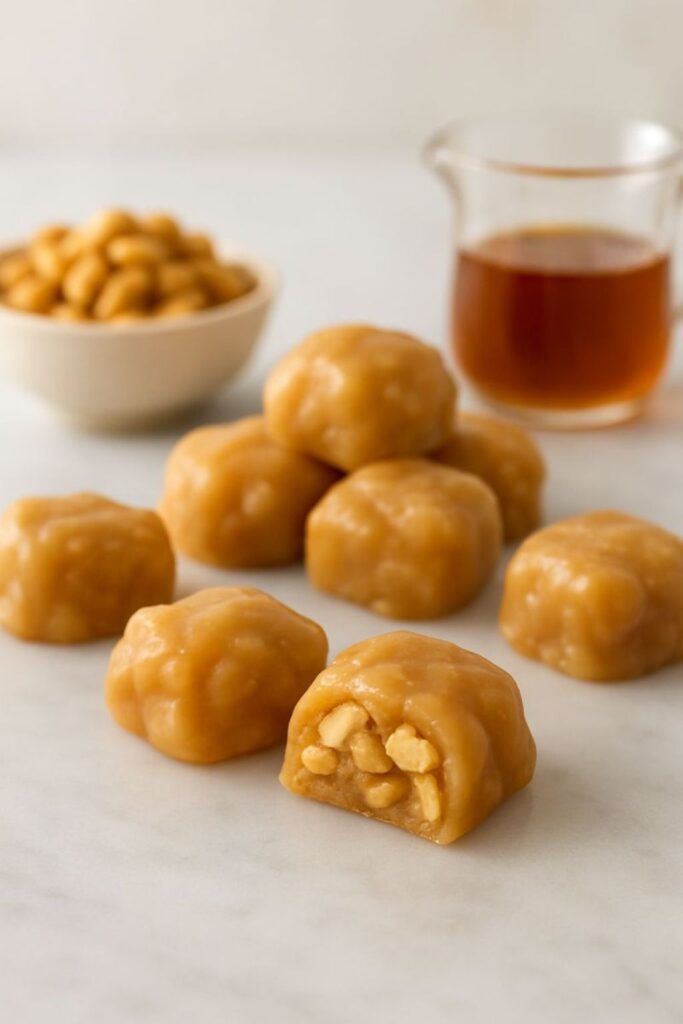
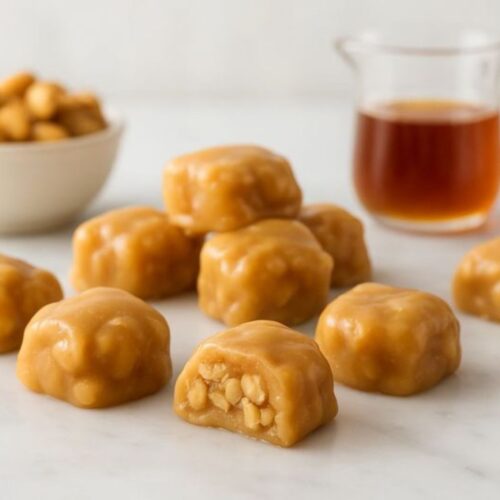
Maple Nut Goodies are old-fashioned maple candies with a creamy maple-flavored coating surrounding a crunchy roasted peanut center. Think of a soft, almost fudge-like maple shell with a burst of nutty texture inside.
They’re:
- sweet, but not too sweet
- chewy with a slight firmness
- rich with real maple flavor
- perfect with coffee or tea
- incredibly addictive
Most people know the store-bought version from candy shops or grocery stores, but making them at home gives you:
- better flavor
- fresher texture
- more control over sweetness
- and the opportunity to use real maple syrup
Homemade always wins.
The Story of My Discovery of This
My first encounter with Maple Nut Goodies wasn’t in a fancy candy store—it was in my grandmother’s kitchen. She kept a little ceramic jar on the counter filled with her favorite candies, and every time I visited, she’d wink and whisper, “Go on, you know where they are.”
One day, she let me help her make a homemade version. I remember the warm smell of maple filling the whole house, mixing with the roasted peanuts cooling on a tray. I didn’t know it then, but that flavor would follow me into adulthood—right back into my chef life.
Short, sweet, and one of my favorite food memories.
Equipment List
You don’t need professional candy-making tools. Just a few basics:
- Medium saucepan
- Wooden spoon or silicone spatula
- Candy thermometer (helpful but not required)
- Baking sheet
- Parchment paper
- Heatproof bowl
- Measuring cups and spoons
Simple, approachable, and totally doable in any kitchen.
Ingredients
These ingredients create that signature creamy maple coating with a perfect nutty center.
For the Candies
- 2 cups roasted peanuts (unsalted or lightly salted)
- 1 cup maple syrup (pure maple, not pancake syrup)
- 1 cup brown sugar
- ½ cup heavy cream
- ¼ cup unsalted butter
- 1 teaspoon vanilla extract
- ¼ teaspoon salt
- Optional: ½ teaspoon maple extract for a stronger maple punch
For Rolling / Coating
- Extra roasted peanuts
- Parchment paper for setting
That’s it—simple ingredients, big flavor.
Instructions
- Prep your workspace.
Line a baking sheet with parchment paper. Spread out roasted peanuts so they’re ready to be coated. - Start the maple mixture.
In a saucepan, add maple syrup, brown sugar, cream, butter, and salt. Heat over medium. - Stir constantly.
Keep stirring until everything melts into a smooth mixture. - Cook the candy base.
Let the mixture bubble gently until it reaches the soft-ball stage (around 235°F). If you don’t have a thermometer, let it simmer about 7–8 minutes until thickened slightly. - Remove from heat.
Add vanilla and maple extract (if using). Stir well. - Add peanuts.
Fold in the roasted peanuts until each one is shiny and coated. - Form the goodies.
Use a spoon to drop clusters onto your parchment-lined sheet. You can make them big or small—your call. - Let them cool.
This takes about 30 minutes. They’ll firm up into chewy, creamy maple candies. - Store.
Keep in an airtight container—if they last longer than 48 hours, I’m impressed.
Why This Maple Nut Goodies Recipe Works
Candy can feel intimidating, but this recipe is forgiving. Here’s why it works beautifully:
- Maple syrup and brown sugar melt into a velvet-soft candy base.
- Heavy cream adds richness, making the candy soft instead of brittle.
- Butter makes everything silky and smooth.
- Roasted peanuts keep their crunch and perfectly balance the sweetness.
This method mimics the original but tastes fresher, warmer, and more homemade.
Choosing the Best Maple Syrup
Not all maple syrups are equal. For the richest, warmest flavor:
- Choose Grade A amber
- Avoid pancake syrups
- Look for “100% pure maple syrup”
Good maple is worth every drop.
Flavor Variations
Want to play around a bit? Here are fun twists:
⭐ 1. Chocolate-Dipped Maple Nut Goodies
Dip half the candy in melted chocolate for a gourmet look.
⭐ 2. Salted Maple Nut Goodies
Sprinkle flaky sea salt on top—absolutely heavenly.
⭐ 3. Dark Roast Peanut Version
Use deeply roasted peanuts for a bolder nutty flavor.
⭐ 4. Walnut or Pecan Version
Swap peanuts for walnuts or pecans for a softer bite.
⭐ 5. Maple Bacon Variation
Add tiny crispy bacon bits for a sweet-salty treat.
Serving Ideas
Maple Nut Goodies can be enjoyed:
- with coffee or tea
- as a cozy fall treat
- wrapped in parchment as homemade gifts
- in candy bowls for holidays
- chopped into vanilla ice cream
- as a sweet snack after dinner
They’re charming in any setting.
Storage Tips
These candies store beautifully:
- Keep in airtight container
- Store at room temperature
- Last up to 1–2 weeks
- Do not refrigerate (it hardens the candy)
If your kitchen is very warm, keep them in a cool cupboard.
Troubleshooting Tips
Candy giving you trouble? Here’s help:
Candy too hard?
It cooked too long—reduce cook time next batch.
Candy too soft?
Cook a bit longer or let them dry more fully.
Not maple-y enough?
Add ½ tsp maple extract.
Too sweet?
Use lightly salted peanuts for balance.
Chef Tips From Me
These little details make your Maple Nut Goodies Recipe turn out perfect every time:
- Use a heavy-bottomed pot to avoid burning.
- Keep the heat medium, not high.
- Don’t walk away from the candy mixture.
- Pre-measure everything—it gets hectic fast.
- Work quickly once the peanuts go in.
- Use parchment, not foil—it prevents sticking.
This is one of those recipes where confidence grows each time.
Fun Facts About Maple Candy
Just because I’m a food nerd:
- Maple candy dates back to Indigenous North American cooking traditions.
- Early settlers made maple taffy by pouring hot syrup onto snow.
- Maple syrup has over 60 natural flavor compounds.
- Some people call these “church candies” because they were often homemade and shared at gatherings.
Food and history always dance together.
Why I Love Sharing This Recipe
There’s something magical about homemade candy. It’s simple but nostalgic, sweet but grounding. And this recipe? It feels like a warm memory shaped into a bite-sized treat.
Every time I make these, that familiar maple aroma brings me back to my grandmother’s kitchen—the safety, the sweetness, the laughter. And now, every time I recreate Maple Nut Goodies Recipe, I feel like I’m carrying that little piece of love forward.
I hope this recipe becomes a part of your family moments, quiet evenings, and “just because” treats.
Final Thoughts
This Maple Nut Goodies Recipe is everything I love about homemade candy:
- cozy
- maple-rich
- crunchy
- warm
- nostalgic
- easy
- giftable
- delicious
You don’t need candy-making experience. You just need a saucepan, good maple syrup, and the willingness to stir something warm and sweet for a few minutes.
Make them once… and you’ll be making them forever.
More Amazing Recipes:
Maple Nut Goodies Recipe
Equipment
- Medium saucepan
- Wooden spoon or silicone spatula
- Candy thermometer (helpful but not required)
- Baking sheet
- Parchment paper
- Heatproof bowl
- Measuring cups and spoons.
Ingredients
For the Candies
- 2 cups roasted peanuts unsalted or lightly salted
- 1 cup maple syrup pure maple, not pancake syrup
- 1 cup brown sugar
- ½ cup heavy cream
- ¼ cup unsalted butter
- 1 teaspoon vanilla extract
- ¼ teaspoon salt
- Optional: ½ teaspoon maple extract for a stronger maple punch
For Rolling / Coating
- Extra roasted peanuts
- Parchment paper for setting
Instructions
Prep your workspace.
- Line a baking sheet with parchment paper. Spread out roasted peanuts so they’re ready to be coated.
Start the maple mixture.
- In a saucepan, add maple syrup, brown sugar, cream, butter, and salt. Heat over medium.
Stir constantly.
- Keep stirring until everything melts into a smooth mixture.
Cook the candy base.
- Let the mixture bubble gently until it reaches the soft-ball stage (around 235°F). If you don’t have a thermometer, let it simmer about 7–8 minutes until thickened slightly.
Remove from heat.
- Add vanilla and maple extract (if using). Stir well.
Add peanuts.
- Fold in the roasted peanuts until each one is shiny and coated.
Form the goodies.
- Use a spoon to drop clusters onto your parchment-lined sheet. You can make them big or small—your call.
Let them cool.
- This takes about 30 minutes. They’ll firm up into chewy, creamy maple candies.
Store.
- Keep in an airtight container—if they last longer than 48 hours, I’m impressed.

Hi, I’m Olivia Brooks! Cooking is my passion, and I love turning everyday ingredients into meals that bring joy to the table. On CulinaryPearl, I share simple recipes, helpful kitchen tips, and inspiration for food lovers everywhere