Intro
There’s something deeply comforting about a dessert that fills your entire home with warmth before you even take the first bite. For me, that magic always begins with apples, cinnamon, and butter slowly baking together into something golden and irresistible.
As a female chef who loves creating cozy, heartfelt dishes, I can confidently say that the Pioneer Woman Apple Crisp Recipe is one of those timeless desserts that never goes out of style.
I still remember standing barefoot in my kitchen one quiet evening, peeling apples while the sun dipped low outside the window. There was no rush, no pressure—just the simple joy of cooking something from scratch. That’s exactly what this recipe brings to the table: simplicity, comfort, and a whole lot of flavor.
The beauty of the Pioneer Woman Apple Crisp Recipe lies in how approachable it is. You don’t need fancy techniques or complicated tools. Just a few pantry staples, fresh apples, and a little love—and you’re on your way to a dessert that tastes like home.
What is Pioneer Woman Apple Crisp Recipe?
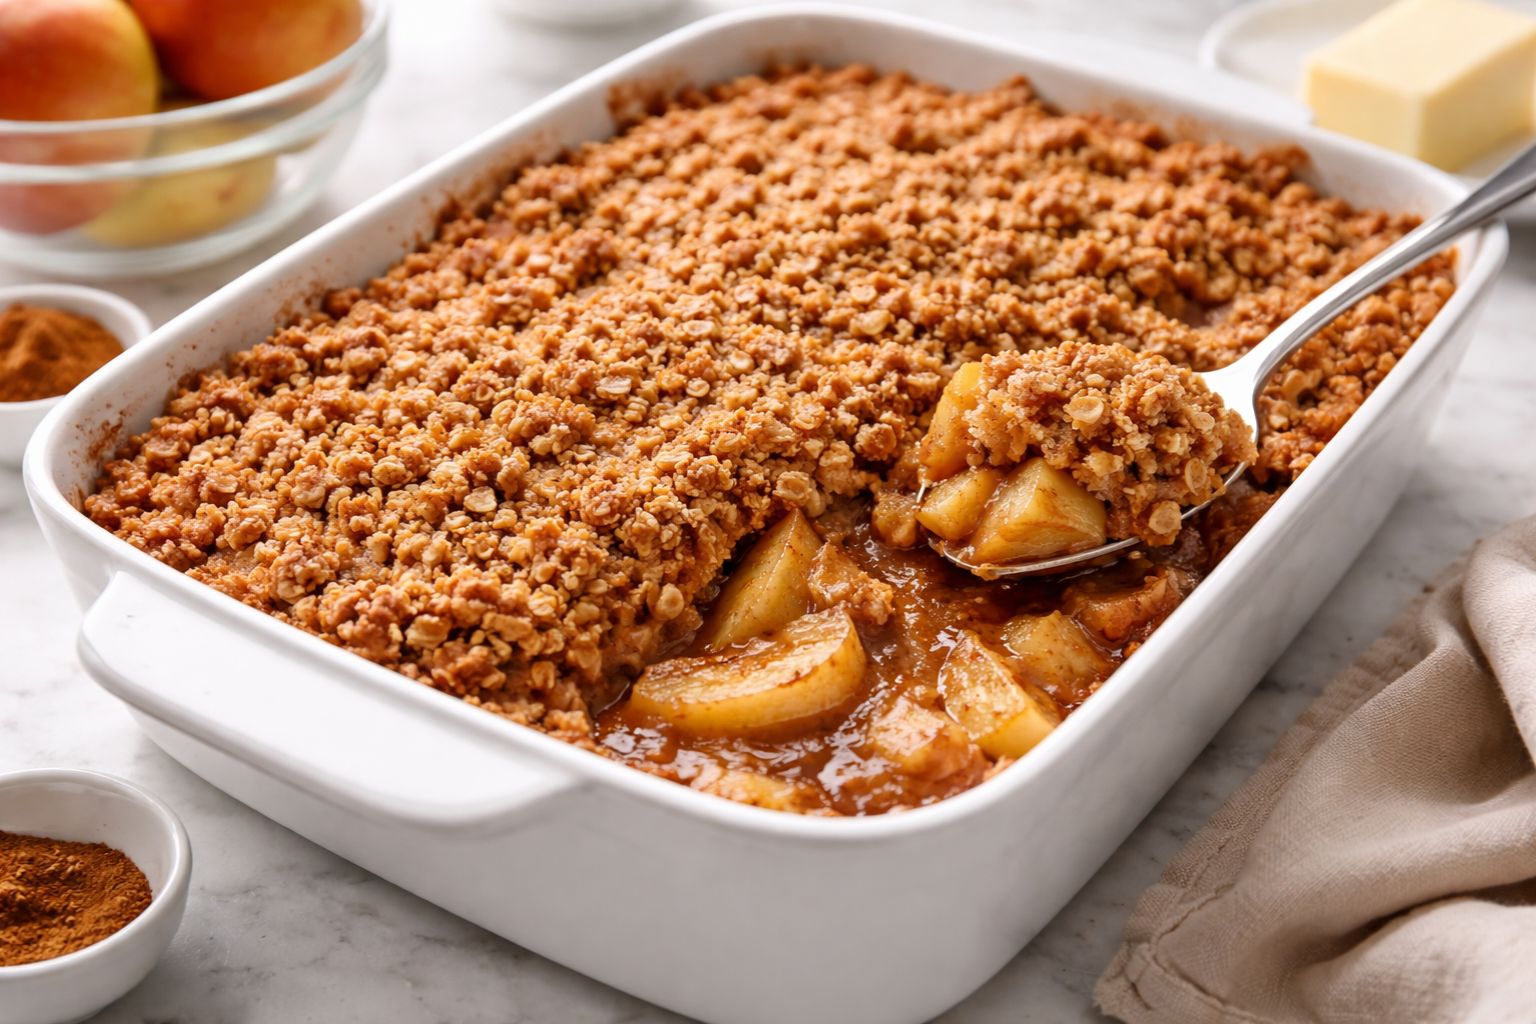
At its heart, the Pioneer Woman Apple Crisp Recipe is a rustic baked dessert made with layers of tender apples and a buttery, crumbly topping. Unlike pies that require rolling dough and precise shaping, this dish embraces imperfection. It’s meant to look homemade—and that’s exactly what makes it special.
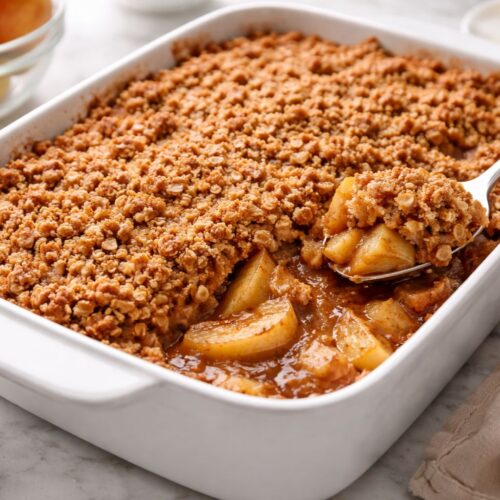
The base is made of sliced apples tossed with sugar, cinnamon, and warm spices. As they bake, they soften into a luscious, slightly syrupy filling that feels almost like apple jam. On top sits a golden layer of crisp topping made with flour, oats, butter, and brown sugar.
What sets this recipe apart is its balance. It’s not overly sweet, not too heavy, and not too complicated. It’s just right. And once you try it, you’ll understand why so many home cooks swear by it.
Equipment List
Before you begin, take a moment to gather everything you need. Having your tools ready makes the cooking process smooth and enjoyable.
- 9×13-inch baking dish
- Large mixing bowl
- Medium mixing bowl
- Apple peeler or sharp knife
- Cutting board
- Measuring cups and spoons
- Pastry cutter, fork, or clean hands
- Wooden spoon or silicone spatula
- Oven mitts
- Oven
Recipe Card Info
- Prep Time: 20 minutes
- Cook Time: 45 minutes
- Total Time: 1 hour 5 minutes
- Serves: 8 servings
- Cuisine: American
- Course: Dessert
- Calories: 320 kcal per serving
Ingredients
For the Apple Filling:
- 6 cups fresh apples (peeled, cored, and sliced)
- 3/4 cup granulated sugar
- 1 teaspoon ground cinnamon
- 1/4 teaspoon ground nutmeg
- 1 tablespoon fresh lemon juice
- 1 teaspoon vanilla extract
For the Crisp Topping:
- 1 cup all-purpose flour
- 1/2 cup rolled oats
- 3/4 cup brown sugar
- 1/2 teaspoon ground cinnamon
- 1/4 teaspoon salt
- 1/2 cup unsalted butter (cold and cubed)
Instructions (Step-by-Step)
Step 1: Prep the Apples
Start by peeling and coring your apples. Slice them into evenly sized pieces so they cook at the same rate. I prefer slightly thicker slices because they hold their shape beautifully.
Step 2: Build the Flavor Base
Place the apples in a large bowl and add sugar, cinnamon, nutmeg, lemon juice, and vanilla. Toss everything together until the apples are well coated and glistening.
Step 3: Assemble the Filling
Transfer the apple mixture into your baking dish. Spread it evenly so every bite gets that soft, spiced goodness.
Step 4: Make the Crisp Topping
In a separate bowl, combine flour, oats, brown sugar, cinnamon, and salt. Add the cold butter cubes and work them into the mixture using a pastry cutter or your fingers. You’re looking for a crumbly texture with small buttery chunks.
Step 5: Layer the Topping
Sprinkle the topping evenly over the apples. Don’t press it down—keeping it loose helps it crisp up beautifully.
Step 6: Bake to Perfection
Place the dish in a preheated oven at 350°F (175°C). Bake for 45 minutes, or until the topping is golden brown and the apple filling is bubbling around the edges.
Step 7: Let It Rest
Allow the crisp to cool for at least 10–15 minutes. This step is important because it lets the filling thicken slightly.
The Secret Behind the Flavor
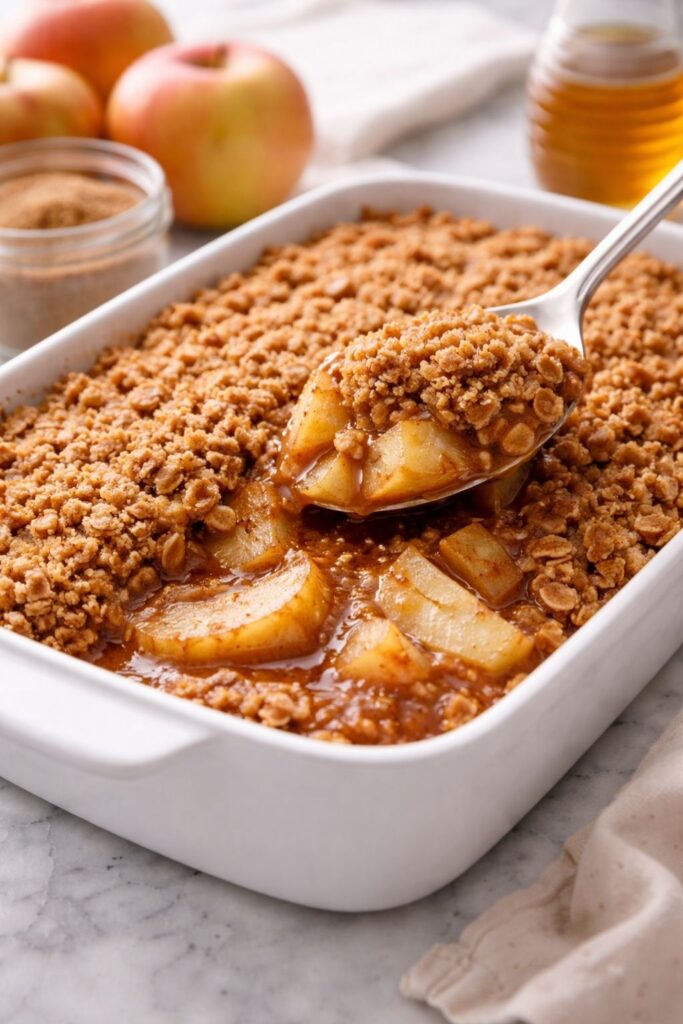
What makes the Pioneer Woman Apple Crisp Recipe so unforgettable is the way simple ingredients come together to create something extraordinary. The apples release their natural juices, which mix with sugar and spices to form a rich, aromatic syrup.
Meanwhile, the topping becomes golden and crisp, with a buttery flavor that melts in your mouth. The oats add a gentle chewiness, while the brown sugar brings a subtle caramel note.
Every spoonful is a perfect contrast—soft and crisp, sweet and slightly tart, warm and comforting.
My Personal Cooking Experience
As someone who spends a lot of time in the kitchen, I’ve learned that the best recipes are the ones that feel effortless. This apple crisp is one of those recipes I turn to when I want something reliable yet impressive.
I’ve made the Pioneer Woman Apple Crisp Recipe for family dinners, festive gatherings, and even quiet nights when I just needed a little comfort. Each time, it delivers the same cozy satisfaction.
And honestly, there’s nothing better than serving it warm and watching everyone go back for seconds.
Best Apples to Use
Choosing the right apples can make a big difference in your final dish. I always recommend mixing varieties for the best flavor.
- Granny Smith: Tart and firm, perfect for balancing sweetness
- Honeycrisp: Juicy and naturally sweet
- Fuji: Mild and well-balanced
A mix of tart and sweet apples gives your crisp depth and complexity.
Tips for the Perfect Apple Crisp
- Always use cold butter for the topping—it creates that crumbly texture
- Don’t skip the oats; they add structure and flavor
- Taste your apples before adding sugar (some are sweeter than others)
- Avoid overmixing the topping
- Let it rest before serving for the best consistency
Serving Suggestions
There are so many ways to enjoy this dessert, and each one feels like a treat.
- Warm with a scoop of vanilla ice cream
- Drizzled with caramel sauce
- Topped with freshly whipped cream
- Paired with hot coffee or tea
Personally, I love it slightly warm with melting ice cream—it’s pure comfort in a bowl.
Make-Ahead and Storage Tips
If you’re planning ahead, you can assemble the entire dish and refrigerate it before baking. This makes it perfect for gatherings.
Leftovers can be stored in the fridge for up to 3 days. Reheat in the oven to bring back that crispy topping.
You can also freeze it for longer storage—just make sure it’s tightly covered.
Variations to Try
- Add chopped pecans or walnuts for extra crunch
- Swap apples for pears for a softer texture
- Add a pinch of ginger or cloves for deeper spice
- Use maple syrup instead of sugar for a richer flavor
These small changes can give the Pioneer Woman Apple Crisp Recipe a whole new personality.
Common Mistakes to Avoid
- Using overly soft apples (they can turn mushy)
- Skipping the resting time
- Overbaking, which can dry out the topping
- Not using enough seasoning
Paying attention to these details makes a big difference.
Why You’ll Love This Recipe
This recipe checks all the boxes:
- Easy to make
- Uses simple ingredients
- Perfect for any season
- Crowd-pleasing
- Comforting and nostalgic
It’s one of those desserts that feels like home no matter where you are.
FAQs
Can I make this gluten-free?
Yes, simply use gluten-free flour and certified gluten-free oats.
Can I reduce the sugar?
Absolutely. Adjust based on the sweetness of your apples.
Can I make it dairy-free?
Yes, substitute butter with plant-based alternatives.
What’s the difference between a crisp and a crumble?
A crisp includes oats in the topping, while a crumble typically does not.
Can I prepare it in advance?
Yes, assemble it and refrigerate before baking.
Final Thoughts
The Pioneer Woman Apple Crisp Recipe is more than just a dessert—it’s a feeling. It’s the smell of cinnamon filling your kitchen, the sound of bubbling fruit in the oven, and the joy of sharing something homemade with the people you love.
As a chef, I believe the best recipes are the ones that bring comfort and connection. This apple crisp does exactly that. It’s simple, beautiful, and deeply satisfying.
So the next time you have a few apples sitting on your counter, you know exactly what to do. Bake this, serve it warm, and enjoy every single bite.
More Delicious Desserts:
Pioneer Woman Apple Crisp Recipe
Equipment
- 9×13-inch baking dish
- Large mixing bowl
- Medium mixing bowl
- Apple peeler or sharp knife
- Cutting board
- Measuring cups and spoons.
- Pastry cutter, fork, or clean hands
- Wooden spoon or silicone spatula
- Oven mitts
- Oven
Ingredients
For the Apple Filling:
- 6 cups fresh apples peeled, cored, and sliced
- 3/4 cup granulated sugar
- 1 teaspoon ground cinnamon
- 1/4 teaspoon ground nutmeg
- 1 tablespoon fresh lemon juice
- 1 teaspoon vanilla extract
For the Crisp Topping:
- 1 cup all-purpose flour
- 1/2 cup rolled oats
- 3/4 cup brown sugar
- 1/2 teaspoon ground cinnamon
- 1/4 teaspoon salt
- 1/2 cup unsalted butter cold and cubed
Instructions
Step 1: Prep the Apples
- Start by peeling and coring your apples. Slice them into evenly sized pieces so they cook at the same rate. I prefer slightly thicker slices because they hold their shape beautifully.
Step 2: Build the Flavor Base
- Place the apples in a large bowl and add sugar, cinnamon, nutmeg, lemon juice, and vanilla. Toss everything together until the apples are well coated and glistening.
Step 3: Assemble the Filling
- Transfer the apple mixture into your baking dish. Spread it evenly so every bite gets that soft, spiced goodness.
Step 4: Make the Crisp Topping
- In a separate bowl, combine flour, oats, brown sugar, cinnamon, and salt. Add the cold butter cubes and work them into the mixture using a pastry cutter or your fingers. You’re looking for a crumbly texture with small buttery chunks.
Step 5: Layer the Topping
- Sprinkle the topping evenly over the apples. Don’t press it down—keeping it loose helps it crisp up beautifully.
Step 6: Bake to Perfection
- Place the dish in a preheated oven at 350°F (175°C). Bake for 45 minutes, or until the topping is golden brown and the apple filling is bubbling around the edges.
Step 7: Let It Rest
- Allow the crisp to cool for at least 10–15 minutes. This step is important because it lets the filling thicken slightly.
Notes
- Always use cold butter for the topping—it creates that crumbly texture
- Don’t skip the oats; they add structure and flavor
- Taste your apples before adding sugar (some are sweeter than others)
- Avoid overmixing the topping
- Let it rest before serving for the best consistency

Hi, I’m Olivia Brooks! Cooking is my passion, and I love turning everyday ingredients into meals that bring joy to the table. On CulinaryPearl, I share simple recipes, helpful kitchen tips, and inspiration for food lovers everywhere