Intro
The first time I made Chocolate Covered Rice Krispie Treats, it was late at night, the kitchen lights low, my favorite apron already dusted with cocoa powder from an earlier experiment. I was craving something nostalgic but indulgent—something that tasted like childhood but felt a little grown up.
You know that smell when marshmallows melt into butter? Sweet, warm, and a little bit toasty? That aroma filled my kitchen, and before the chocolate even melted, I knew this was going to be one of those recipes.
As a chef, I spend a lot of time refining techniques, chasing balance, and obsessing over details—but this recipe reminds me why I fell in love with cooking in the first place.
Chocolate Covered Rice Krispie Treats are playful, comforting, and just fancy enough to feel special. They crackle when you bite into them, then melt softly on your tongue as the chocolate gives way to that chewy, marshmallowy center. It’s pure joy in square form.
Whether you’re making them for a party, a bake sale, or just because you had a long day and deserve something sweet, these treats always deliver. And yes—this is an easy Chocolate Covered Rice Krispie Treats recipe you’ll come back to again and again.
What Are Chocolate Covered Rice Krispie Treats?
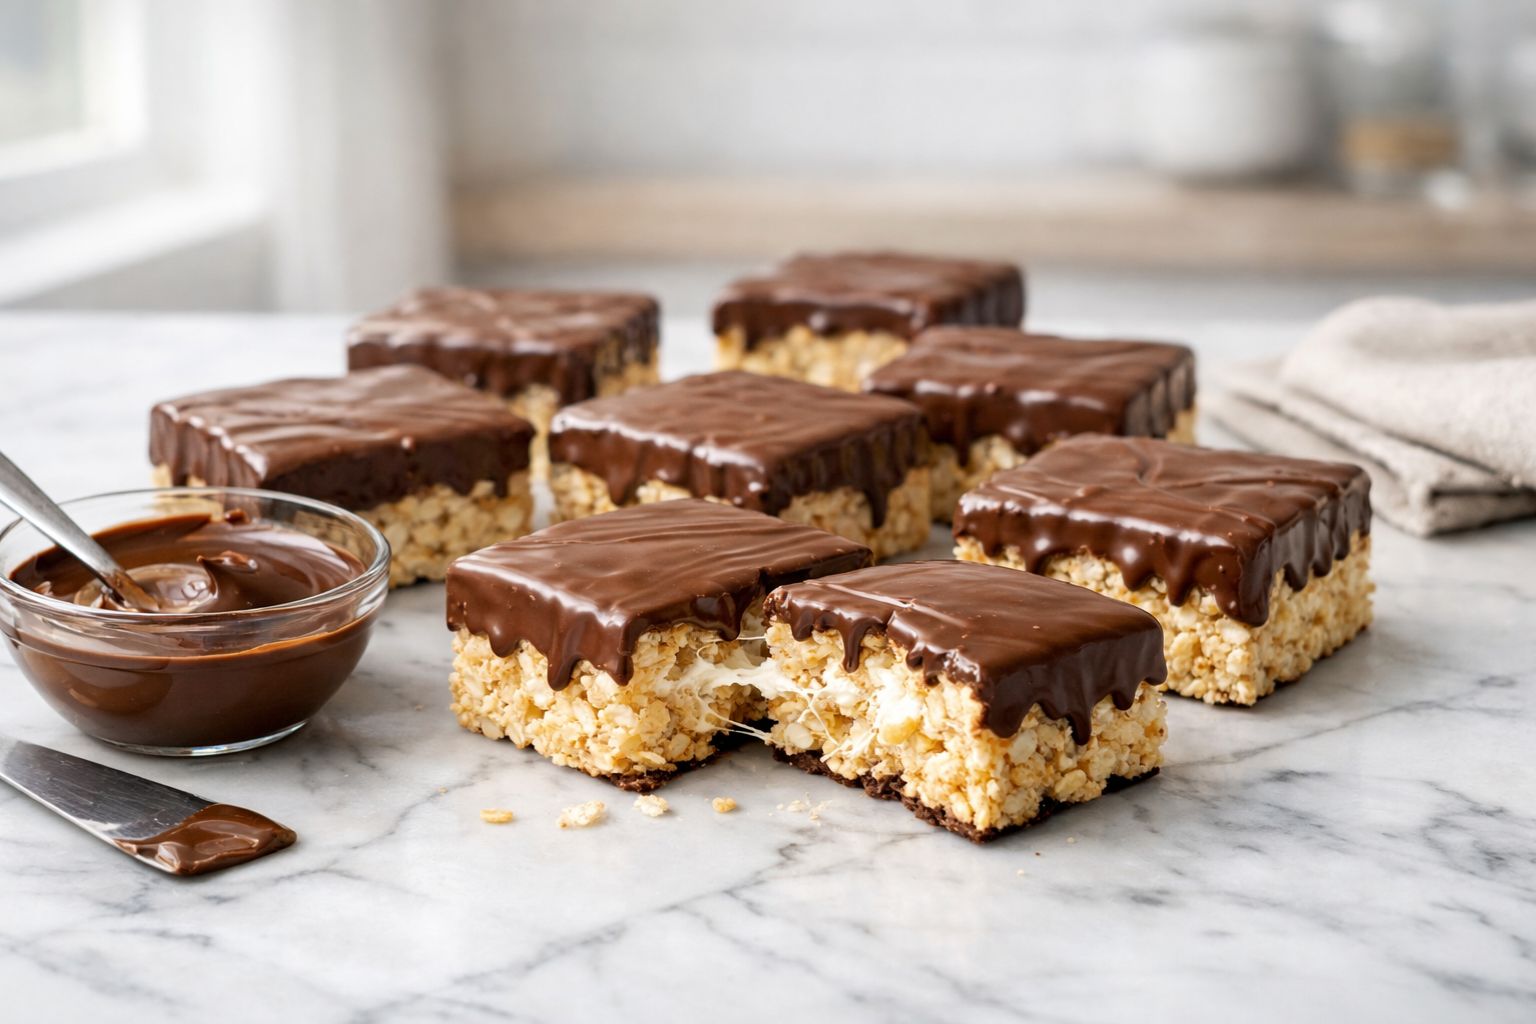
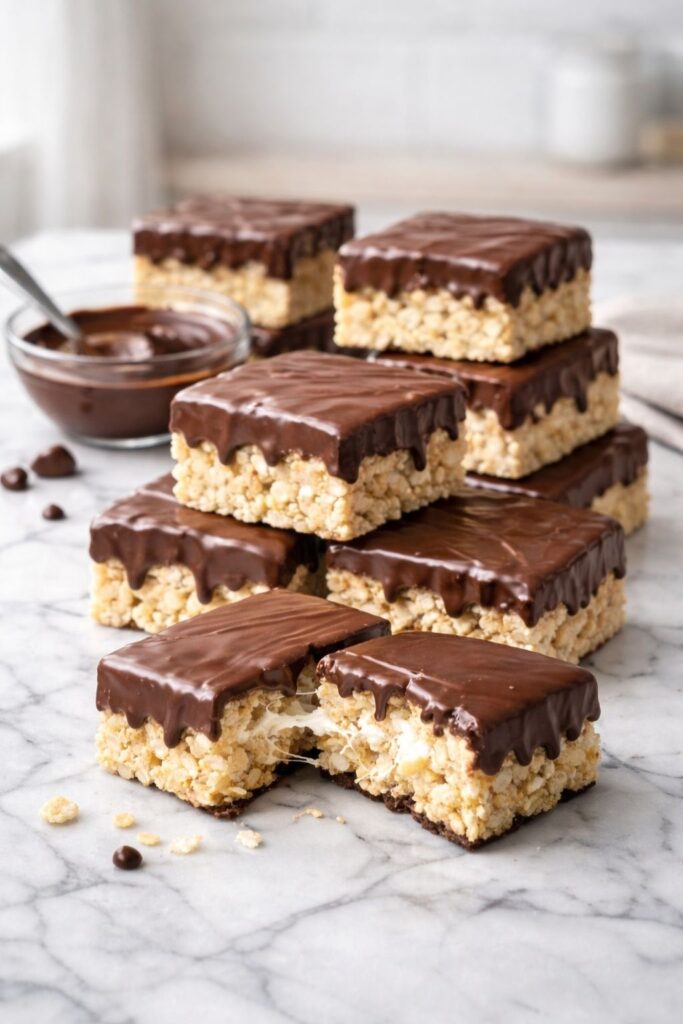
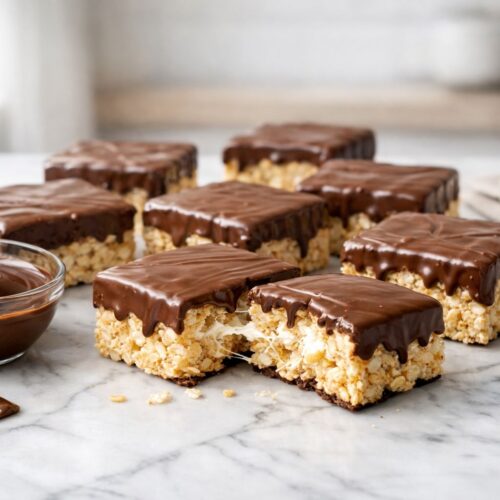
At their heart, Chocolate Covered Rice Krispie Treats are a delicious upgrade to the classic cereal-and-marshmallow bars we all grew up with. You start with the familiar base: crispy rice cereal folded into melted butter and marshmallows until everything is glossy, sticky, and irresistible. Once set, the bars are dipped or drizzled with rich, melted chocolate.
What makes them special is the contrast. The inside is light, chewy, and airy, while the chocolate coating adds depth, richness, and that satisfying snap when it sets. Depending on the chocolate you choose—dark, milk, or white—you can steer the flavor anywhere from deeply cocoa-forward to sweet and creamy.
This is a classic Chocolate Covered Rice Krispie Treats situation, but with endless room to play. A sprinkle of sea salt, a drizzle of caramel, or a handful of chopped nuts can take them in completely new directions.
Why I Love Making These at Home
There’s something incredibly satisfying about homemade Chocolate Covered Rice Krispie Treats. Maybe it’s how quickly they come together, or how forgiving the recipe is. Maybe it’s the way kids and adults light up the same way when they see them.
For me, it’s also about control. I can choose better chocolate, adjust the sweetness, and make them thicker, thinner, softer, or crunchier depending on my mood. Plus, they store beautifully and travel well—two things every chef appreciates when treats are involved.
Equipment List
You don’t need anything fancy here—just a few kitchen basics:
- Large saucepan or pot
- Silicone spatula or wooden spoon
- Measuring cups and spoons
- 9×13-inch baking pan (or similar)
- Parchment paper or nonstick spray
- Microwave-safe bowl or double boiler
- Offset spatula (optional, but helpful)
Ingredients
These ingredients are simple and pantry-friendly, perfect for a last-minute dessert craving.
- 6 tablespoons unsalted butter
- 16 ounces mini marshmallows (about 10 cups), divided
- 6 cups crispy rice cereal
- 12 ounces chocolate (milk, dark, or semi-sweet), chopped or chips
Optional Ingredients:
- 1 teaspoon vanilla extract
- Flaky sea salt, for sprinkling
- Sprinkles, crushed cookies, or chopped nuts
- White chocolate or caramel for drizzling
Instructions
Step 1: Prepare Your Pan
Line your baking pan with parchment paper or lightly grease it. This makes removal easier later and keeps the bars looking neat.
Step 2: Melt the Butter and Marshmallows
In a large saucepan over low heat, melt the butter gently. Add most of the marshmallows and stir until smooth and glossy. The mixture should smell sweet and buttery, not scorched—keep the heat low and be patient.
Step 3: Add the Cereal
Remove the pan from heat and quickly fold in the crispy rice cereal. Stir gently but thoroughly, making sure every piece is coated. If you like extra gooey treats, fold in the remaining marshmallows now.
Step 4: Press and Set
Transfer the mixture to your prepared pan. Using a spatula (or lightly buttered hands), press it in evenly without packing it too tightly. Let it cool and set for about 30 minutes.
Step 5: Melt the Chocolate
While the bars set, melt your chocolate using a microwave or double boiler. Stir until smooth and glossy. This is where the kitchen really starts to smell like dessert heaven.
Step 6: Coat the Treats
Cut the Rice Krispie treats into squares or rectangles. Dip each piece halfway into the melted chocolate, or drizzle the chocolate generously over the top. Place on parchment paper to set.
Step 7: Finish and Enjoy
Before the chocolate sets completely, sprinkle with sea salt or toppings if using. Let the chocolate harden, then serve—or hide a few for yourself.
Flavor Variations I Love
One of my favorite things about this recipe is how customizable it is:
- Dark Chocolate & Sea Salt: Sophisticated and not too sweet
- Milk Chocolate & Sprinkles: Perfect for parties and kids
- White Chocolate & Cranberries: Sweet with a tart pop
- Peanut Butter Chocolate: Swirl peanut butter into the melted chocolate
Storage and Make-Ahead Tips
- Store in an airtight container at room temperature for up to 3 days
- Refrigerate for up to a week if your kitchen is warm
- These treats freeze surprisingly well—just thaw at room temp
Serving Ideas
Serve Chocolate Covered Rice Krispie Treats:
- On a dessert platter with brownies and cookies
- Wrapped individually for gifts or bake sales
- As a fun after-dinner sweet with coffee or tea
FAQs
Can I make these ahead of time?
Absolutely. They’re perfect for making a day or two in advance.
What’s the best chocolate to use?
Use the best chocolate you can afford—it really shines here.
How do I keep them soft?
Don’t overheat the marshmallows and avoid pressing the mixture too firmly.
Can I make them gluten-free?
Yes, just be sure your cereal and chocolate are certified gluten-free.
There’s a reason Chocolate Covered Rice Krispie Treats never go out of style. They’re easy, comforting, and endlessly adaptable—exactly the kind of recipe I love sharing from my kitchen to yours.
More Desserts:
- Lucky Charms Rice Crispy Treats Recipe
- Ninja Creami Vanilla Ice Cream Recipe
- Cookies And Cream Cookies Recipe
Chocolate Covered Rice Krispie Treats Recipe
Equipment
- Large saucepan or pot
- Silicone spatula or wooden spoon.
- Measuring cups and spoons.
- 9×13-inch baking pan (or similar)
- Parchment paper or nonstick spray
- Microwave-safe bowl or double boiler
- Offset spatula (optional, but helpful)
Ingredients
- 6 tablespoons unsalted butter
- 16 ounces mini marshmallows about 10 cups, divided
- 6 cups crispy rice cereal
- 12 ounces chocolate milk, dark, or semi-sweet, chopped or chips
Optional Ingredients:
- 1 teaspoon vanilla extract
- Flaky sea salt for sprinkling
- Sprinkles crushed cookies, or chopped nuts
- White chocolate or caramel for drizzling
Instructions
Step 1: Prepare Your Pan
- Line your baking pan with parchment paper or lightly grease it. This makes removal easier later and keeps the bars looking neat.
Step 2: Melt the Butter and Marshmallows
- In a large saucepan over low heat, melt the butter gently. Add most of the marshmallows and stir until smooth and glossy. The mixture should smell sweet and buttery, not scorched—keep the heat low and be patient.
Step 3: Add the Cereal
- Remove the pan from heat and quickly fold in the crispy rice cereal. Stir gently but thoroughly, making sure every piece is coated. If you like extra gooey treats, fold in the remaining marshmallows now.
Step 4: Press and Set
- Transfer the mixture to your prepared pan. Using a spatula (or lightly buttered hands), press it in evenly without packing it too tightly. Let it cool and set for about 30 minutes.
Step 5: Melt the Chocolate
- While the bars set, melt your chocolate using a microwave or double boiler. Stir until smooth and glossy. This is where the kitchen really starts to smell like dessert heaven.
Step 6: Coat the Treats
- Cut the Rice Krispie treats into squares or rectangles. Dip each piece halfway into the melted chocolate, or drizzle the chocolate generously over the top. Place on parchment paper to set.

Hi, I’m Olivia Brooks! Cooking is my passion, and I love turning everyday ingredients into meals that bring joy to the table. On CulinaryPearl, I share simple recipes, helpful kitchen tips, and inspiration for food lovers everywhere