Intro
I still remember the first time I realized I could eat ice cream for breakfast and not feel even a little guilty about it. I was standing in my kitchen, barefoot, hair in a messy bun, staring at my Ninja Creami like it had just unlocked a secret level of adulthood. That’s when this Ninja Creami Protein Ice Cream Recipe became part of my regular life. Not a “once in a while” recipe, but a repeat offender kind of recipe.
This isn’t one of those protein desserts that pretends to be ice cream. You know the kind—icy, chalky, sad. This one is creamy, rich, spoon-licking good. It feels indulgent, but it’s secretly fueling your body with protein. And honestly? That’s my favorite kind of food trick.
Whether you’re trying to hit your protein goals, looking for a healthier dessert, or just want a cold treat that doesn’t wreck your day, this recipe has your back.
What Is Ninja Creami Protein Ice Cream?
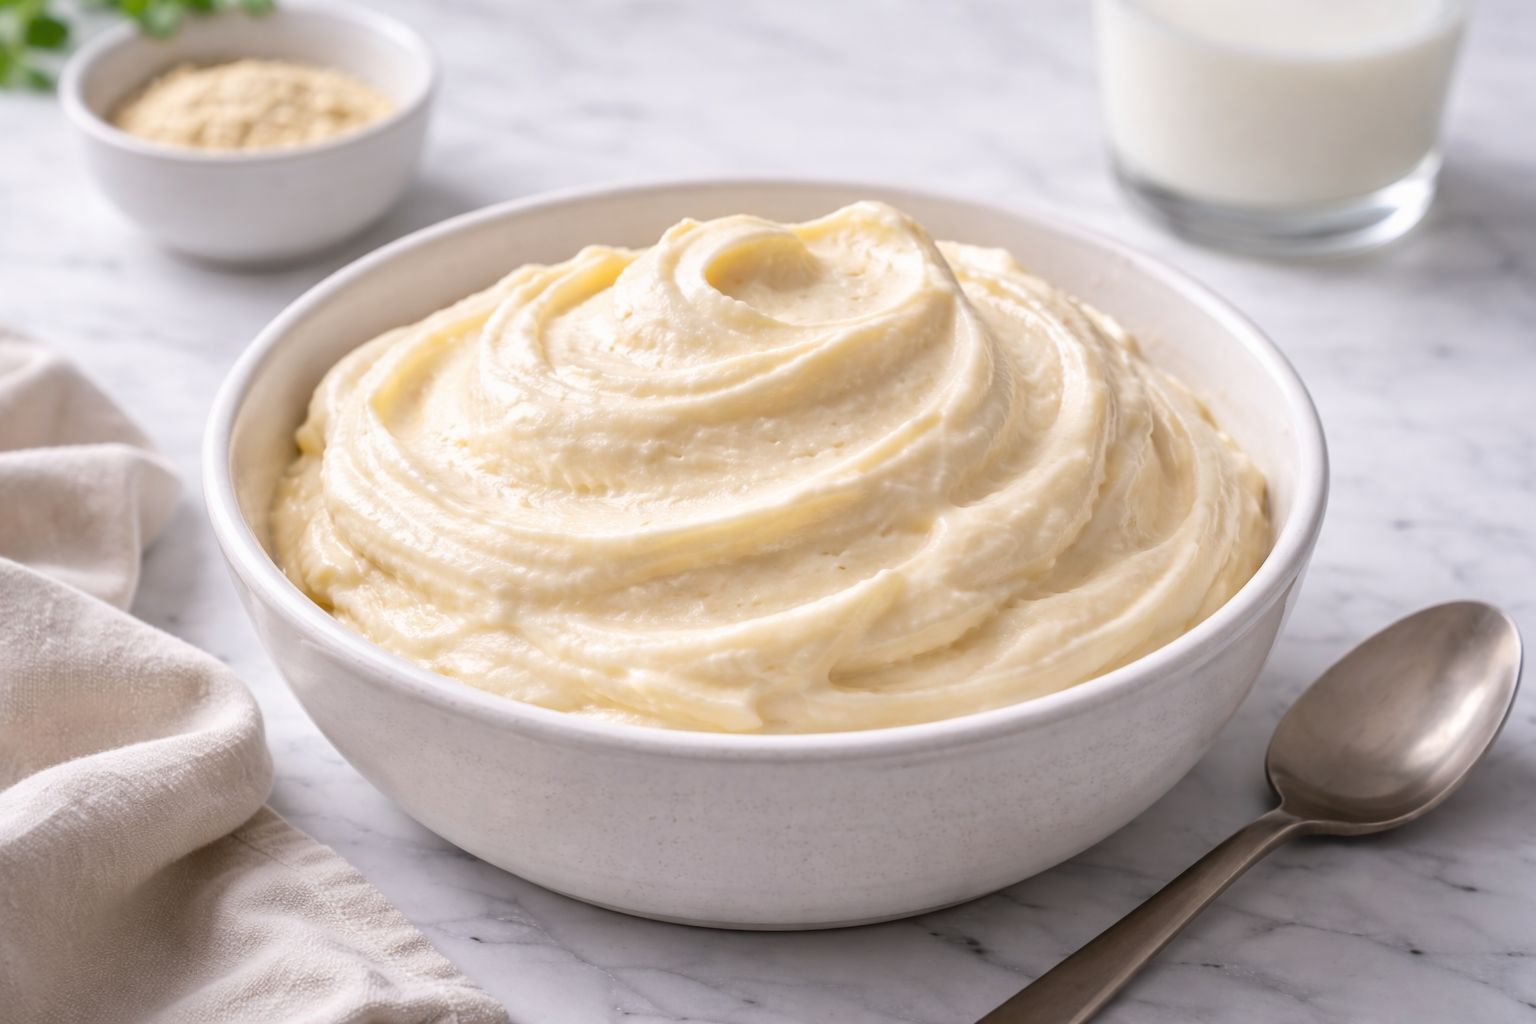
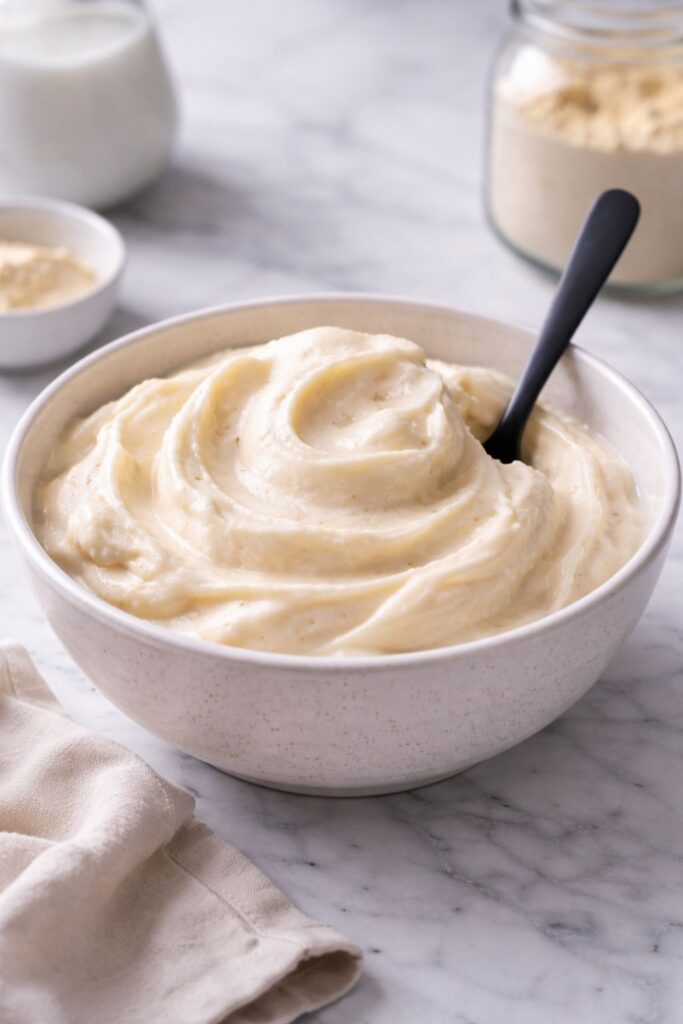
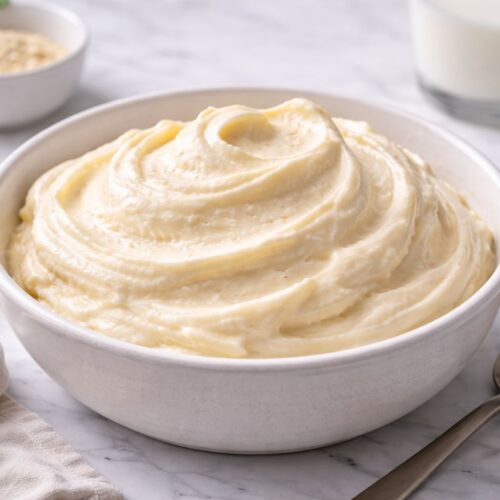
At its heart, Ninja Creami protein ice cream is a frozen, blended dessert made with protein powder and simple ingredients, processed in the Ninja Creami machine until it turns into smooth, scoopable magic.
The Creami works differently than a blender or traditional ice cream maker. You freeze the base solid first, then the machine shaves and churns it into the creamiest texture imaginable. That’s why protein powder actually works here without ruining the vibe.
This recipe gives you:
- A thick, creamy texture
- Real ice cream mouthfeel
- Customizable flavors
- High protein without weird aftertastes
It’s the kind of dessert that makes you forget you’re being “healthy.”
Why I’m Slightly Obsessed With This Recipe
As a home cook, I love recipes that feel forgiving. Ones you can tweak based on what’s in your pantry or how you’re feeling that day. This Ninja Creami Protein Ice Cream Recipe is exactly that.
Some days I want chocolate peanut butter comfort. Other days, I want vanilla berry freshness. And sometimes, I just want something cold and creamy after dinner without doing math in my head about calories.
This recipe flexes with you. And that’s powerful.
Equipment You’ll Need
Nothing fancy beyond what actually matters:
- Ninja Creami machine
- Ninja Creami pint container
- Measuring cup
- Small whisk or spoon
- Freezer
That’s it. No stovetop. No ice cream maker drama.
Ingredients
This is the base recipe. You can build endless flavors from here.
- 1 cup milk (dairy or unsweetened almond milk both work great)
- 1 scoop protein powder (about 30g, vanilla or chocolate)
- 1 tablespoon sugar-free pudding mix (vanilla or chocolate – optional but highly recommended)
- 1–2 tablespoons sweetener (honey, maple syrup, monk fruit, or stevia to taste)
- 1/4 teaspoon vanilla extract
- Pinch of salt
Optional Add-Ins (After Spinning)
- Chocolate chips
- Crushed cookies
- Peanut butter
- Fresh or frozen berries
- Cocoa powder
Instructions
Step 1: Mix the Base
In your Ninja Creami pint container, add the milk, protein powder, pudding mix, sweetener, vanilla, and salt. Whisk or stir really well. Make sure there are no dry clumps hiding at the bottom.
Step 2: Freeze Solid
Place the lid on the pint and freeze it on a flat surface for at least 12 hours. It needs to be completely solid. This part is non-negotiable.
Step 3: Spin in the Ninja Creami
Remove the pint from the freezer. Take off the lid, place it into the Ninja Creami, and select Lite Ice Cream or Ice Cream mode.
Step 4: Re-Spin (Important!)
After the first spin, the texture may look crumbly or powdery. Don’t panic. This is normal. Hit Re-Spin once or twice until it turns creamy and smooth.
Step 5: Add Mix-Ins
If using mix-ins, create a small hole in the center, add them, and press Mix-In.
Step 6: Scoop and Enjoy
Grab a spoon and enjoy immediately. That creamy texture is at its absolute best right after spinning.
Texture Tips From My Kitchen
Let me save you some trial and error.
- If it looks dry, add 1–2 tablespoons of milk and re-spin
- If it’s icy, re-spin again before adding liquid
- Pudding mix makes a huge difference for creaminess
- Whey-casein blend protein powders work best
The Creami is forgiving. Play with it.
Best Protein Powders for Creami Ice Cream
Not all protein powders behave the same way.
Best options:
- Whey isolate
- Whey-casein blends
- Plant protein blends with gums
Trickier options:
- Straight pea protein
- Unflavored powders without stabilizers
If your protein powder tastes good on its own, it’ll shine here.
Flavor Variations I Make All the Time
Chocolate Peanut Butter
Use chocolate protein powder and swirl in 1 tablespoon peanut butter after spinning.
Vanilla Berry
Vanilla protein base + crushed strawberries mixed in.
Cookies & Cream
Add crushed chocolate sandwich cookies during the mix-in cycle.
Coffee Protein Ice Cream
Add 1 teaspoon instant espresso powder to the base.
This Ninja Creami Protein Ice Cream Recipe never gets boring.
Is This Actually Healthy?
I’m not here to label food as “good” or “bad,” but this recipe checks a lot of boxes:
- High protein
- Lower sugar
- Customizable fats
- Portion controlled
It’s a smart swap that still feels like a treat. And honestly, that balance matters.
Storage Tips
This ice cream is best eaten fresh. If you refreeze leftovers:
- Flatten the top before freezing
- Re-spin before serving again
- Add a splash of milk if needed
The Creami brings it right back to life.
When I Love Eating This Most
- After dinner when I want dessert
- Post-workout
- Late at night when I want something sweet
- Hot afternoons when everything feels sticky
This Ninja Creami Protein Ice Cream Recipe fits into real life, not some perfect meal plan fantasy.
Final Thoughts From My Kitchen
I truly believe food should feel joyful. This recipe lets you enjoy ice cream without guilt, without stress, and without sacrificing flavor. That’s a win in my book.
If you have a Ninja Creami sitting on your counter and you haven’t tried protein ice cream yet, this is your sign. Start here. Make it your own. And don’t be surprised if it becomes part of your weekly routine like it did for me.
More Desserts:
Ninja Creami Protein Ice Cream Recipe
Equipment
- Ninja Creami machine
- Ninja Creami pint container
- Measuring cup
- Small whisk or spoon
- Freezer
Ingredients
- 1 cup milk dairy or unsweetened almond milk both work great
- 1 scoop protein powder about 30g, vanilla or chocolate
- 1 tablespoon sugar-free pudding mix vanilla or chocolate – optional but highly recommended
- 1 –2 tablespoons sweetener honey, maple syrup, monk fruit, or stevia to taste
- 1/4 teaspoon vanilla extract
- Pinch of salt
Optional Add-Ins (After Spinning)
- Chocolate chips
- Crushed cookies
- Peanut butter
- Fresh or frozen berries
- Cocoa powder
Instructions
Step 1: Mix the Base
- In your Ninja Creami pint container, add the milk, protein powder, pudding mix, sweetener, vanilla, and salt. Whisk or stir really well. Make sure there are no dry clumps hiding at the bottom.
Step 2: Freeze Solid
- Place the lid on the pint and freeze it on a flat surface for at least 12 hours. It needs to be completely solid. This part is non-negotiable.
Step 3: Spin in the Ninja Creami
- Remove the pint from the freezer. Take off the lid, place it into the Ninja Creami, and select Lite Ice Cream or Ice Cream mode.
Step 4: Re-Spin (Important!)
- After the first spin, the texture may look crumbly or powdery. Don’t panic. This is normal. Hit Re-Spin once or twice until it turns creamy and smooth.
Step 5: Add Mix-Ins
- If using mix-ins, create a small hole in the center, add them, and press Mix-In.
Step 6: Scoop and Enjoy
- Grab a spoon and enjoy immediately. That creamy texture is at its absolute best right after spinning.

Hi, I’m Olivia Brooks! Cooking is my passion, and I love turning everyday ingredients into meals that bring joy to the table. On CulinaryPearl, I share simple recipes, helpful kitchen tips, and inspiration for food lovers everywhere