Intro
There are days when only chocolate can fix everything. Not complicated pastries, not delicate plated desserts—just something warm, fudgy, and deeply rich straight from the oven. That’s exactly where this Ghirardelli Brownie Mix Recipe lives in my kitchen.
As a female chef who loves both scratch baking and clever shortcuts, I’ve always believed that good cooking is not about how long you spend in the kitchen—it’s about how smartly you build flavor. And this recipe is one of my favorite examples of that philosophy.
I still remember the first time I decided to “upgrade” a boxed brownie mix. It was a late evening, the kind where you crave something sweet but don’t have the energy for a full baking project. I melted butter instead of using oil, added a pinch of espresso powder, and suddenly the entire kitchen smelled like a professional bakery.
That moment changed everything for me.
Because what I realized is this: even something as simple as a boxed mix can become luxurious when you treat it with intention.
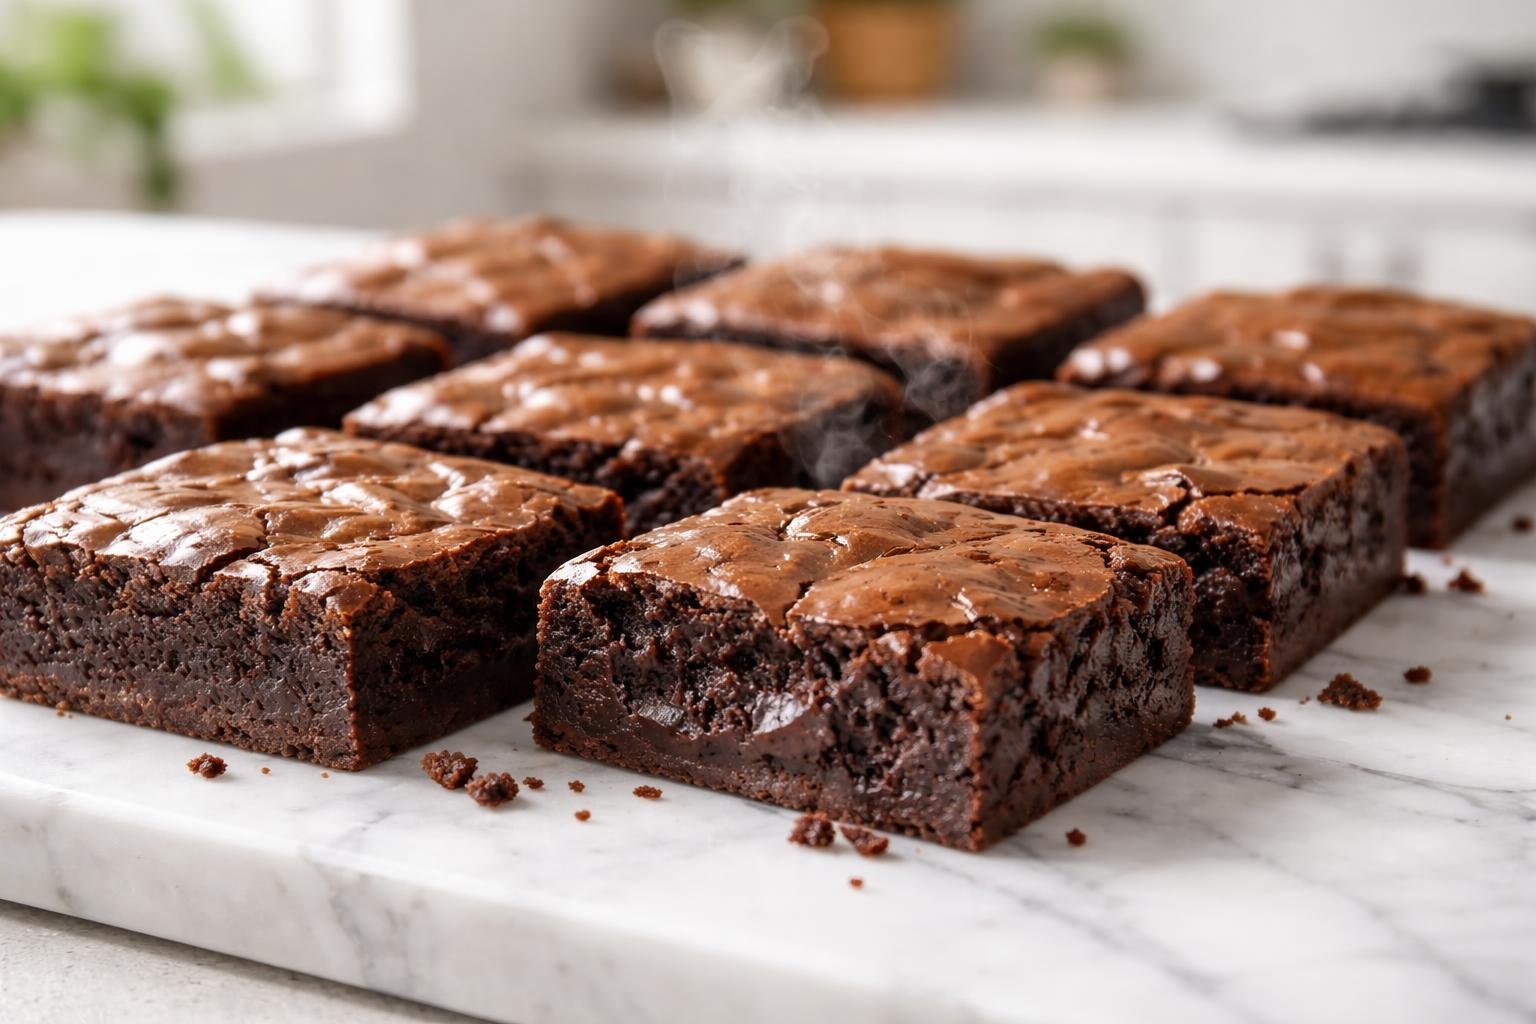
This Ghirardelli Brownie Mix Recipe is about transformation. It takes convenience and turns it into indulgence. It gives you crackly tops, fudgy centers, and that deep chocolate flavor that makes people think you spent hours baking from scratch.
But the truth? It’s quick, easy, and completely foolproof.
Let’s turn something simple into something unforgettable.
What is Ghirardelli Brownie Mix Recipe?
The Ghirardelli Brownie Mix Recipe is a semi-homemade dessert that starts with a boxed Ghirardelli brownie mix and enhances it using upgraded ingredients and better baking techniques.
Instead of following the standard box instructions, we elevate it by:
- Replacing oil with melted butter
- Enhancing chocolate depth with espresso powder
- Improving texture with precise mixing and baking control
- Adding optional mix-ins like chocolate chips, nuts, or caramel
The result is a brownie that feels homemade, rich, and bakery-quality—without the stress of measuring cocoa, flour, or leavening agents from scratch.
Think of it as a shortcut, but one that refuses to compromise on flavor or texture.
Why Ghirardelli Works So Well
Before we get into the recipe itself, it’s worth understanding why Ghirardelli brownie mix is so popular.
Ghirardelli uses high-quality cocoa, which gives the mix a deeper chocolate flavor compared to many standard boxed brands. It already has a strong foundation—meaning our job isn’t to fix it, but to elevate it.
When you combine that base with better fat (butter instead of oil), careful mixing, and slight flavor enhancements, the transformation is dramatic.
You don’t just get brownies.
You get experience-level brownies.
Equipment List
One of the best parts of this recipe is how minimal the equipment is. You don’t need anything fancy—just the basics:
- Mixing bowl (medium to large)
- Whisk or wooden spoon
- Rubber spatula
- 8×8 or 9×9 baking pan
- Parchment paper
- Measuring cups
- Oven
That’s it. No stand mixer. No complicated tools. Just simple kitchen essentials.
Recipe Card Info
- Prep Time: 10 minutes
- Cook Time: 30–35 minutes
- Cooling Time: 20–30 minutes
- Total Time: ~1 hour
- Serves: 9–12 brownies
- Cuisine: American Dessert
- Course: Dessert
- Calories: 280 kcal per serving
Ingredients
Base Ingredients
- 1 box Ghirardelli brownie mix
- 2 large eggs
- ½ cup melted butter (replaces oil for richer flavor)
- 2 tablespoons water
Flavor Enhancers
- 1 teaspoon espresso powder (optional but recommended)
- ¼ teaspoon salt (enhances chocolate depth)
Optional Add-ins
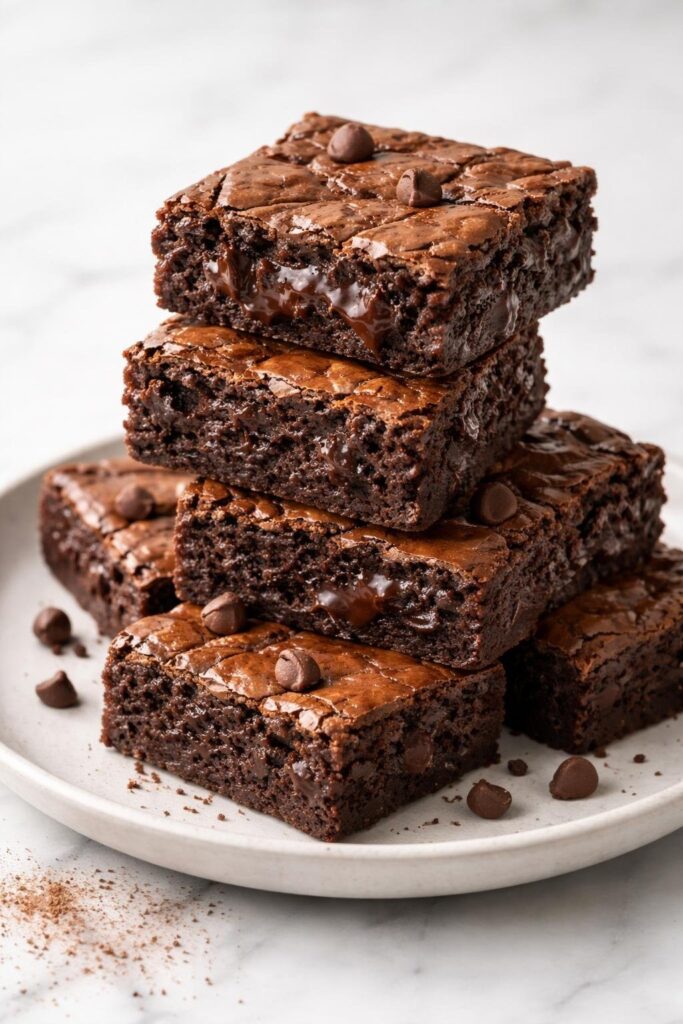
- ½ cup semi-sweet or dark chocolate chips
- ½ cup chopped walnuts or pecans
- 2 tablespoons caramel sauce (for swirl effect)
- Flaky sea salt for topping
Step-by-Step Instructions
Step 1: Preheat and Prepare Your Pan
Preheat your oven to 175°C (350°F).
Line your baking pan with parchment paper, leaving a slight overhang so you can lift the brownies out easily later.
This small step ensures clean edges and prevents sticking—something many people overlook.
Step 2: Mix the Wet Ingredients
In a large bowl, whisk together:
- Melted butter
- Eggs
- Water
Whisk until smooth and slightly glossy.
This is where the richness begins. Melted butter coats everything more evenly than oil, creating a denser, fudgier texture in your Ghirardelli Brownie Mix Recipe.
Step 3: Add the Brownie Mix
Pour in the Ghirardelli brownie mix.
Stir gently using a spatula or wooden spoon until just combined. You should still see a slightly thick batter with no dry flour patches—but avoid overmixing.
Overmixing creates air. Air creates cake-like brownies. We want fudgy, not fluffy.
Step 4: Add Flavor Enhancements
Now fold in:
- Espresso powder
- Salt
- Chocolate chips or nuts (if using)
Espresso doesn’t make the brownies taste like coffee—it deepens the chocolate flavor and makes it more intense.
Step 5: Optional Swirl Magic
If you want extra indulgence, drizzle caramel over the batter and gently swirl with a knife.
This creates ribbons of sweetness throughout the brownies.
Step 6: Bake
Pour batter into prepared pan and spread evenly.
Bake for 30–35 minutes.
The key here is timing:
- For fudgy brownies: slightly underbake
- For firmer brownies: bake full time
A toothpick should come out with moist crumbs—not clean.
Step 7: Cool Completely
This is the hardest part.
Let brownies cool fully before cutting.
If you cut too early, they will fall apart and lose structure. Cooling allows the chocolate to set properly, giving you clean, bakery-style squares.
The Science Behind Perfect Brownies
Great brownies are a balance of fat, sugar, and cocoa structure.
In this Ghirardelli Brownie Mix Recipe, we manipulate three key things:
1. Fat Type
Butter contains milk solids and water, which add flavor complexity that oil lacks.
2. Mixing Method
Less air = denser texture = fudgier brownies.
3. Baking Time
Slight underbaking preserves moisture and creates that signature gooey center.
Understanding these basics turns you from a casual baker into a confident one.
Texture Profile
These brownies are:
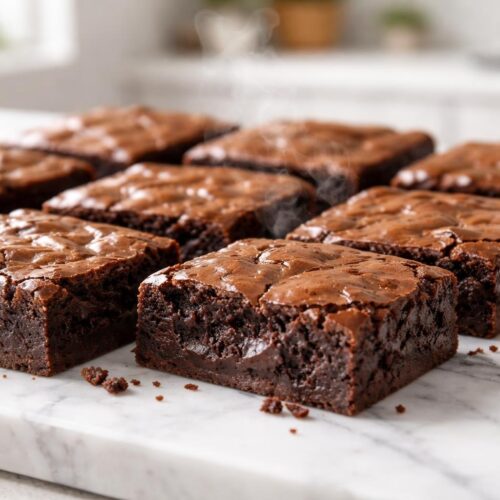
- Crackly on top
- Fudgy in the center
- Slightly chewy at the edges
- Rich and deeply chocolatey throughout
Each bite melts slowly, then finishes with a soft chew that lingers.
My Personal Baking Tips
Over time, I’ve learned a few tricks that make a huge difference:
- Always use melted butter, never oil
- Add espresso powder even if you’re unsure—it changes everything
- Let batter rest for 5 minutes before baking for deeper texture
- Sprinkle sea salt right after baking for contrast
- Refrigerate brownies overnight for even richer flavor
Variations You Can Try
1. Double Chocolate Brownies
Add extra chocolate chips for gooey pockets.
2. Nutty Brownies
Use toasted walnuts or pecans for crunch.
3. Salted Caramel Brownies
Swirl caramel and finish with sea salt.
4. Peanut Butter Brownies
Drop spoonfuls of peanut butter into batter before baking.
5. Cheesecake Brownies
Swirl cream cheese mixture for contrast.
Serving Ideas
These brownies are amazing on their own, but here are some ways to elevate them:
- Warm with vanilla ice cream
- Drizzled with chocolate sauce
- Paired with strawberries
- Served with espresso or cappuccino
That hot-cold contrast is unbeatable.
Storage Guide
- Room temperature: 3–4 days in airtight container
- Refrigerator: up to 7 days
- Freezer: up to 2 months
Reheat slightly in microwave for gooey texture.
Common Mistakes to Avoid
- Overbaking (dry brownies)
- Overmixing batter
- Cutting too soon
- Skipping parchment paper
Small mistakes change everything here.
FAQs
Can I make these brownies more fudgy?
Yes—reduce bake time slightly and add an extra egg yolk.
Can I use oil instead of butter?
Yes, but butter gives deeper flavor.
Why are my brownies cakey?
You likely overmixed or overbaked.
Can I double this recipe?
Yes, use a larger pan and adjust baking time slightly.
Why You’ll Love This Recipe
The Ghirardelli Brownie Mix Recipe proves that easy baking doesn’t mean average baking.
With just a few upgrades, you get brownies that feel homemade, rich, and indulgent—without the stress of starting from scratch.
It’s quick, reliable, and consistently impressive.
Final Thoughts
Some recipes don’t need to be complicated to feel special.
This one is proof of that.
The Ghirardelli Brownie Mix Recipe is my go-to when I want something comforting, chocolatey, and guaranteed to make people happy.
It reminds me that sometimes the best kitchen moments come from simple ideas—done with a little care, a little intention, and a lot of love for chocolate.
Ghirardelli Brownie Mix Recipe
Equipment
- Mixing bowl (medium to large)
- Whisk or wooden spoon
- Rubber spatula
- 8×8 or 9×9 baking pan
- Parchment paper
- Measuring cups
- Oven
Ingredients
Base Ingredients
- 1 box Ghirardelli brownie mix
- 2 large eggs
- ½ cup melted butter replaces oil for richer flavor
- 2 tablespoons water
Flavor Enhancers
- 1 teaspoon espresso powder optional but recommended
- ¼ teaspoon salt enhances chocolate depth
Optional Add-ins
- ½ cup semi-sweet or dark chocolate chips
- ½ cup chopped walnuts or pecans
- 2 tablespoons caramel sauce for swirl effect
- Flaky sea salt for topping
Instructions
Step 1: Preheat and Prepare Your Pan
- Preheat your oven to 175°C (350°F).
- Line your baking pan with parchment paper, leaving a slight overhang so you can lift the brownies out easily later.
- This small step ensures clean edges and prevents sticking—something many people overlook.
Step 2: Mix the Wet Ingredients
- In a large bowl, whisk together:
- Melted butter
- Eggs
- Water
- Whisk until smooth and slightly glossy.
- This is where the richness begins. Melted butter coats everything more evenly than oil, creating a denser, fudgier texture in your Ghirardelli Brownie Mix Recipe.
Step 3: Add the Brownie Mix
- Pour in the Ghirardelli brownie mix.
- Stir gently using a spatula or wooden spoon until just combined. You should still see a slightly thick batter with no dry flour patches—but avoid overmixing.
- Overmixing creates air. Air creates cake-like brownies. We want fudgy, not fluffy.
Step 4: Add Flavor Enhancements
- Now fold in:
- Espresso powder
- Salt
- Chocolate chips or nuts (if using)
- Espresso doesn’t make the brownies taste like coffee—it deepens the chocolate flavor and makes it more intense.
Step 5: Optional Swirl Magic
- If you want extra indulgence, drizzle caramel over the batter and gently swirl with a knife.
- This creates ribbons of sweetness throughout the brownies.
Step 6: Bake
- Pour batter into prepared pan and spread evenly.
- Bake for 30–35 minutes.
- The key here is timing:
- For fudgy brownies: slightly underbake
- For firmer brownies: bake full time
- A toothpick should come out with moist crumbs—not clean.
Step 7: Cool Completely
- This is the hardest part.
- Let brownies cool fully before cutting.
- If you cut too early, they will fall apart and lose structure. Cooling allows the chocolate to set properly, giving you clean, bakery-style squares.
Notes
- Always use melted butter, never oil
- Add espresso powder even if you’re unsure—it changes everything
- Let batter rest for 5 minutes before baking for deeper texture
- Sprinkle sea salt right after baking for contrast
- Refrigerate brownies overnight for even richer flavor

Hi, I’m Olivia Brooks! Cooking is my passion, and I love turning everyday ingredients into meals that bring joy to the table. On CulinaryPearl, I share simple recipes, helpful kitchen tips, and inspiration for food lovers everywhere