Intro
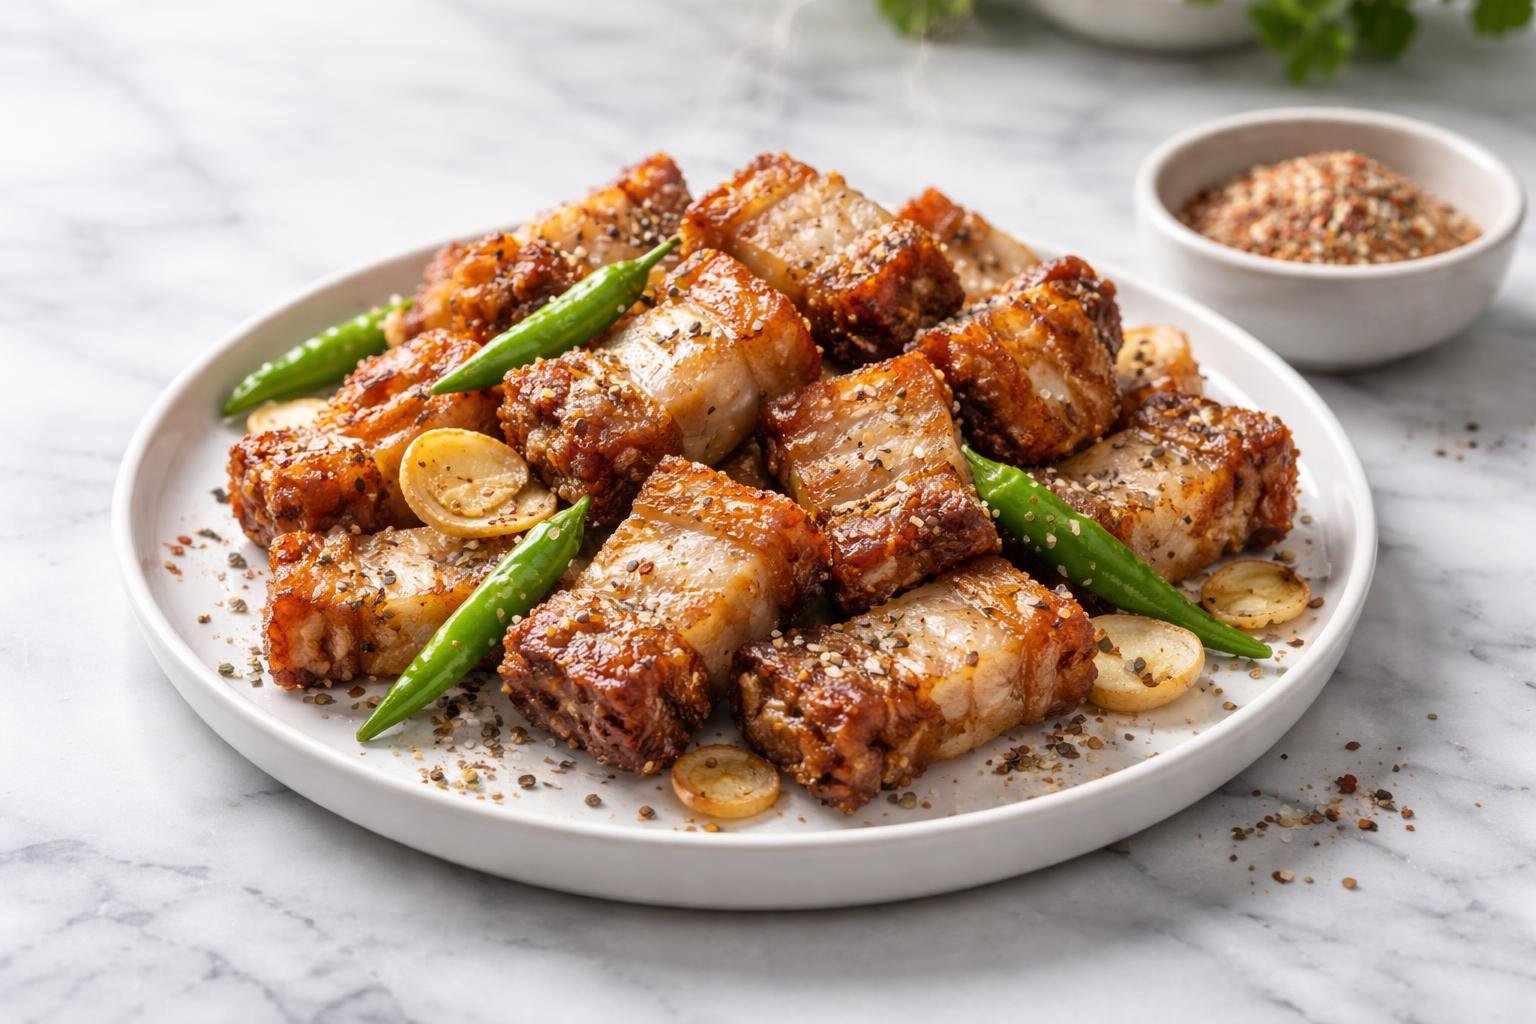
There are certain dishes that feel like pure satisfaction on a plate, and this salt and pepper pork belly recipe is exactly that for me. Crispy, juicy, savory, and lightly spicy—it’s the kind of food that makes you pause after the first bite just to appreciate what’s happening in your mouth.
The first time I made this salt and pepper pork belly recipe, I honestly wasn’t expecting much. I had a slab of pork belly sitting in my fridge and a craving for something crispy rather than slow-braised.
So I kept things simple—salt, pepper, aromatics, and high heat. What came out of the pan changed everything. Golden, blistered edges. Tender, fatty meat inside. Garlic and chilies clinging to every bite.
Since then, this dish has become one of my personal favorites to cook at home when I want something bold but not complicated. It feels like restaurant-style food, but made in a very humble kitchen.
As a home cook, I always get excited about recipes that don’t require perfection—just good technique, simple seasoning, and a bit of patience. This salt and pepper pork belly recipe is exactly that kind of magic.
What is Salt and Pepper Pork Belly Recipe?
A salt and pepper pork belly recipe is a Chinese-inspired crispy pork dish made by frying or deep-frying pork belly until golden and crunchy, then tossing it with garlic, chilies, and a simple salt-and-pepper seasoning mix.
Despite its simplicity, the flavor is incredibly bold. The pork belly itself brings richness and natural fat, while the high-heat cooking creates a crispy exterior. The seasoning—usually a mix of salt, white pepper, and sometimes black pepper—adds sharpness and warmth.
What makes this dish so addictive is the contrast:
- Crispy outside
- Juicy inside
- Aromatic garlic
- Mild heat from chilies
It’s the kind of dish you keep reaching for without realizing it.
Equipment List
To make this salt and pepper pork belly recipe, you’ll need:
- Sharp knife
- Cutting board
- Mixing bowls
- Deep frying pan or wok
- Slotted spoon
- Paper towels
- Tongs
- Measuring spoons
A wok works best, but a heavy pan also does the job beautifully.
Recipe Card Info
- Prep Time: 20 minutes
- Cook Time: 25 minutes
- Total Time: 45 minutes
- Serves: 4 servings
- Cuisine: Chinese-inspired
- Course: Appetizer
- Calories: 620 kcal per serving
Ingredients
Here’s everything you need for this salt and pepper pork belly recipe:
- 500g pork belly (cut into bite-sized pieces)
- 2 tablespoons cornstarch
- 1 teaspoon salt
- 1 teaspoon white pepper
- 1/2 teaspoon black pepper
- 1 teaspoon garlic powder (optional for coating)
- Oil for deep frying
For stir-fry seasoning:
- 4 cloves garlic (minced)
- 2–3 green chilies (sliced)
- 1 small onion (optional, sliced)
- 1 teaspoon salt
- 1/2 teaspoon white pepper
- 1/2 teaspoon chili flakes (optional)
Instructions (Step-by-Step)
Step 1: Prepare the Pork Belly
Cut pork belly into bite-sized cubes. Pat dry with paper towels—this is important for crispiness.
Step 2: Season and Coat
In a bowl, mix pork with salt, white pepper, black pepper, and cornstarch. Toss until evenly coated.
The cornstarch helps create that crispy outer layer.
Step 3: Heat the Oil
Heat oil in a deep pan or wok over medium-high heat. The oil should be hot enough for frying but not smoking.
Step 4: Fry the Pork
Carefully add pork pieces in batches. Fry until golden brown and crispy, about 6–8 minutes per batch.
Remove and place on paper towels to drain excess oil.
Step 5: Aromatics Time
In a separate pan or carefully using a small amount of oil from frying, sauté garlic and chilies until fragrant.
Step 6: Toss Everything Together
Add fried pork belly into the pan with garlic and chilies. Sprinkle salt, white pepper, and chili flakes. Toss quickly over high heat.
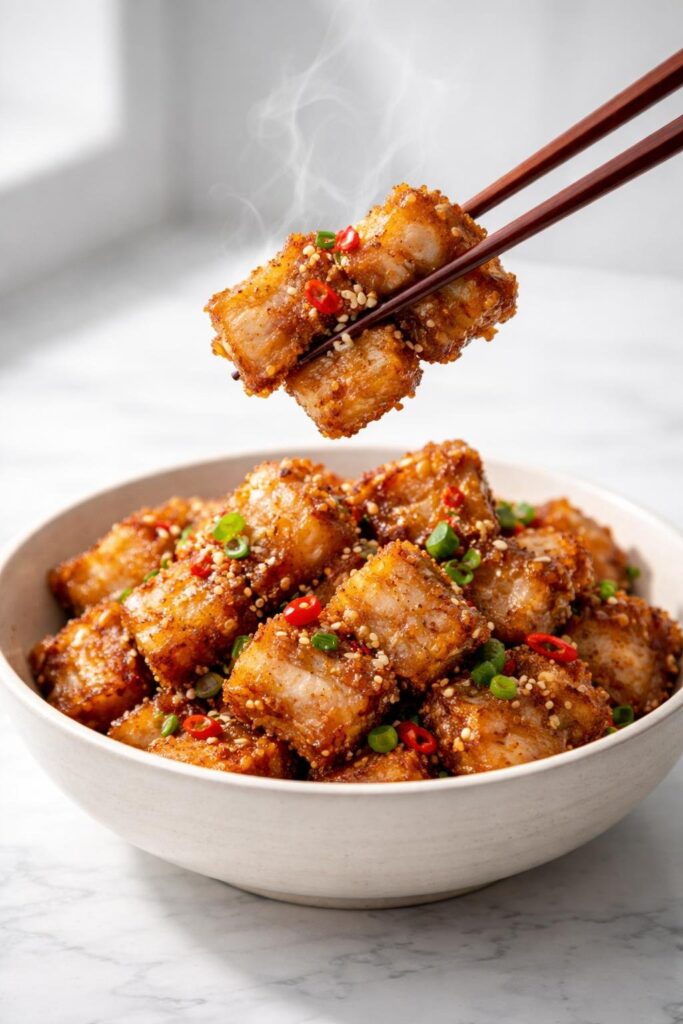
Step 7: Serve Hot
Serve immediately while crispy and hot.
The Flavor Story Behind This Dish
This salt and pepper pork belly recipe is all about contrast and texture.
The pork belly itself is rich and fatty, but when fried properly, it transforms into something light, crispy, and almost addictive. The salt enhances natural flavor, while white pepper adds a gentle heat that lingers.
Then comes the garlic—sharp, aromatic, slightly sweet when cooked. The chilies bring brightness and heat, cutting through the richness of the pork.
Every bite is balanced: crispy, salty, spicy, and savory.
Why This Salt and Pepper Pork Belly Recipe Works
This recipe works because it focuses on technique more than complexity:
- Dry surface = crispier pork
- Cornstarch = crunchy coating
- High heat frying = texture
- Quick stir-fry = fresh aroma
It’s simple but incredibly effective.
My Personal Kitchen Tips
Over time, I’ve learned a few small things that make a big difference:
- Always dry the pork well before frying
- Don’t overcrowd the pan
- Fry in batches for better crispiness
- Use high heat for the final toss
- Serve immediately for best texture
Variations You Can Try
Extra Spicy Version
Add more chilies or a splash of chili oil.
Garlic Lover’s Version
Double the garlic for stronger aroma.
Air Fryer Version
Air fry pork belly at high heat until crispy, then toss with seasoning.
Light Version
Pan-fry with less oil instead of deep frying.
What to Serve with Salt and Pepper Pork Belly
This dish pairs beautifully with:
- Steamed jasmine rice
- Fried rice
- Stir-fried vegetables
- Noodles
I personally love it with plain rice because the pork is already so flavorful.
Storage Tips
- Best eaten fresh for maximum crispiness
- Store leftovers in the fridge for up to 2 days
- Reheat in an air fryer or hot pan (not microwave for best texture)
Common Mistakes to Avoid
- Frying wet pork (leads to splatter and sogginess)
- Low oil temperature
- Overcrowding the pan
- Overcooking aromatics (they turn bitter)
Make-Ahead Tips
You can prep ahead by:
- Cutting and seasoning pork in advance
- Pre-mixing salt and pepper seasoning
- Keeping garlic and chilies ready to cook
But fry just before serving.
FAQs
Can I bake instead of fry?
Yes, but texture will be less crispy.
Can I use skinless pork belly?
Yes, but skin adds extra crunch.
Is white pepper necessary?
It gives the authentic flavor, but black pepper can substitute.
Can I make it less spicy?
Yes, reduce or skip chilies.
Final Thoughts
This salt and pepper pork belly recipe is one of those dishes that proves simple cooking can still deliver huge flavor. It’s crispy, juicy, spicy, and completely satisfying.
As a home cook, I love recipes like this because they don’t require perfection—just good ingredients and a little confidence in the pan.
So the next time you’re craving something bold and crispy, give this a try. It might just become one of your favorites too.

Salt and Pepper Pork Belly Recipe
Equipment
- Sharp knife
- Cutting board
- Mixing bowls
- Deep frying pan or wok
- Slotted spoon
- Paper towels
- Tongs
- Measuring spoons
Ingredients
- 500 g pork belly cut into bite-sized pieces
- 2 tablespoons cornstarch
- 1 teaspoon salt
- 1 teaspoon white pepper
- 1/2 teaspoon black pepper
- 1 teaspoon garlic powder optional for coating
- Oil for deep frying
For stir-fry seasoning:
- 4 cloves garlic minced
- 2 –3 green chilies sliced
- 1 small onion optional, sliced
- 1 teaspoon salt
- 1/2 teaspoon white pepper
- 1/2 teaspoon chili flakes optional
Instructions
Step 1: Prepare the Pork Belly
- Cut pork belly into bite-sized cubes. Pat dry with paper towels—this is important for crispiness.
Step 2: Season and Coat
- In a bowl, mix pork with salt, white pepper, black pepper, and cornstarch. Toss until evenly coated.
- The cornstarch helps create that crispy outer layer.
Step 3: Heat the Oil
- Heat oil in a deep pan or wok over medium-high heat. The oil should be hot enough for frying but not smoking.
Step 4: Fry the Pork
- Carefully add pork pieces in batches. Fry until golden brown and crispy, about 6–8 minutes per batch.
- Remove and place on paper towels to drain excess oil.
Step 5: Aromatics Time
- In a separate pan or carefully using a small amount of oil from frying, sauté garlic and chilies until fragrant.
Step 6: Toss Everything Together
- Add fried pork belly into the pan with garlic and chilies. Sprinkle salt, white pepper, and chili flakes. Toss quickly over high heat.
Step 7: Serve Hot
- Serve immediately while crispy and hot.
Notes
- Always dry the pork well before frying
- Don’t overcrowd the pan
- Fry in batches for better crispiness
- Use high heat for the final toss
- Serve immediately for best texture

Hi, I’m Olivia Brooks! Cooking is my passion, and I love turning everyday ingredients into meals that bring joy to the table. On CulinaryPearl, I share simple recipes, helpful kitchen tips, and inspiration for food lovers everywhere