Intro
To tell the truth, it is weirdly pleasing to eat crunchy, melt-in-your-mouth cornstarch pieces. You have either accidentally come across them on social media or have spotted someone biting into those chalky, powdery cubes that crumble to bits so easily. Hence, you are aware of the strangely compulsive nature.
Today, I’m sharing with you my interpretation of the Cornstarch Chunks Recipe – the one that has been so popular and widely discussed on the internet!
However, I am doing it my way – with that homemade feel, a dash of science, and a lot of fun in the kitchen. We are going to the depths of what they are, why they are so captivating, and how we can prepare them at home with only a single main ingredient and a little bit of patience.
What Are Cornstarch Chunks?
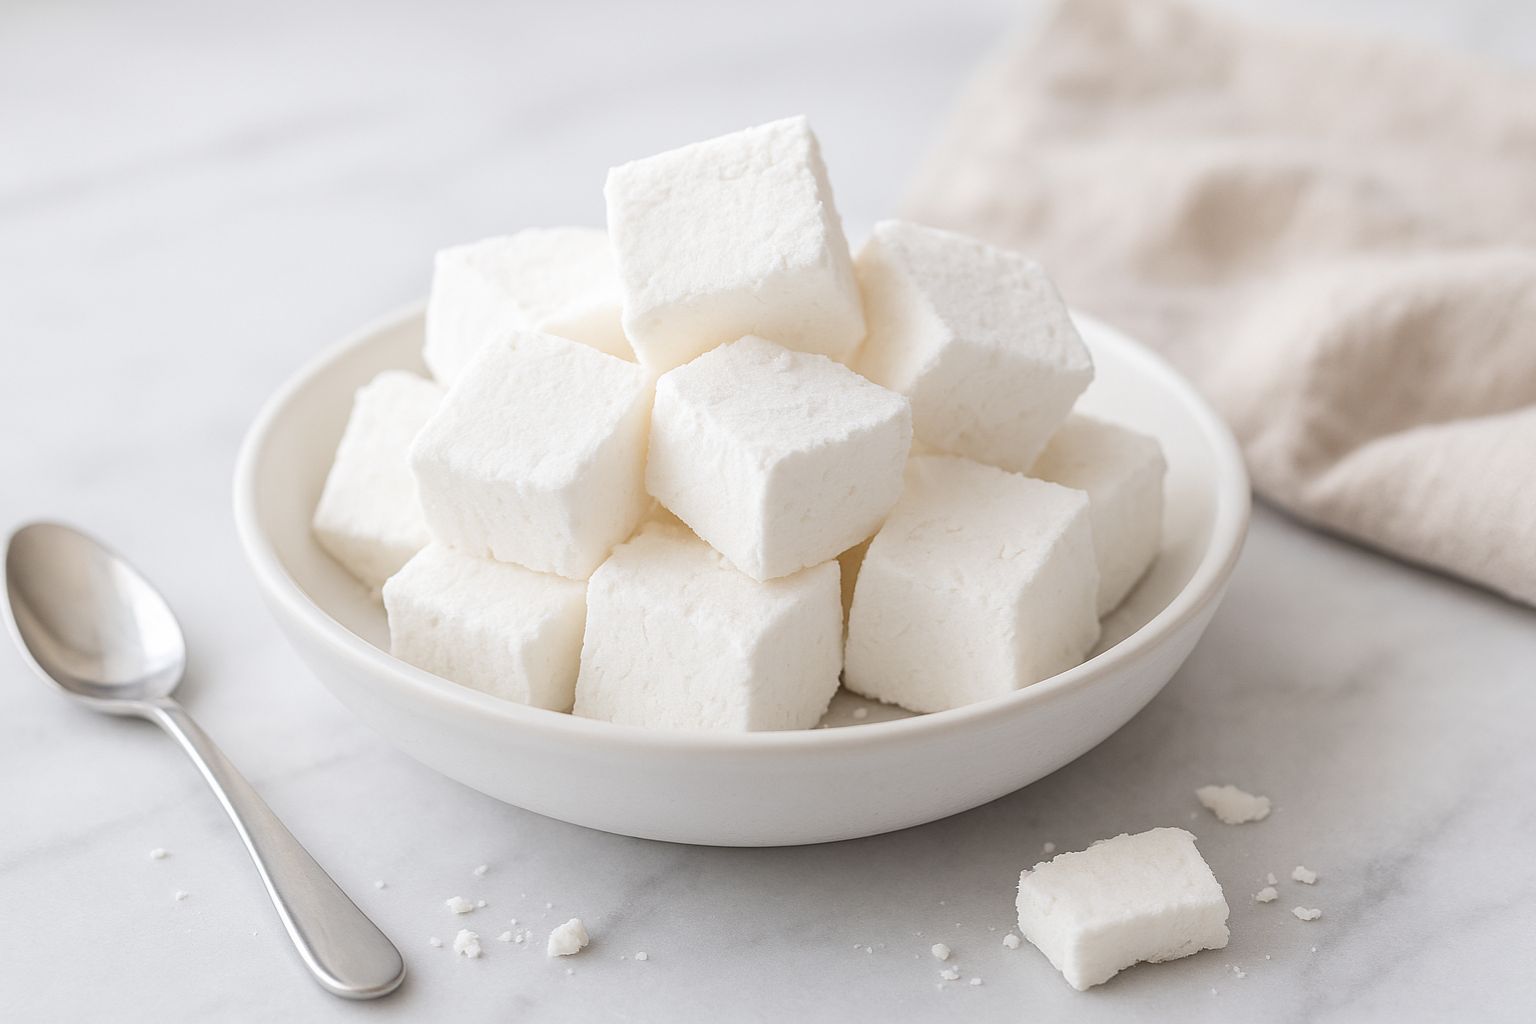
Cornstarch chunks are just what they are, solid and pressed blocks of pure cornstarch which people bake, freeze, or even microwave to produce that solid, brittle consistency which cracks and crunches when bitten.
At this point, they are not so much a snack as the word commonly means (as pure cornstarch does not taste very good), but it is this consistency that makes them impossible to resist for so many people.
Others refer to it as being like eating chalk or powdered ice, and it is hard at first, but softens and melts away once you chew it.
It is a very easy procedure; you simply fill the cornstarch into a mold or pan, bake it or freeze it to solidify, and then crack it into pieces. That is all there is to it, no fancy stuff, no big deal.
However, it is more than that. The key to the perfect batch is finding the water content, compression, and temperature formula accurate, and that is what I will guide you to be in this Cornstarch Chunks Recipe.
The History of My Discovery of this.
Alright, now it is time to tell the truth. I found out about the Cornstarch Chunks Recipe entirely by chance.
I was on a scroll one day, as is the case with food videos (when you are procrastinating on laundry), and I saw a person biting into what appeared to be white cubes. I was instantly intrigued. I initially believed that it was sweet or perhaps sugar blocks. However, it was baked cornstarch, and I simply had to taste it.
This prompted me to empty my pantry and get my dusty box of cornstarch, and start working. My first few tries? Suffice it to say that the pieces were either too soft to bite or too hard.
But when I discovered the correct compression and temperature combination – wizardry. And they were dry and airy and crunchy and had that exact snap.
I cook them now whenever I need a fun kitchen experiment or simply a peculiarly worthwhile snack to nosh on.
Equipment List
This Cornstarch Chunks Recipe does not require a lot of things; however, having the right tools is a difference. Here’s what I recommend:
- Mixing bowl – to mix and fill the cornstarch.
- Spatula/spoon- to press and smooth the hair.
- Baking dish or loaf pan – glass or metal, either.
- Parchment paper – so it can be easily removed.
- Oven or air fryer – which one do you prefer?
- Knife or mallet – to chop the baked block into pieces.
- Optional: small silicone molds in case you would like perfectly shaped cubes.
And that is all! bare bones, crunch!
Ingredients For Cornstarch Chunks Recipe
You will like this part of it–easy as it gets.
For the base:
- 2 cups cornstarch (no corn flour)
Optional variations:
- 2–3 tablespoons of water (to have a thicker texture)
- 1 teaspoon vanilla extract or cocoa powder (light scent or color)
- Some food coloring (in case you would like colored chunks)
That’s all! Cornstarch is the hero in it; the other things only alter a little texture or look.
How To Make Cornstarch Chunks?
Step 1: Preheat the Oven
When you are baking your chunks, set your oven to 375°F (190 o C ). Baking makes them have that dry and crumbly texture that many people desire.
In case you are going to a frozen version, you can pass this step and jump to Step 3.
Step 2: Pack the Cornstarch
Parchment paper your baking dish or pan. Add in the cornstarch and begin pressing it downwards with either the back of a spoon or with your hands. You want to squeeze it to its smallest size – this is important in making hard pieces in the future.
When trying texture, then drizzle 1 or 2 tablespoons of water evenly across the surface during pressing. This provides the final chunks with a bit firmer and smoother bite.
Step 3: Bake (or Freeze)
For baked chunks:
Your tightly packed pan should be put in the oven and allowed 15-20 minutes. The cornstarch will only harden a little, but it should not brown – watch it. Once baked, allow to cool down.
For frozen chunks:
Rather than baking, prepare your pan and leave it in the freezer for 3–4 hours. This provides a less heavy and crisper crunch.
Both are effective – it is only a matter of the choice of the type of texture that you like.
Step 4: Break Into Chunks
When cooled (or frozen solid), pick out the slab of the pan. Then there is the fun part, which is breaking it! Break the block into uneven pieces with a knife, mallet, or you can use your hands.
The gratifying crack as it cracks open is actually half the pleasure.
Step 5: Store and Enjoy
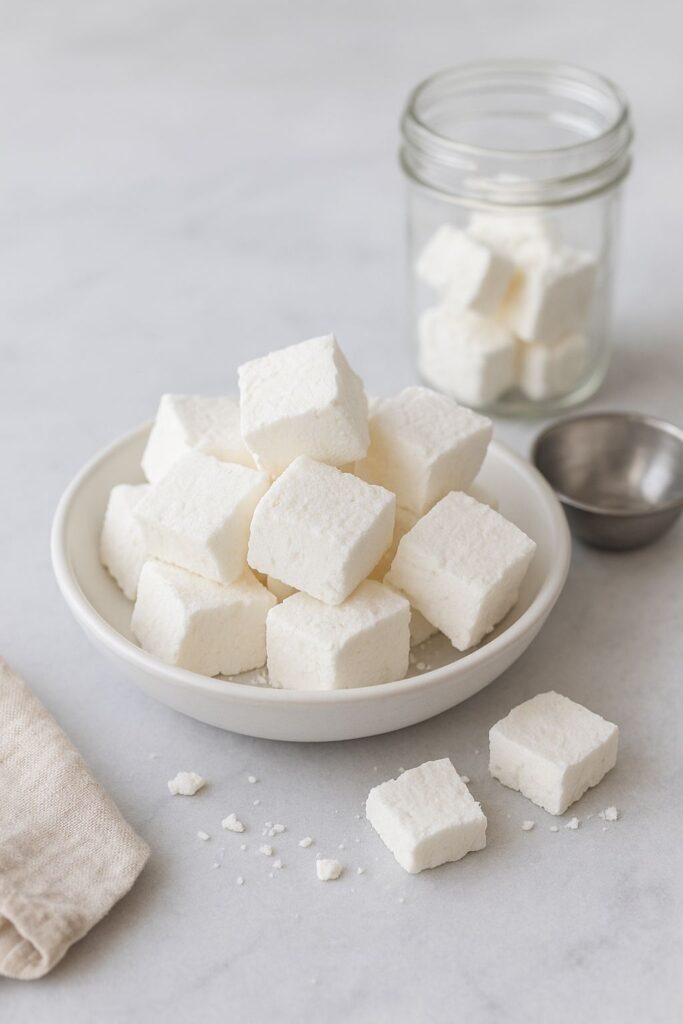
Keep your chunks in an airtight container to keep them dry. They are able to take a few weeks at room temperature, provided that they are kept dry.
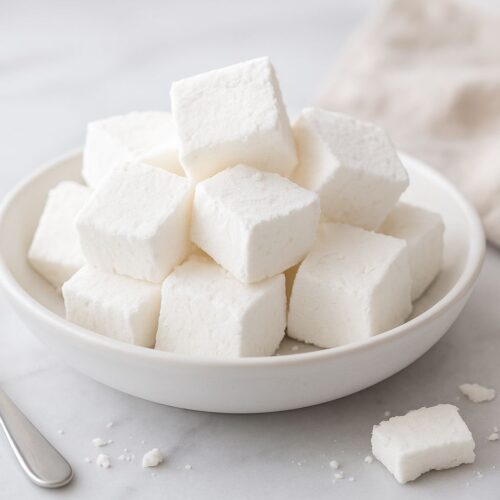
And that’s it! You have prepared your own batch of Cornstarch Chunks Recipe– pure, plain, and strangely pleasing.
Tips for Perfect Cornstarch Chunks
The secret to that signature crunch is balance. The following are some of the lessons I learned in the process:
Pack hard: The harder you pack it, the cleaner your chunks will break.
Do not add too much water: excessive water causes the chunks to be thick or sticky.
Allow to cool thoroughly: Warm lumps will stick together; cool lumps remain firm.
Play with texture: Bake soft and crisp: Bake to make it crushy. Freeze to make it snap.
Experience mix-ins: just a little cocoa or vanilla flavor, or the texture will be destroyed.
The reason why people are obsessed with cornstarch chunks.
It is the most captivating to me: the Internet has made cornstarch pieces a favorite sensory element due to their sound, the feeling of the material, and the ASMR. The good crunching and the crumbling powder make the experience of touch and taste that people enjoy watching and re-creating.
It is not exactly a matter of taste; it is a matter of touch. It is impossible to find a texture that is as sweet as the cracking sound between your teeth and its dissolution. It is easy, relaxing, and a bit strange, yet good!
Cornstarch Chunks Recipe Variations.
After making the basic Cornstarch Chunks Recipe, it is time to be creative. Try some of these variations:
Vanilla-Scented Chunks: Add 1 teaspoon of vanilla extract and pack.
Cocoa Dust Chunks: Add 1 Tb of cocoa powder to a light chocolate flavor.
Colored Chunks: Add several drops of food coloring to make pastel-colored chunks.
Layered Chunks: Press layers of alternate colors to create a marble effect.
Extra Crunchy Version: Bake a little longer of 5 minutes at 400 o C (200 °C) to give a firmer bite.
They are mere additions, but they entirely alter the atmosphere and sound of the chunks.
Common Mistakes (And How to Fix Them)
The initial few batches do not have to work out, so you should not panic when they do not work out on your side! This is what may be amiss:
Too Powdery: You have not packed it hard.
Too Hard to Bite: It was too moist or baked too long.
Crumbles Apart: Compression was not intense enough or cooled too fast.
No Crunch: Use the oven technique instead of freezing it, more dry.
Every experiment will inform you about the behavior of cornstarch. It is a rather entertaining little science experiment!
Storage Tips
Cornstarch particles are hygroscopic, that is, they are able to absorb water in the air. So the key is keeping them dry.
Here’s how:
- Keep in a glass airtight jar or a container.
- Place a pack of silica (the one provided with snacks) in it to maintain low humidity.
- Keep out of the refrigerator — condensation spoils the crunch.
They have a maximum of 4 weeks when properly stored.
Is Eating Cornstarch Safe?
This is one of the frequently asked questions, and therefore, we should answer it.
In small quantities, pure cornstarch (to thicken a sauce or to bake) is technically safe, but it is not meant to be eaten in large quantities as such. It is predominantly made of carbohydrates and contains no nutrients or taste.
Thus, it is not a bad idea to make and taste the Cornstarch Chunks, but it is not recommended to eat too much of it on a routine basis or too often.
Imagine it is a kind of edible play, a kitchen play, not a snack.
Serving Ideas (Just for Fun)
Then you can use your completed chunks to do more than crunching. Here are a few fun ideas:
ASMR videos: In case you are fond of sound-related materials, the crackly bite is ideal.
Sensory play: They mash together to make a stress reliever or sensory kits.
Photo props: They have a powdery texture that appears fantastic on the flat lay and kitchen images.
DIY: Add color or smell to make a personalized, handmade present.
Homemade vs. Store-Bought Cornstarch Chunks
Yes, it is possible to get ready-made pieces of cornstarch on the Internet, but, to be honest, self-cooked is always better.
Why?
Since you have control of the texture, size, and shape. There are too small or dusty chunks bought in stores. It is better to make your own, and you will have that clean, crunchy break you desire; besides, it is fun, it is very easy to do.
My Cornstarch Chunks Recipe is also made at home, giving you the chance to experiment safely and adjust the result in order to obtain the desired one.
More Recipes:
Cornstarch Chunks Recipe
Equipment
- Mixing bowl
- Spatula/spoon
- Baking dish or loaf pan
- Parchment paper
- Oven or air fryer
- Knife or mallet
- Optional: small silicone molds in case you would like perfectly shaped cubes.
Ingredients
For the base:
- 2 cups cornstarch no corn flour
Optional variations:
- 2 –3 tablespoons of water to have a thicker texture
- 1 teaspoon vanilla extract or cocoa powder light scent or color
- Some food coloring in case you would like colored chunks
Instructions
Step 1: Preheat the Oven
- When you are baking your chunks, set your oven to 375°F (190 o C ). Baking makes them have that dry and crumbly texture that many people desire.
- In case you are going to a frozen version, you can pass this step and jump to Step 3.
Step 2: Pack the Cornstarch
- Parchment paper your baking dish or pan. Add in the cornstarch and begin pressing it downwards with either the back of a spoon or with your hands. You want to squeeze it to its smallest size – this is important in making hard pieces in the future.
- When trying texture, then drizzle 1 or 2 tablespoons of water evenly across the surface during pressing. This provides the final chunks with a bit firmer and smoother bite.
Step 3: Bake (or Freeze)
- For baked chunks:
- Your tightly packed pan should be put in the oven and allowed 15-20 minutes. The cornstarch will only harden a little, but it should not brown – watch it. Once baked, allow to cool down.
- For frozen chunks:
- Rather than baking, prepare your pan and leave it in the freezer for 3–4 hours. This provides a less heavy and crisper crunch.
- Both are effective – it is only a matter of the choice of the type of texture that you like.
Step 4: Break Into Chunks
- When cooled (or frozen solid), pick out the slab of the pan. Then there is the fun part, which is breaking it! Break the block into uneven pieces with a knife, mallet, or you can use your hands.
- The gratifying crack as it cracks open is actually half the pleasure.
Step 5: Store and Enjoy
- Keep your chunks in an airtight container to keep them dry. They are able to take a few weeks at room temperature, provided that they are kept dry.
- And that’s it! You have prepared your own batch of Cornstarch Chunks Recipe– pure, plain, and strangely pleasing.

Hi, I’m Olivia Brooks! Cooking is my passion, and I love turning everyday ingredients into meals that bring joy to the table. On CulinaryPearl, I share simple recipes, helpful kitchen tips, and inspiration for food lovers everywhere