Intro
There is no use denying it; certain desserts are capable of pulling at your nostalgia. You are familiar with the ones that are just plain, creamy, and somehow magical.
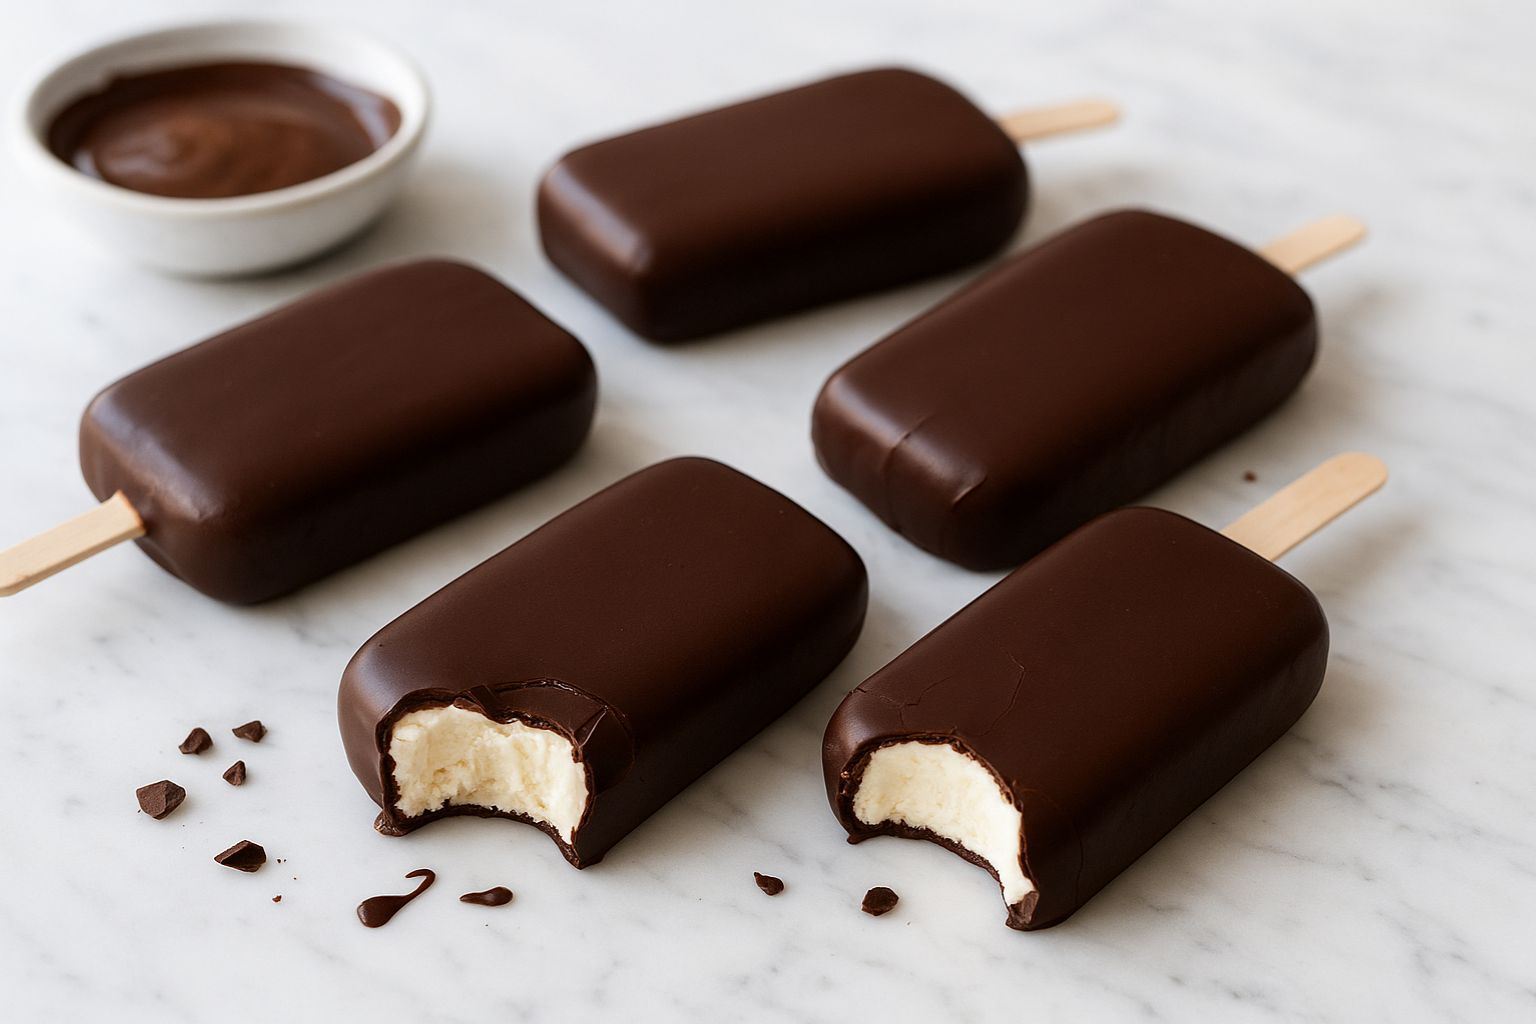
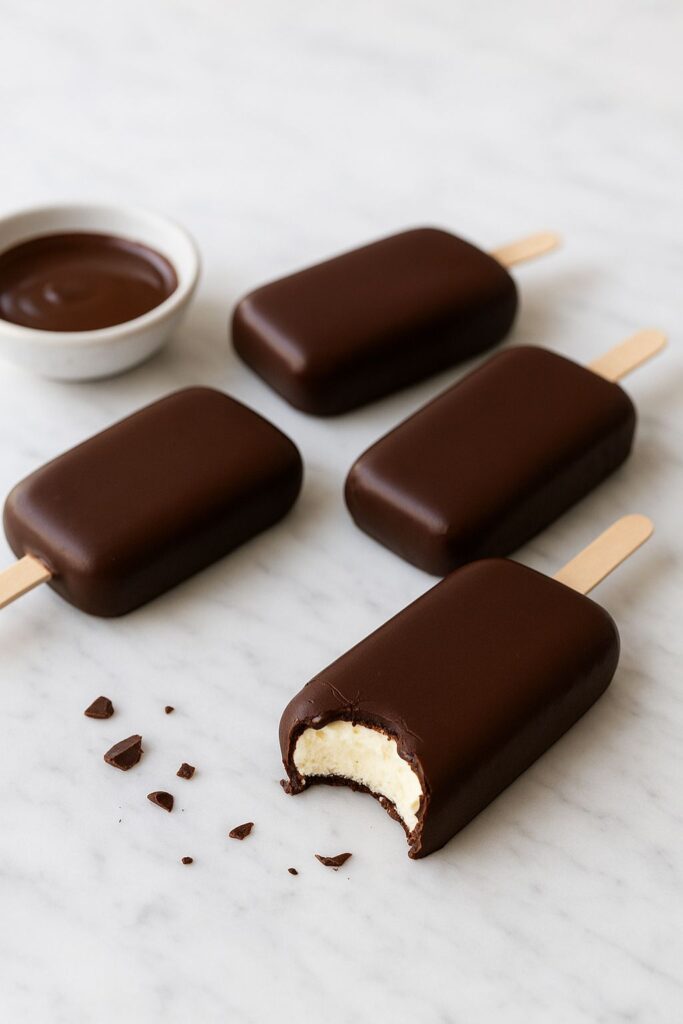
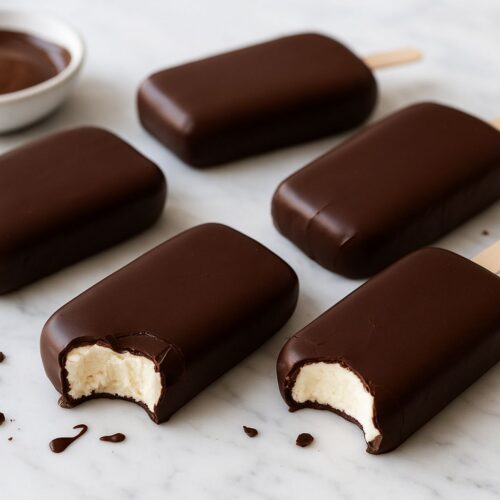
In my case, that would be the Homemade Eskimo Pie Popsicle Recipe, a taste of childhood circled in a glassy coating of chocolate and snapping with a certain crunch when you take that first, irresistible bite.
These ice cream desserts are chilled, creamy, and chocolatey just the way they should be. They have summer afternoons, sticky fingers, and laughter bouncing in the backyard on their lips. Preparing them yourself will give you that same feeling, except now you are the magic worker.
In case you have always desired to re-create the same old flavor of Eskimo Pie, smooth vanilla ice cream topped with a thick chocolate shell, this recipe is your ticket to heaven. And believe me, they will never again look at ice cream bars on the market like you will when you make them at home.
What is a Homemade Eskimo Pie Popsicle?
Homemade Eskimo Pie Popsicle is a frozen vanilla ice cream bar with a smooth coating of chocolate that solidifies into a body-satisfying shell. It resembles a frozen candy bar – creamy and crispy on the outside, and happiness in every bite.
The first Eskimo Pie was created way back in the 1920s by the owner of the candy store, who then decided to cover vanilla ice cream in chocolate so that it would not melt so quickly. It remains a brilliant idea so many decades later, and when preparing it at home, it goes to a different level of tastiness.
This is a DIY version that allows spending on high-quality ingredients, such as real vanilla, cream, good chocolate, and even adjusting the coating or filling. Imagine salted caramel, nut, or dark chocolate shells. After trying it, you will ask yourself why you had not made it earlier.
The History of My Discovery of This.
I can clearly recall when I fell in love with Eskimo Pies. It was that sticky summer evening when my grandmother took out a tray of homemade popsicles from her freezer, which was old. They were not expensive, bare vanilla bars with melted chocolate on them, but when I had a bite of one, it was heaven.
Several years later, as a cook and lover of desserts, I had the need to taste that taste and texture. The ones sold in the store lacked the same home-made flavor.
And so I unbuttoned my shirt, melted some chocolate, and began to make up. I at last hit the Homemade Eskimo Pie Popsicle Recipe, which does offer all of that childhood magic with just a touch of sophistication.
Equipment List
There is no need to have a whole pastry kitchen to do this recipe, and instead, only a few basic tools are required:
- Popsicle molds (silicone or plastic are good)
- Popsicle sticks
- Small saucepan
- Mixing bowls
- Whisk or hand mixer
- Bowl or double boiler (to melt chocolate) that is microwave safe.
- Baking pan covered with parchment paper.
- Freezer space (ensure that it is flat)
Ingredients For Homemade Eskimo Pie Popsicle Recipe
The following is all you will require to make around 8-10 popsicles:
To fill the filling in a Vanilla Ice Cream:
- 2 cups heavy cream
- 1 cup whole milk
- ¾ cup granulated sugar
- 1 tbsp pure vanilla extract
- Pinch of salt
- (Optional: a few tablespoons of condensed milk may be added to add extra creaminess to it.)
For the Chocolate Coating:
- 1 1/2 cups of semi-sweet chocolate chips or chocolate chips.
- 3 tbsp coconut oil (this is to aid in the smooth hardening of the chocolate)
- (You can replace the dark or milk chocolate, according to your taste)
Instructions
Step 1: Make the ice cream base
Add cream, milk, sugar, vanilla extract, and a pinch of salt to a bowl and mix until the sugar dissolves. The fluffy texture can be achieved using a hand mixer, although it is possible to mix it by hand.
Step 2: Pour and freeze
Add the mixture to your popsicle moulds and do so in uniform layers, being very careful to leave some room on top to enable it to expand. Pop sticks and freeze or freeze at least 6 hours or overnight (possibly) if you are patient.
Step 3: Melt the coating chocolate.
Add the chocolate chips and coconut oil in a bowl that is safe at the microwave. Heat in 20-second intervals, stirring in between, until silky. (A double boiler may be used to have a more controlled melt, too.)
Step 4: Dip the popsicles
When the popsicles have been completely frozen, take them out of the molds. When it is melted, be fast, and coat each one with the melted chocolate so that it is covered with it. That is the best part, the chocolate will harden within a few seconds due to the cold surface.
Step 5: Freeze again
Store the soaked popsicles on a lined parchment tray and store them again in the freezer to dry thoroughly, a process of 15 minutes.
Flavor Notes and Variations
The Homemade Eskimo Pie Popsicle Recipe is as beautiful in the sense that it can be customized indefinitely. The sky is the limit once you have got it!
The following are some of the variations that can be made:
Salted Caramel Core: Drizzle caramel sauce into the mold, then pour ice cream into the drizzle.
Nutty Crunch: Chopped almonds or hazelnuts can be added to the melted chocolate to give it some texture.
Double Chocolate Dream: Add mini chocolate pieces into the ice cream base.
Minty Fresh: You should use dark chocolate coating and add a drop of peppermint extract to the ice cream.
Cookies and Cream: Add some crushed Oreos and freeze it in cookies to add a twist to the original one.
All of them are a small adventure of a dessert; enjoyable, decadent, and absolutely personal.
Why This Homemade Eskimo Pie Popsicle Recipe Works So Well
The trick is the mixture of ingredients that are easy to prepare and the ideal textures. That creamy, melt-in-your-mouth stuff is made of rich cream and milk, and the snapping crack of the chocolate shell is made by the coconut oil we all love in our chocolate.
Each bite is the most contrasting one, tender vanilla and cold chocolate. It is a balance in dessert form, and that is why it remains timeless.
Tips for Perfect Results
- Use quality chocolate. It makes the difference between taste and texture.
- Work quickly when dipping. The chocolate dries quickly, and thus should be prepared.
- Maintain your popsicles at maximum coldness. Before dipping, they must be rock-hard.
- Don’t skip the coconut oil. It plays a major role in a crackable coating.
- Add flair! A sprinkle of white chocolate drizzles or a sprinkle of nuts that are crushed is gorgeous.
Serving Suggestions
Such popsicles are ideal in:
- Backyard barbeques or swimming parties.
- After-dinner desserts
- Kids’ birthday treats
- After-bedtime sweet passions (yes, guilty!).
Eat them in a bare form or place them on a platter with toppings such as chopped nuts, caramel drizzle, or sprinkles as an excellent dessert board moment.
How to Store
Keep the popsicles in a freezer bag or an airtight container in parchment paper so that they do not stick together. They will preserve beautifully for a maximum of 2 weeks, but when we are honest, they never last so long.
Fun Add-On: Make It Mini!
It is very simple to make this a Homemade Eskimo Pie Popsicle Recipe. All one has to do is pour the mixture into silicone ice cube trays of silicone to freeze, place mini sticks or toothpicks, then dip them in chocolate after they are frozen. They are cute, bite-sized, and ideal at parties.
Behind the Flavors: A Deep Rapid Tour.
The Homemade Eskimo Pie Popsicle Recipe has a near-poetic balance. You have that dairy cream, sweet richness of vanilla cream, that is full-bodied and smooth, contrasting with the bitter-sweet sweetness of the actual chocolate. It is that confrontation that makes every bite a pleasure.
And that bite! When you take the bite? That is chemistry in action; the coconut oil and the chocolate are solidified at the freezing point, creating that layer of perfection. Something is so sensual about it that makes dessert not yummy, but wow.
Why You’ll Love Making This
- It is simple – no ice cream machine is needed!
- It can be made to suit yourself indefinitely.
- It’s make-ahead friendly.
- It is nostalgic and gourmet.
- And honestly? It just makes people smile.
This Homemade Eskimo Pie Popsicle Recipe is evidence that simple desserts usually contain the biggest amount of joy. One can make a batch over the weekend and reap the rewards over days, so long as you can resist them that long.
Nutritional Overview (Approx. per popsicle)
- Calories: 280
- Fat: 18g
- Carbs: 24g
- Sugar: 20g
- Protein: 4g
The amount of chocolate will differ according to the type of chocolate and any add-ins.
Make It a Family Tradition
Whether you have kids (or are simply kids at heart), give them a hand! It is jammed into the popsicle sticks, ice cream mix poured on it, dipped in chocolate, and it is messy in the best way. These first bites with their smiles? Totally worth it.
Cooking must be a happy time, and the recipe fits that description perfectly: nostalgic, easy, and constantly good.
Final Thoughts
The Homemade Eskimo Pie Popsicle Recipe is among such eternal desserts that make us remember how wonderful simple things can be. It is creamy, it is chocolatey, it is comforting, and the fact that it is prepared in your own home makes it something extra special, which cannot be purchased in a pack.
When you feel like having something cool and classic next time, leave the box you bought in the store. Make one of your own, relax, and have that first spoonful of chocolate take you right back to your best moments.
Homemade Eskimo Pie Popsicle Recipe
Equipment
- Popsicle molds (silicone or plastic are good)
- Popsicle sticks
- Small saucepan
- Mixing bowls
- Whisk or hand mixer
- Bowl or double boiler (to melt chocolate) that is microwave safe.
- Baking pan covered with parchment paper.
- Freezer space (ensure that it is flat)
Ingredients
To fill the filling in a Vanilla Ice Cream:
- 2 cups heavy cream
- 1 cup whole milk
- ¾ cup granulated sugar
- 1 tbsp pure vanilla extract
- Pinch of salt
- Optional: a few tablespoons of condensed milk may be added to add extra creaminess to it.
For the Chocolate Coating:
- 1 1/2 cups of semi-sweet chocolate chips or chocolate chips.
- 3 tbsp coconut oil this is to aid in the smooth hardening of the chocolate
- You can replace the dark or milk chocolate, according to your taste
Instructions
Step 1: Make the ice cream base
- Add cream, milk, sugar, vanilla extract, and a pinch of salt to a bowl and mix until the sugar dissolves. The fluffy texture can be achieved using a hand mixer, although it is possible to mix it by hand.
Step 2: Pour and freeze
- Add the mixture to your popsicle moulds and do so in uniform layers, being very careful to leave some room on top to enable it to expand. Pop sticks and freeze or freeze at least 6 hours or overnight (possibly) if you are patient.
Step 3: Melt the coating chocolate.
- Add the chocolate chips and coconut oil in a bowl that is safe at the microwave. Heat in 20-second intervals, stirring in between, until silky. (A double boiler may be used to have a more controlled melt, too.)
Step 4: Dip the popsicles
- When the popsicles have been completely frozen, take them out of the molds. When it is melted, be fast, and coat each one with the melted chocolate so that it is covered with it. That is the best part, the chocolate will harden within a few seconds due to the cold surface.
Step 5: Freeze again
- Store the soaked popsicles on a lined parchment tray and store them again in the freezer to dry thoroughly, a process of 15 minutes.

Hi, I’m Olivia Brooks! Cooking is my passion, and I love turning everyday ingredients into meals that bring joy to the table. On CulinaryPearl, I share simple recipes, helpful kitchen tips, and inspiration for food lovers everywhere